Monday, April 27, 2015

Bath Vanity Update

The day job has been taking most of my time so progress on the bath vanity is slow. I looked at using a wood top and tried several finishes but all but the Applebee's bar finish water spotted. It's a shame but it is what it is....ordered an Ebony composite top for the base, it should look OK.

I've made the boxes for the drawers, used Soft Maple.  It has been awhile since my last use of Soft Maple, I forgot how nice it is to work.

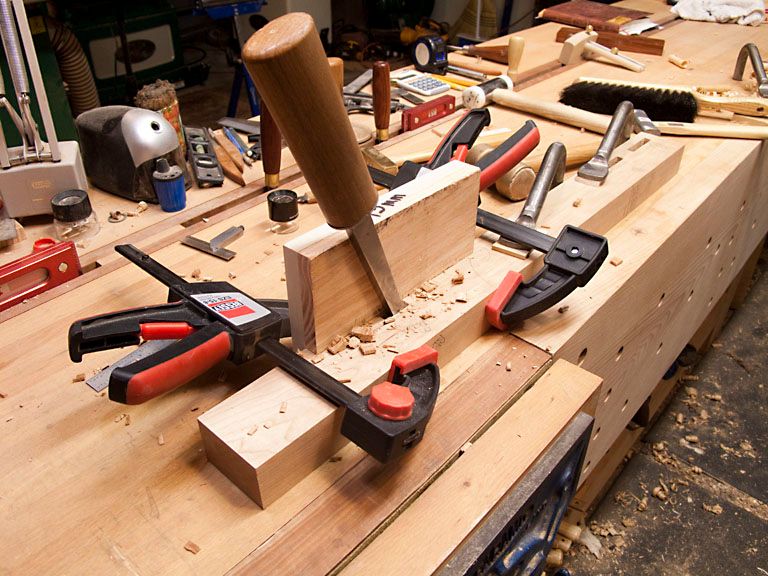
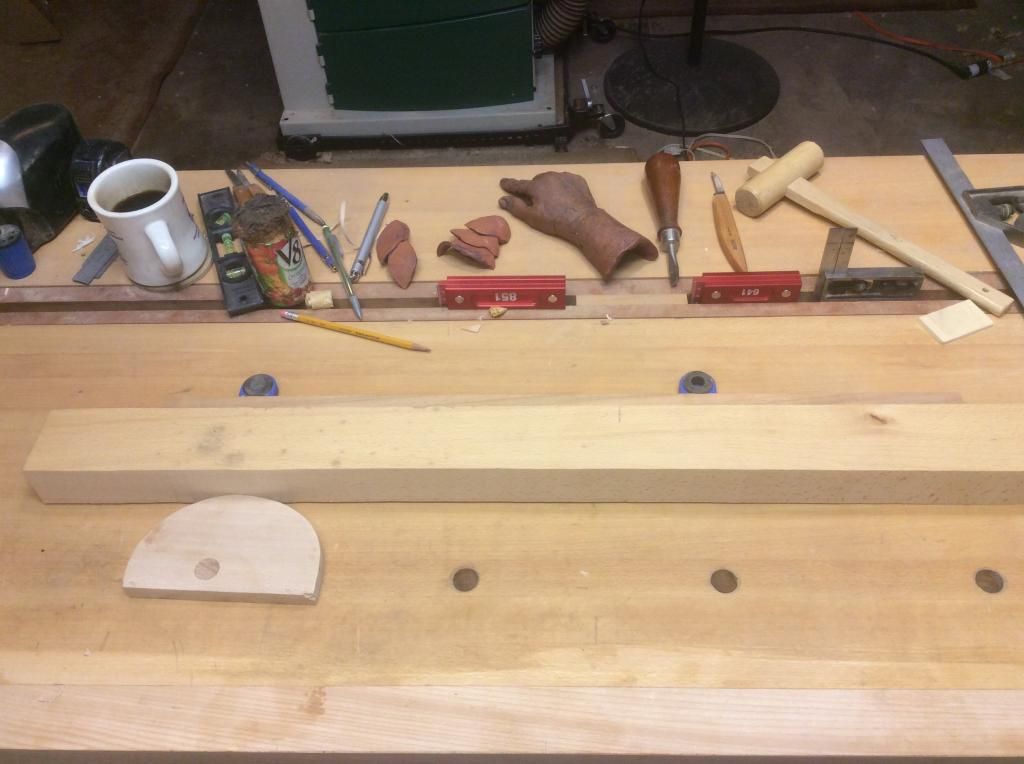
Here is the set up for cleaning up the drawer boxes:


And the box cleaned up:


Monday, April 13, 2015

First Coat Of Oil ON The Bath Vanity

The Bath Vanity base is complete, just needs finishing. I put the first coat of BLO on this AM and will let it set for a day or two before following with Tried & True.

The drawer boxes and the top are next. I expect in spite of what the boss lady wants I'll take my chances and make the top out of South American Walnut. South American Walnut is a little soft but with an oil finish turns almost Ebony black with a brownish under tone. It should like very nice with the Cherry as the Cherry darkens with age.

Drawer boxes, meh, as I looked for the wood to make 'em last night the hunk I need is buried near the bottom of the middle stack. At least that is the 4/4 stack and not the 8/4 stack. Still my energy and back both said no mas, no mas last night and weren't any happier with the thought of digging for it this morning.

Let's see I need a trip to the wood store for the South American Walnut, since I'm there might as well add a nice 4/4 drawer stock board as well.

Here is the back of the Bath Vanity base:


And the front:


Saturday, April 04, 2015

Tenon Buttons

I usually attach the top to the base via mortices and tenon buttons. I expect most have their own way of making the buttons but here is mine....if you think your way is better please do not let me keep doing it the hard way.

I usually use a 3/8 chisel to chop the mortises which means a 9mm tenon is just about right. I like Oak for the buttons because it splits easily and a 19mm thick piece of Oak works well. I'll cut the Oak into 70mm X 30mm strips. that gives me two buttons per strip.

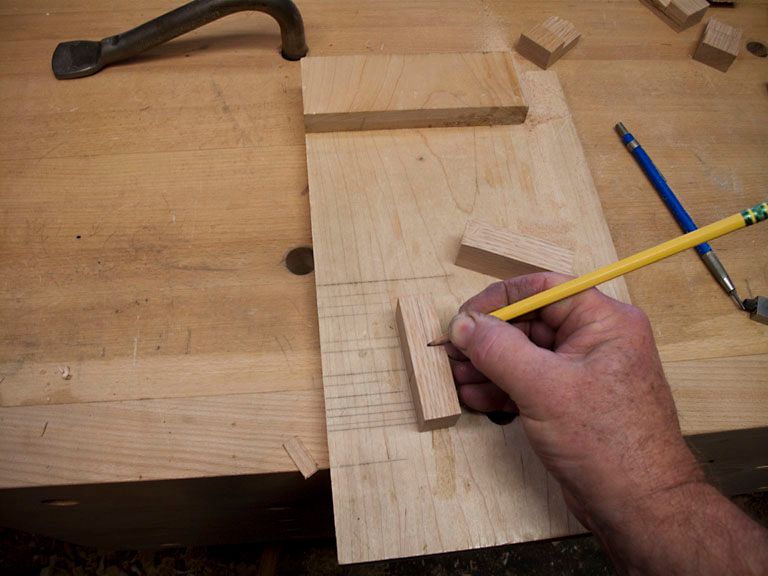
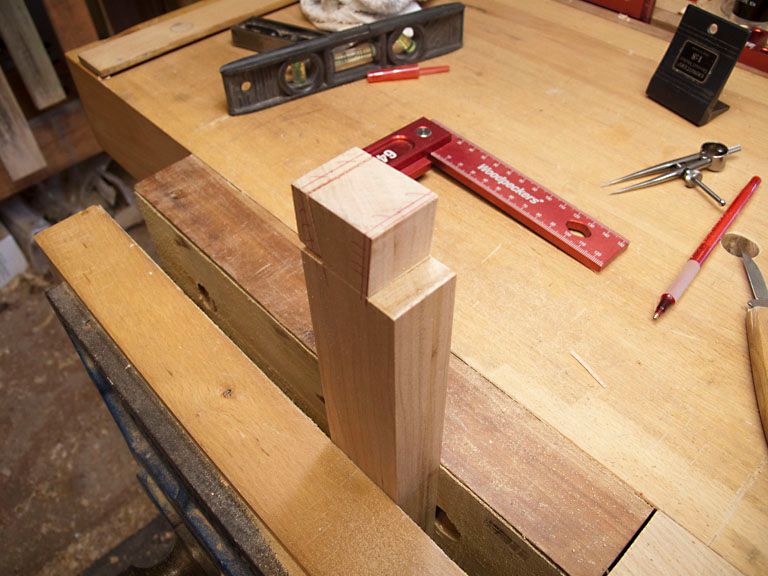
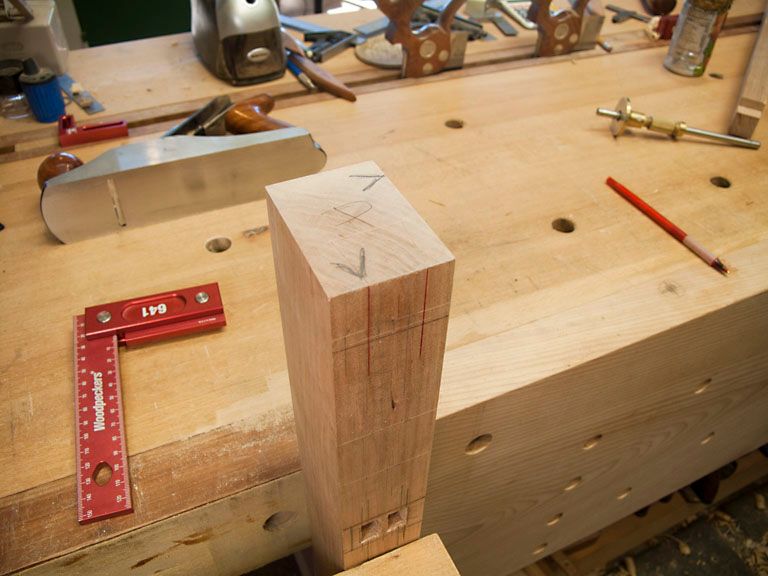
First step is to mark two lines near the center the length of the tenon part, carry one line to the top face and the other to the bottom face.


Then on each side mark a line near the center, none of the lines need be exact:


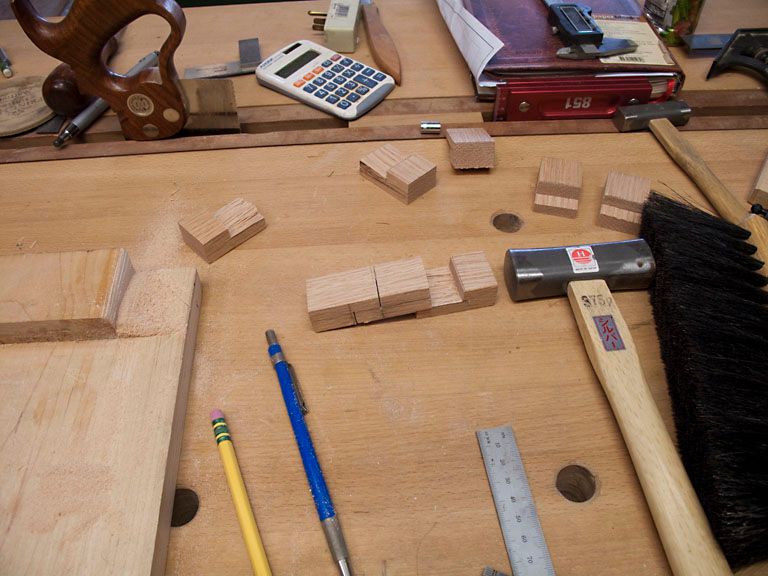
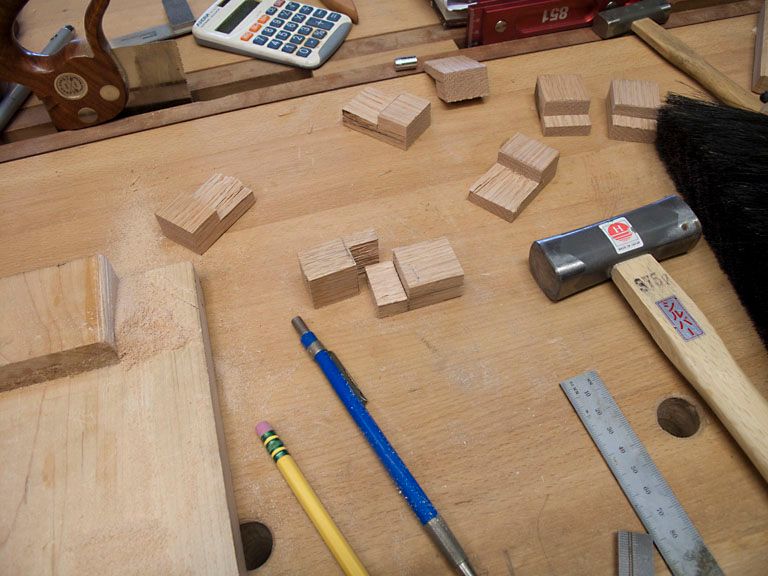
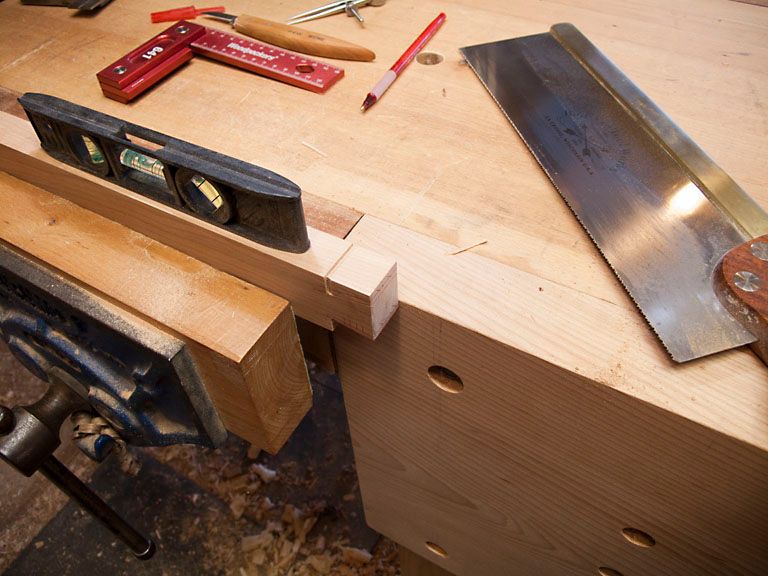
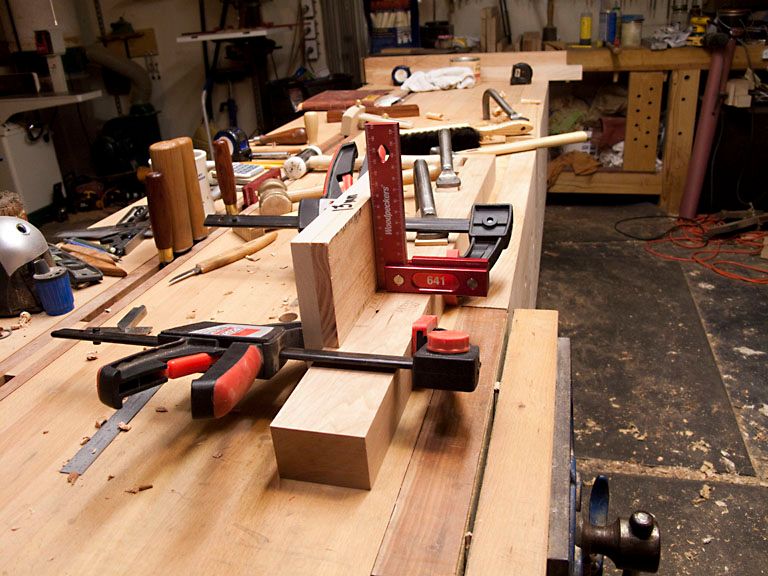
Saw from each of the face lines stopping at the center line on the side, then supporting one end on something give it a good whack:


repeat as often as necessary for the number of buttons needed plus I always do a few extra:


These are for attaching the top to the bath vanity, I will be needing them soon.


Bath Vanity

The Bath vanity base is in the short rows. I've some mortises to chop, the ones for the bottom shelf slats and for the top's button mortises. Should only take a couple of hours to do the chopping.  I know it's weird, but for some reason I enjoy chopping mortises. Once all the remaining mortises are finished I will shape the legs, clean everything up and then draw bore and glue that sucker together.

I'm still undecided on the top and the drawer fronts. I'm leaning toward a dark top, MsBubba might object if asked, this may be one of those do then beg forgiveness times. I'm guessing I'll go safe and just use Cherry for the drawers.

It's been nice having several days off in a row....stuff gets done.

Mickey's Bench

Around the first of the year a work friend asked if I would help him make a work bench. Sure no problem so off we go to Home Depot for a couple hundred board feet of construction grade DF. We stickered it, and covered it, and let it set as long as he could stand (a couple of weeks) before ripping the 2X12's down to working size. Then I explained it needed to set awhile to finish the major part of its stupid wood tricks after ripping.

After a couple of weeks he couldn't wait and we started truing and sizing the lumber. that's when one of his old heart problems flared up and he ended up in the hospital. Everything was put on hold for several weeks. This pattern repeated itself several times over the next months.

I'll cut to the chase: today we stood the bench up. He still needs to install his vises, drill some dog holes and trim the ends but he has a working bench. What should have been a couple of weeks job once the wood settled down ended up taking four months.

It's as ugly as granny panties with tons of mistakes because I would tell him what needed to be done and maybe show the procedure then leave it to him to do it. But as said many times during the build: "It's a work bench". That's the bad news, the good is: It is strong and solid. It sets on the ground with no rocking, the base is within a couple of mm of being square, the slab has no twist and is flat enough. It will make a hell of a good first work bench, a lot better than my first one.

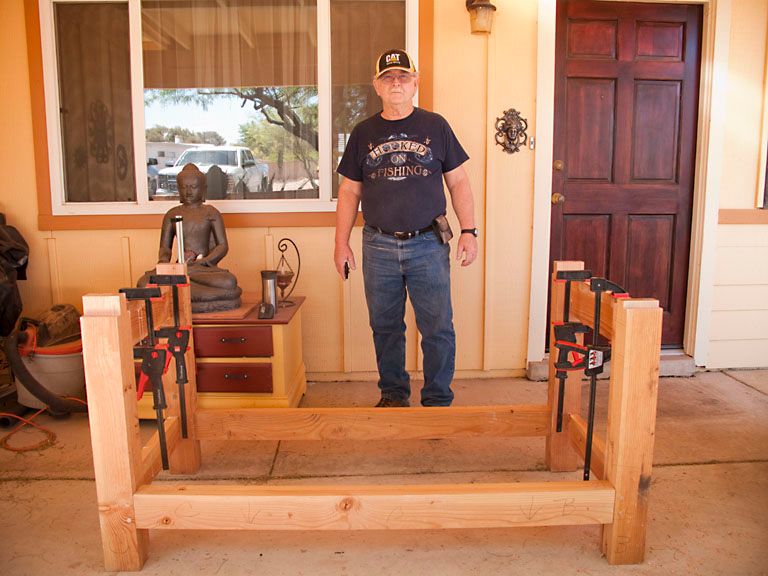
A photo of Mickey with the completed base:


Wednesday, April 01, 2015

More Bath Vanity

I didn't have a lot of time in the shop today. Work asked me and one of the other instructors to write two Check Ride Plans of Action, one at KICT and the other at KMEM plus a new set of standardized questions for the Knowledge Test portion of the Aircraft Type Check (FAR 61.157 Check). I've been working on it off and on for several weeks but the Suits decided it needed to be finished yesterday. My shop time today sucked hind tit because of the deadline.

For a couple of nano-seconds I thought about a live edge slab for the top of the vanity. I even made a trip to the wood store to see if I could find a slab that would work but no joy. I expect that is a good thing because the more I thought about it the less I liked the idea.

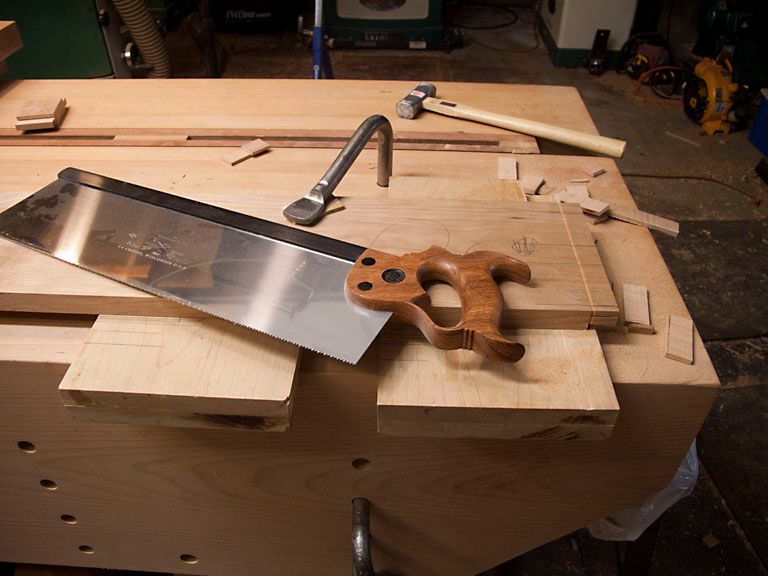
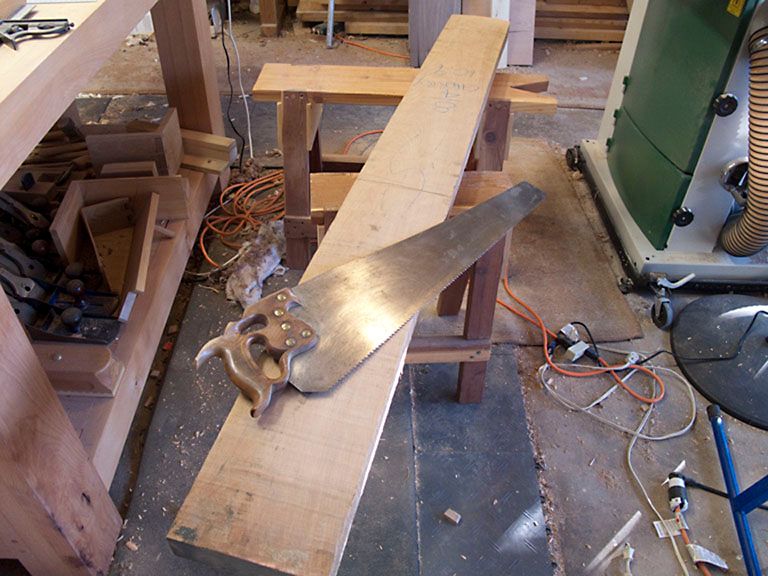
I did get a little done. The bottom shelf stretchers are marked out and I sawed one of the stretcher tenons. Whoopee. Anyway here are a couple of photos. The first is sawing a tenon on one of the stretchers:


The second is of the finished tenon:


Monday, March 30, 2015

More on Bath Vanity

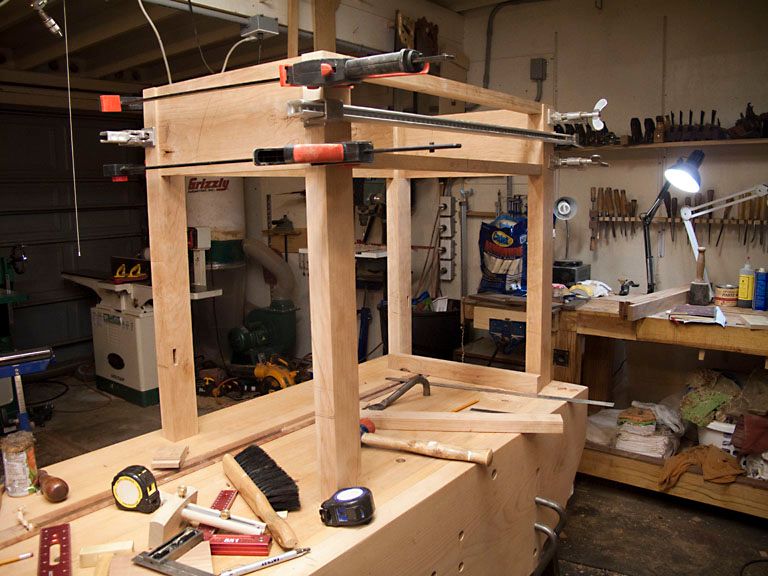
The bottom (shelf) stretchers have been fitted. I've clamped the vanity together so I can mark the shelf slats. Once that is done I'll chop and saw the slats' M/T's, put the vanity back together in sections to mark and drill the draw bores, make a couple of drawer boxes, and a top. I could be finished in a couple or three days If I could find 'em to rub together.


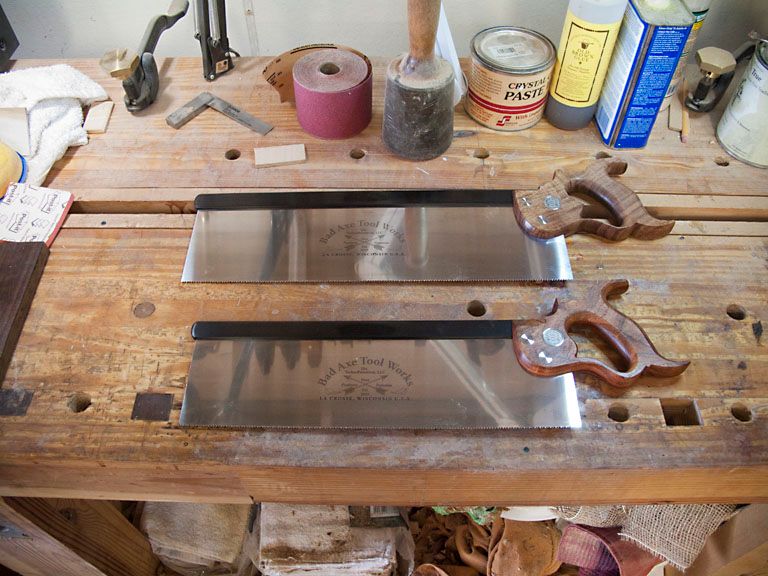
The Postal Lady delivered a care package from Bad Axe this afternoon. It had a couple of new saws, a 16" Tenon and a 14" Sash saw. Damn Bad Axe saws are pretty, addicting to.


New Week

I had to work over the weekend so not much done in the shop. Some folks can come home after work, go to the shop and do several hours of productive work....That ain't me. About the best I can do is a little light tool maintenance, sharpen some iron if it is already sharp, wipe the dust off and put back in place the tools left on the work bench from the last time I was in the shop. That's about it.

I did receive a ECE Coffin Smoother I "won" off eBay. The Smoother was a pleasant surprise, the iron had been honed but other than that there was no evidence the plane had ever been used. Sometimes you get lucky. I've a "horned" old style ECE Smoother on the way, another eBay "win", hope it is in as good shape as the Coffin Smoother. As always, anything off eBay is a crap shoot.

I should get a couple of saws from Bad Axe Tool Works either today or tomorrow, the two saws will almost complete my collection of Bad Axe saws. The only one left is the new 12" dovetail saw, it looks like a clone of the TFWW dovetail saw. The TFWW dovetail saw is my favorite small dovetail saw, I expect once the tool budget recovers from the last two saws, in other words....next month, I will put one on order.

Back to the shop for a couple of hours work before the rest of the world awakes and starts demanding time.

One last thing, a friend sent this link to a youTube video about a day in the life of a line pilot. It doesn't get much truer, if you have ever wondered what it was like to set up front, watch. BTW, I received the link a couple of days before the German F.O. decided to take 150 with him.

Living the Dream https://m.youtube.com/watch?feature=youtu.be&v=rNxz2hhSXuY


Thursday, March 26, 2015

Bath Vanity Update

I lost today to work....Can't complain too much I ended up with three unexpected days off. Stuff happens with days off, stuff does not happen on work days....Go figure.

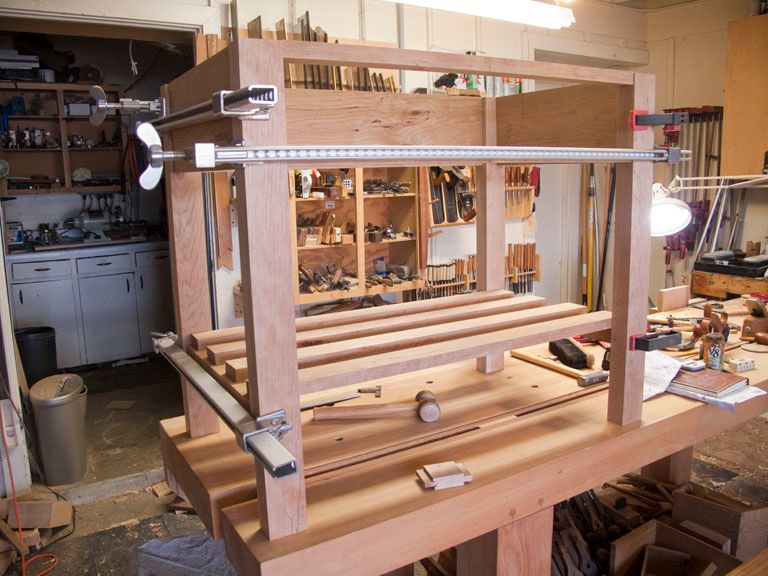
The basic joinery with the exception of the lower shelf and the drawer divider is finished. I dry fitted the legs and stretchers to see how it looks. It's not bad.

Next up is the lower shelf, drilling and marking the mortise and tenon that will be draw bored, and chopping the button mortises for attaching the top. I also need to make the top, a small minor detail.

The UPS girl and I are becoming best buds, over my days off she delivered the Miele vacuum I ordered for my B-Day, new work shirts, a new ECE rebate plane, and a couple of books ordered from Lost Art Press. Yet to come in the next couple of days is a ECE Coffin Smoother and a couple of Back Saws from Bad Axe.

Here is a photo of prepping to saw tenon shoulders on one of the stretchers with a Bad Axe Large Tenon Saw, the saw is a beast but is really nice to use on a wide tenon:


One of the almost finished Bath Vanity base:


Tuesday, March 24, 2015

Starting the Bath Vanity Joinery

Sometimes the work gods smile upon you, sometimes they piss on your head. This week they smiled. My clients canceled at the last minute so I ended up with three unexpected days off this week plus the one I had scheduled. With one phone call the sky turned blue and the birdies started to sing.

With the unexpected days off I've started the bath vanity joinery, It is pretty standard stuff, the front top stretcher will have a dovetail and the bottom stretcher double M/T. The sides and back will have split M/T joints which I expect will be pinned.

Here are few photos. The first is of one side of one of the dovetails. It needs the nasty bits cleaned but other than that is is ready to fit straight from the saw:


Ready to saw the other shoulder:


Marking the pins on the leg:


After finishing the dovetails I will saw the double tenons on the lower stretcher before moving to the sides and back. Once the basic joinery is finished I will clamp it together and mark the slats for the lower shelf. 


Monday, March 23, 2015

Worked on the Bath Vanity

I had a couple of free early morning hours to work on the bath vanity this weekend. I was able to finish chopping the mortices and have marked the stretchers.

Sometimes I will use a guide to chop, sometimes not. This was one of the times I've used a guide, mostly because I had one of the correct size. I could be wrong but I think it may be a little quicker to use a guide than not because once set up you can pretty much chop on autopilot.

Here is a photo of setting the guide up and checking for square:


Chopping the mortice:


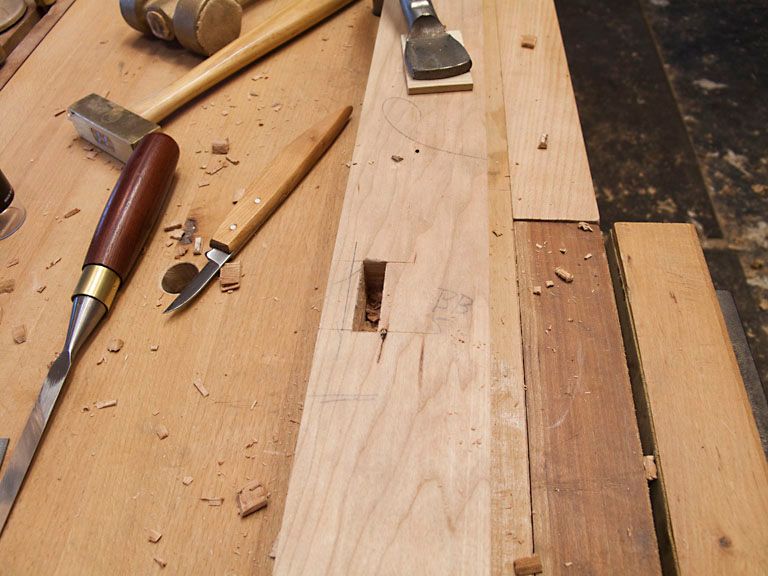
Finished mortice:


Sunday, March 15, 2015

If You Squint

There is a Cherry bath vanity in that pile. The only thing missing is the top.

All the parts are to size, I just need to finish marking out and cutting the joinery. I'll let everything sit for a few days to see it there are any more stupid wood tricks left. If everything stays stable, I'll start the joinery by next weekend.

Famous last words..."It shouldn't take too long to finish".


Plane Till Magnets

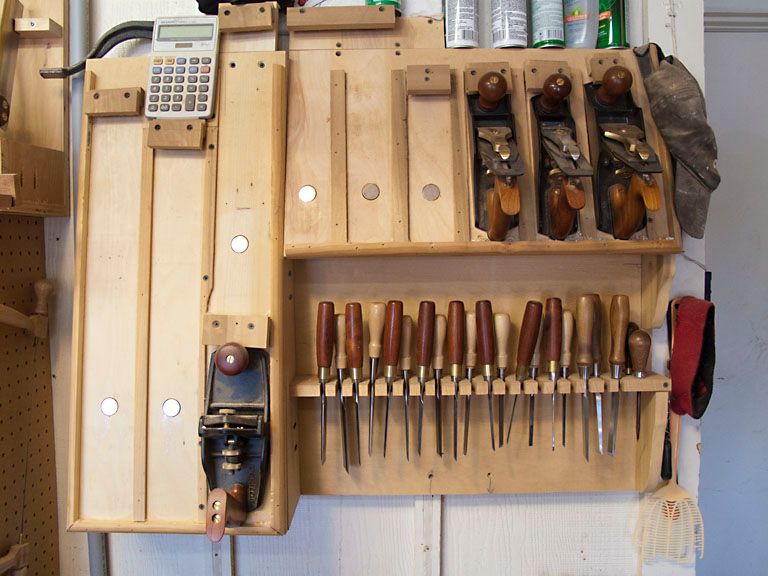
My plane till is handy, has held the working planes for several years without incident but....There's that damn but again...Because it is not at a high angle I've worried about someone or something coming along and knocking one or more of the planes out of the till.

A couple of days ago I decided to build in a little insurance by mounting a rare earth magnet in each slot. The magnets might not prevent all chances of the planes hitting the floor but it will be much harder to dislodge one now.

As always with simple fixes like this one you wonder what took so long.


The Last of the Bench Planes

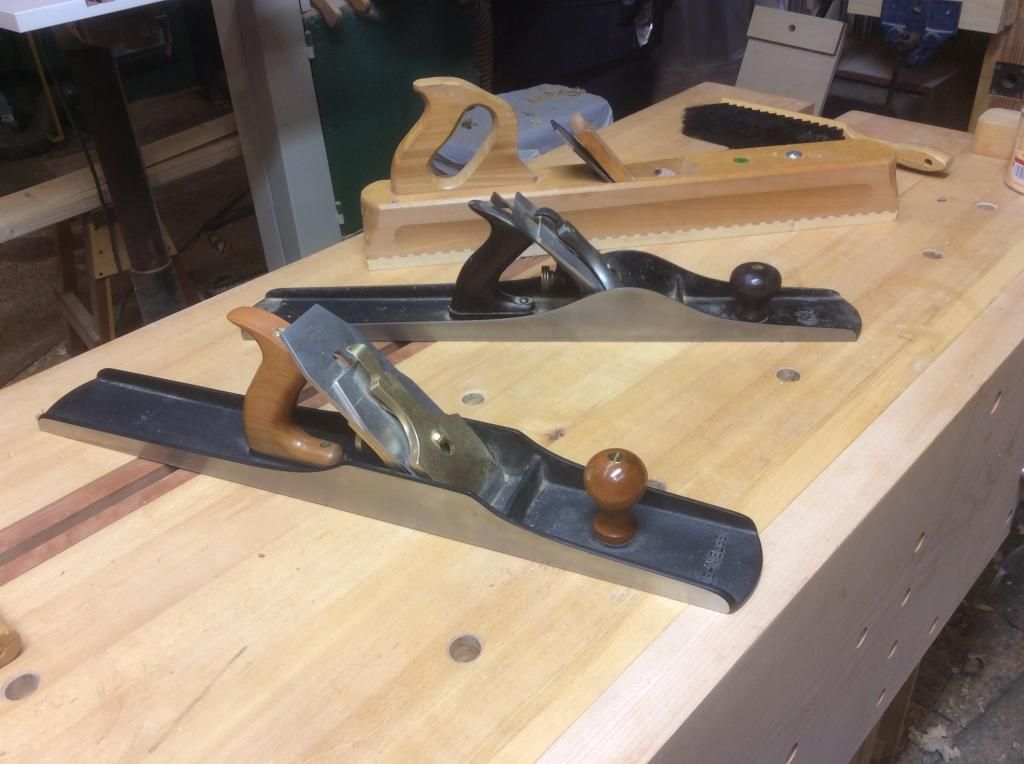
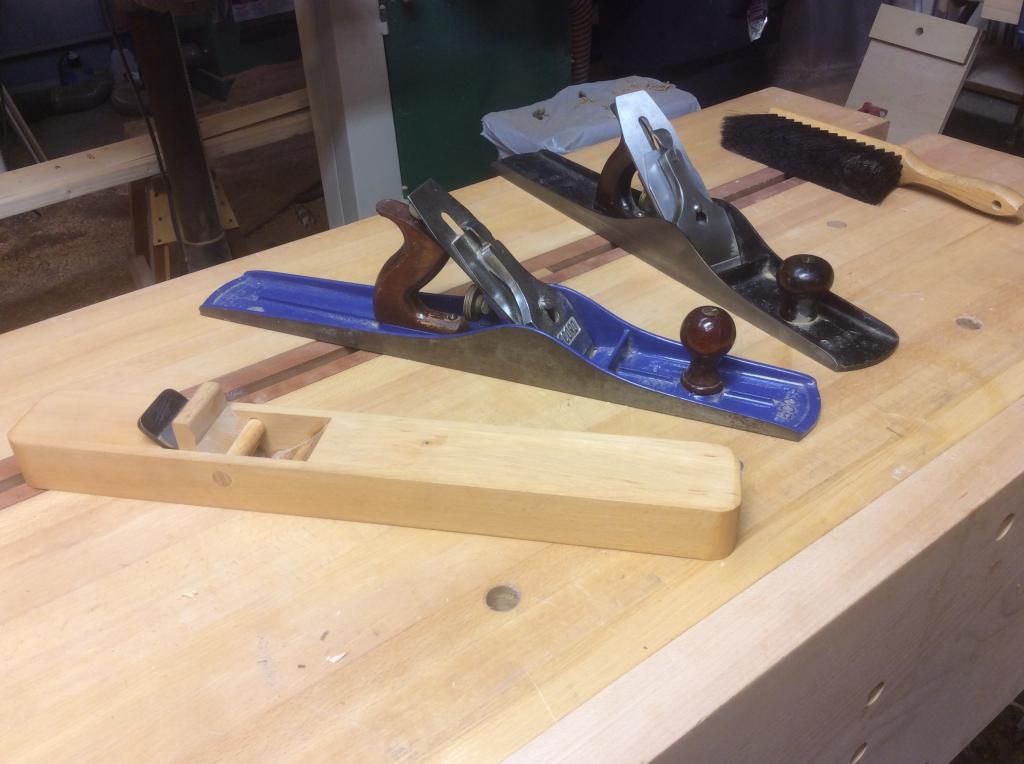
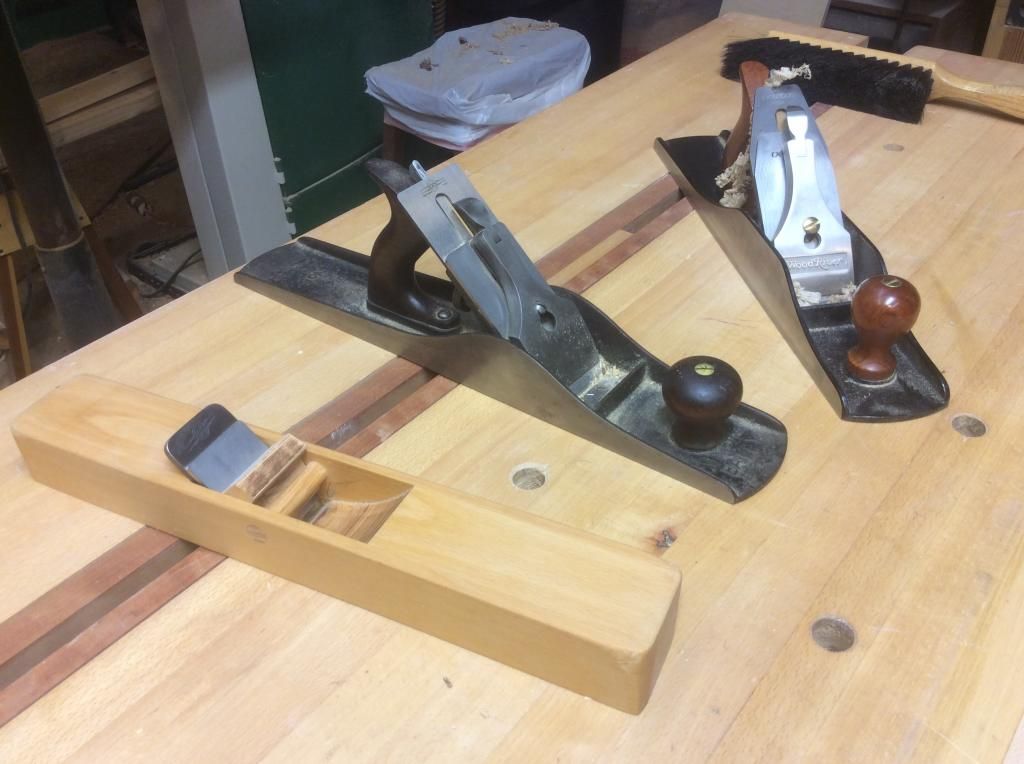
This is the last of the bench planes, again I'm mostly doing this to have a record of my tools stored somewhere other than my home computer. I figure if there is a fire the computer record will be gone as well as the tools.  There are three #8 sized planes, in the foreground is a LN #8, next is a type 9 Stanley #8, and the ECE Jointer. While the LN is a beautiful well made plane and is a joy to hold and use for a short period of time, the Stanley and the ECE get most of the work because they are light and much less tiring to use.


BTW, I added some rare earth magnets to the plane till. Photos when I have time. 

Saturday, March 14, 2015

The #7 planes

I have few of the longer planes, mostly because the machines do most of my scut work. As much as I would love to re-claim the square footage used by the table saw, planer, jointer, and dust collection, my occasional four square of rough lumber nips that wish while it's still forming. Long live the iron apprentices.

Here are the #7s:


The shop made wood stock wasn't meant to stay that long, I had planed to cut it off to no more than "Jack" length but it works pretty good at the current size and I never got around to cutting it shorter. The Record next to it was one of the first "good" planes I acquired, mail order from Garrett Wade IIRC back in the 70's or early 80's, at about the same time the ECE in the #8 group followed me home. The type 9 Stanley in the background is the one of this group that is used the most.


Friday, March 13, 2015

Bath Vanity

Not a lot of progress on the vanity but some, spent most of the day at the dentist getting a crown replaced and then running the streets. Also did a little shop maintenance, more about that once finished and I have photos.

The other day I rough dimensioned the legs and they have been sitting long enough to have finished stress movement. They are now, other than length, to finished size and I did the rough marking out. Tomorrow I'll take them to finished length and do the final marking of the mortices....Maybe even chop a couple.

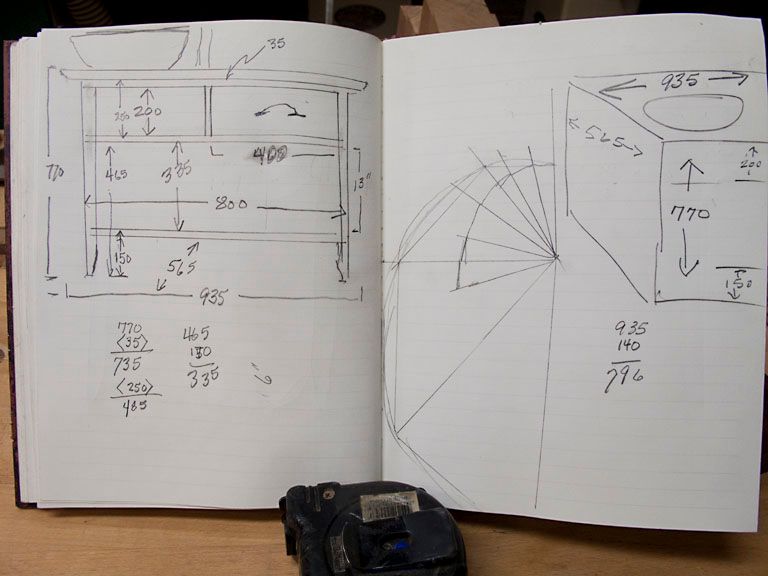
Here is the basic plan for the vanity:


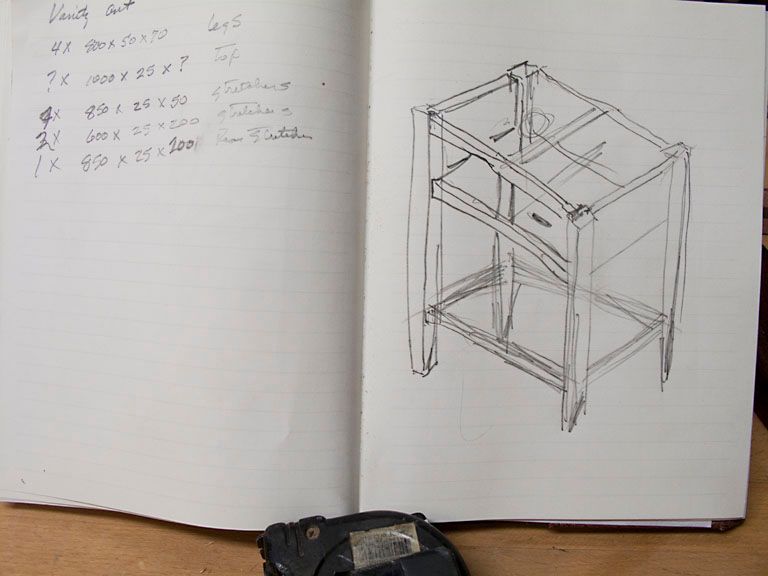
A really rough drawing:


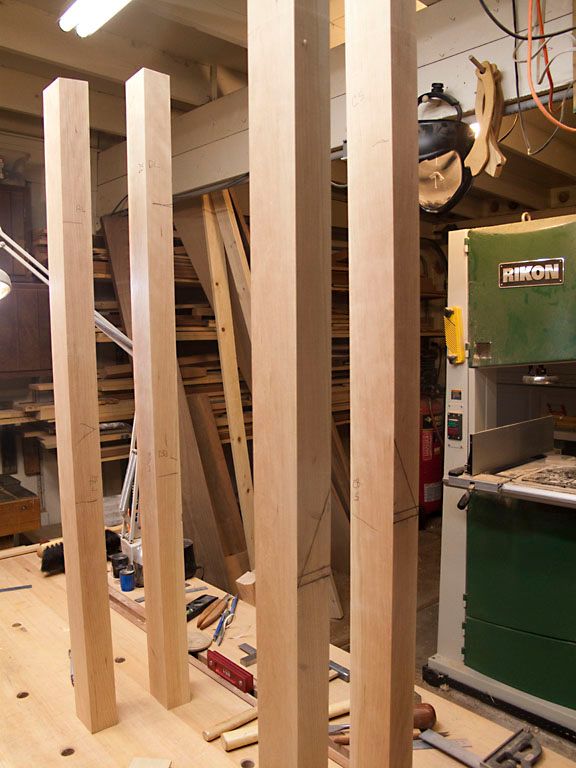
And the legs marked out:


I expect the vanity construction will follow my usual draw bored M&T joints where able, dovetails and housed dado's for the other joinery. In other words KISS but strong.


Thursday, March 12, 2015

The #6 sized planes

I have very few #6's.

From left to right a shop made with a Hock O1 iron, a type 9 Stanley #6C with a Hock O1 iron and chip breaker, and last a Woodriver #6 with a Vertias O1 iron. They are all good planes but I would guess the least used of my planes.


I need to do the first day off of the week street running this AM, the usual stop for gas, pick up the cleaning, go to the wood store and Home depot, pick up my meds, then Costco for everything else. I hope there is a little time and energy left for shop time before beer-thirty this afternoon. Oh, one other thing...I'm expecting the UPS girl to stop by sometime today with some goodies, pics if she makes it (of the goodies not the UPS girl :-)). 

Monday, March 09, 2015

Bitch of a Friday

A little backstory. To stay qualified to instruct in a Simulator I have to fly a FAR 135.297/293 check ride every 6 months. This time my TCE (Training Center Evaluator) needed to have his TCE renewal done while he checked me. Can you see how convoluted it can get especially when you add in a young PITA "Fed" observing the TCE giving the check.

In spite of not having touched the controls of a Sim since the last time I was checked (six months ago) and being older than dirt as well as blind and deaf, I flew a pretty good ride. Where the bitch of a Friday comes in was with the PITA "Fed" questioning this and that with the checking TCE during and before the ride which should take four hours max ended up being over seven hours. Add in that seven hours plus after we finished my check I had to do a final Sim period for a client that was going for a "Type Check" the next morning.  My duty day was a solid twelve hours, of which the only enjoyable part was the last with the client.

I'm getting too old for that kind of happy horse pucky.  

Starting on The Cherry Vanity

SWMBO has been on my case to build a vanity for the hall bath for some time. After showing her several different woods she picked Cherry. I found a couple of nice 8/4 Cherry boards, one a true 8/4, and several true 4/4 ones at my local independent wood seller's place a couple or three weeks ago. This AM I started rough dimensioning the Cherry. Once cut to rough sizes I'll let it sit for several weeks to finish doing its stupid wood tricks before taking it to working size. Anyway I can now say "Why yes dear, I've started on the vanity", it should buy me a little time.

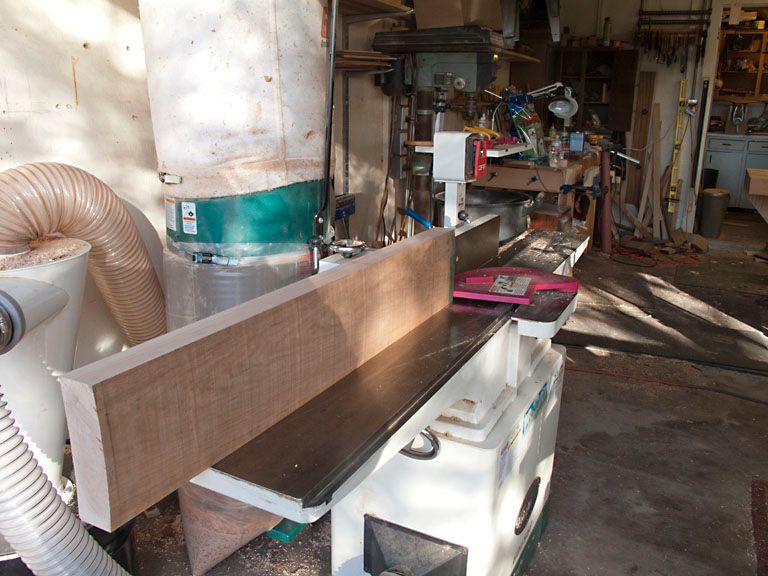
Here is the start, cutting the leg blank boards to size:


Truing the edges so the blanks can be ripped:


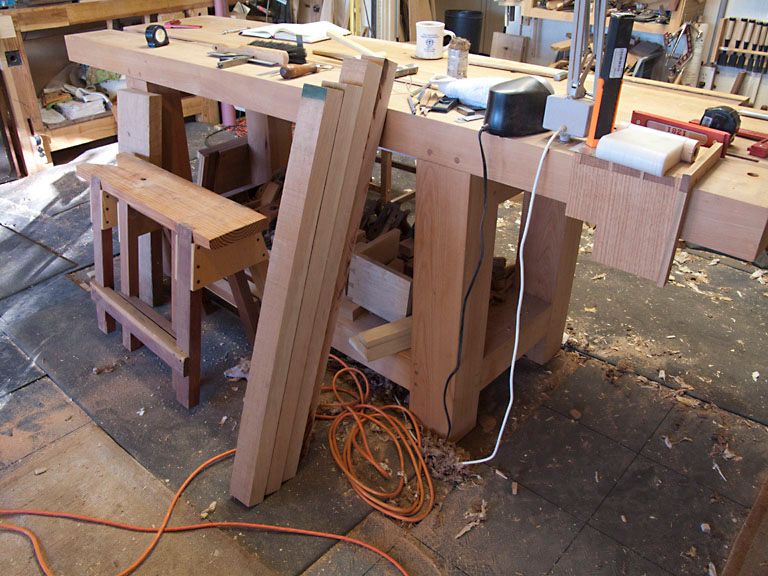
Blanks to rough size:


Sunday, March 01, 2015

Logarithmic Spiral Holdfast

Some time ago I read about using a logarithmic spiral to hold work on the bench top. I can't remember where so as to give credit but whatever this isn't new just new to me. Anyway when I read about it I kinda filed it away as one of those ideas that might work but would not be life changing.

Last night a pinched nerve in my right arm woke me in the middle of the night. When that happens about the only thing that relieves the pain is to get up and sometimes a little use of the arm helps. OK Bubba enough back story cut to the chase.

With nothing better to do I made one to try. It works. I don't think it would replace a holdfast with a doe's foot on my bench but it works and I expect if the bench dog holes were placed with using a logarithmic spiral in mind it would work very well.

Here is a photo:


As you should be able to see, the arm from the pivot point gets progressive longer which pinches the work against a baton/stop as it is moved from right to left and releases as the work is moved left to right.  Actually it is pretty slick and with correctly placed dog holes could work very well.