Tuesday, January 26, 2016

Home From Houston

I gave in and flew the peanut skies to Houston and back.....That will not happen again, seventeen stinking hours or not it makes no never mind, I will not step foot in an Air Carrier again if I can drive. I hope they open a Chunnel to the UK before I croak.

I made a few photos while in Houston, most will be trashed, a few will be sent to the peanut's Grandmom aka MsBubba and his Mom and a couple will be added to my work. This is one I couldn't resist:


Click it to big it.

Not much will go on in the shop other than tool maintenance for a couple of weeks. Work is crazier than normal crazy, guess I have to pay for taking a few days off.

See you guys on down the road,

ken  


Monday, January 18, 2016

They Are Done

The fat lady has sung her song, the crops are in the field and the cows are in the barn. The grandpeanut's chair and table are finished and waiting for the UPS girl (BTW, did you ever see the photos of my UPS girl? Ah but I digress). To have a hope of getting the table and chair to Houston in time they had to be finished no later than Sunday night and someway somehow I made the deadline. Not too bad for my usual slower than a slug work pace plus dealing with an insane work schedule. I made the first cut January 3td and finished January 17th.  A couple of 16 hour shop days this weekend helped as did having most everything needed in the shop. I also think MsBubba could see the insane, driven look in my eyes. She cleared the deck and left me alone Saturday and Sunday.

Some of the design decisions were out of my hands. Such as the chunky legs and the "Chalk Board" paint on the top. I must say the black top works but I would still have liked the legs shaped to lighten the look.  Here are a couple of photos of the finished table and chair:


And one with them in "working" position:


Click 'em to big 'em.

The painted parts are Poplar with Red Pepper Milk paint on the stretchers and aprons and "Chalk Board" Latex paint on the table top. The chair and table legs are Beech finished with Danish Oil and the chair slats/seat is Cherry also finished with Danish Oil. All the joints are drawbored M/T as per my usual way none of the M/T joints are glued.  The only glued joints are the edge joints to form the table top. The seat slats are attached to the chair with Black Oxide "Highpoint" #10X1 round washer head screws with #2 Square Drive (sorry Bob). I wanted to use brass screws with slotted drive to attach the slats but couldn't find any in time to finish under the deadline. The table top is attached with mortice buttons using the same 'Highpoint" screws.

I'll deliver 'em to the UPS store this AM before going to work. After that they are out of my hands but I expect I'll tote the note for whatever it costs to have the table and chair in Houston in time for Levi's B-Day.

See you guys on down the road,

ken


Monday, January 11, 2016

Chair Base Together

I put the chair together yesterday and showed the boss how plain it was with no paint. Beech and Poplar just aren't the most exciting woods with just a oil finish, so she Ok'ed painting the stretchers but remained firm about no shaping of the legs. Not a biggie, less work and now I can get on to the table build.

Made one mistake when pegging the chair. I had 35mm pegs of Maple for the sides and 30mm pegs of Oak for the front bores. Someway one of the maple pegs got mixed in with the Oak pegs. By the time I noticed I was driving a Maple peg into a Oak hole it was too late. Needless to say, when I look at the chair that is the first place my eye goes. BTW, one of the Afghan tribes believes only Allah is perfect so all their rugs have a "mistake". That's my story and I'm sticking to it.

When I first arrived in country Afghanistan I noticed the rug merchants putting their rugs in the road so cars and trucks could run over them. Made no sense until someone explained that new rugs were almost commodity cheap but antique rugs were worth a lot of money.  Never underestimate Eco Man, if there is a way to make a buck someone will do it.

I'm still undecided on the seat. My first thought was White Oak but after looking at the completed base I'm leaning towards Cherry. I know I have enough White Oak in the wood pile but I have to dig a little for the Cherry. We'll see.

Anyway, here is the chair base. Click it to big it:


ken


Saturday, January 09, 2016

First Dry Fit

I haven't cleaned up the tenons. There's not much to do, I just need to chisel off the trash at the base of the tenons and they should pull up nicely.

I wanted to get an idea how the finished chair will look, at least how big it will be so I rough fitted everything together. None of the joints are pulled up tight and the seat slat is just something out of the cut off pile that was close to the correct length.

If you squint and look sideways it kinda looks like the finished chair. I expect I will shape the legs and back a little to lighten the look and for now I'm planing to use BLO on the legs and seat. The stretchers I plan to paint with milk paint, black under coat with a red finish coat.

Anyway, I'm getting into the short rows on the chair with the table to follow.


ken

Thursday, January 07, 2016

Sawing the Tenons

The Grandpeanut's chair is coming along. The mortices are chopped and I've started sawing the tenons. The first fit right off the saw with the exception of cleaning up a small bit of left behind "stuff" on one of the shoulder.  Sure is nice when it works that way, when it doesn't it can really slow the process.

I'll drill all the mortices for the draw bore pegs before I fit the rest of the stretchers. That way I can mark the tenons as I fit 'em. One time together, mark the tenons, pull it apart, drill the tenons, back together and peg that sucker.

Here is a photo of sawing a tenon:


And one of the bottom stretcher fitted to the back legs:


I'm still undecided on finish. I'm leaning towards BLO or Tried and True on the legs and seat but painting the stretchers with a black Milk Paint undercoat and red Milk Paint overcoat. 

I've a couple of weeks to finish the build, I may not finish both in time for shipping to Houston before his birthday but I hope to at least have a photo of the finished chair and table by the big day. The peanut, I'm sure, could care less, but it would make Grand Bubba happy.


Tuesday, January 05, 2016

Started on the Grandpeanut's Chair and Table

After a bit of butt scratching, a little searching on the web, followed by putting some rough ideas in the journal, I kinda had enough info or at least enough of a rough plan to dig through the wood pile for useable stock. BTW, this build, a table and chair for Levi's first birthday, is truly flying blind without an Instrument Rating. I haven't a clue what I'm doing.....Of course some would say that is usually the case....whatever.

I found a 8/4 scrap of Beech that I could just get the legs out of for both the chair and table and a piece of 4/4 Poplar for the aprons and stretchers. For now I'm planning on using some White Oak for the seat and table top but that is a maybe.

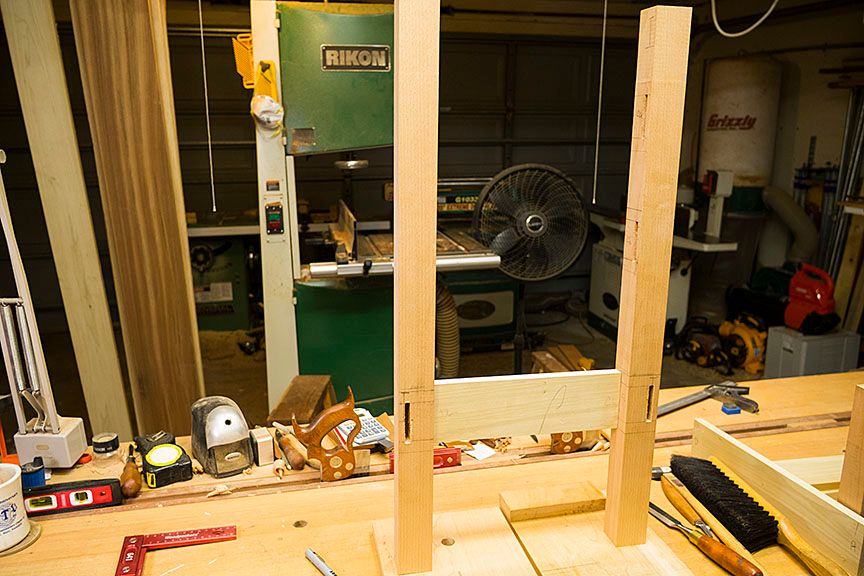
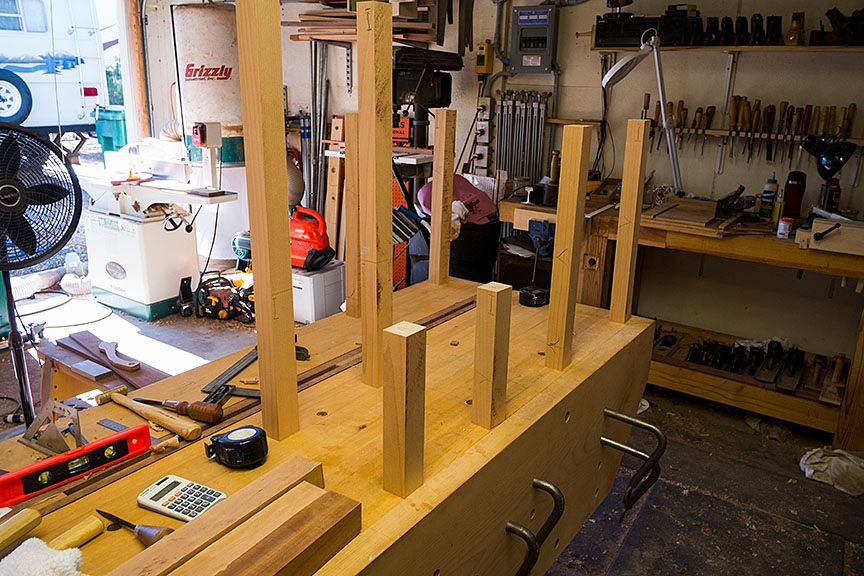
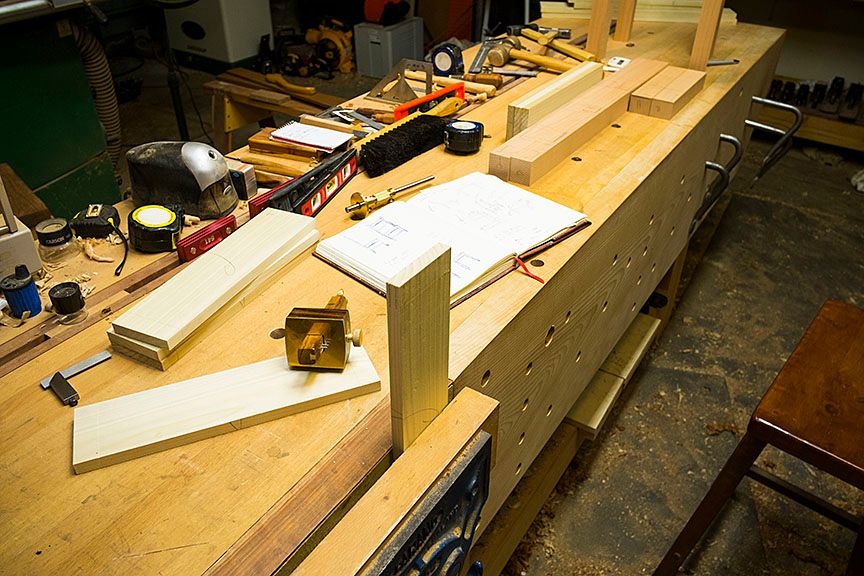
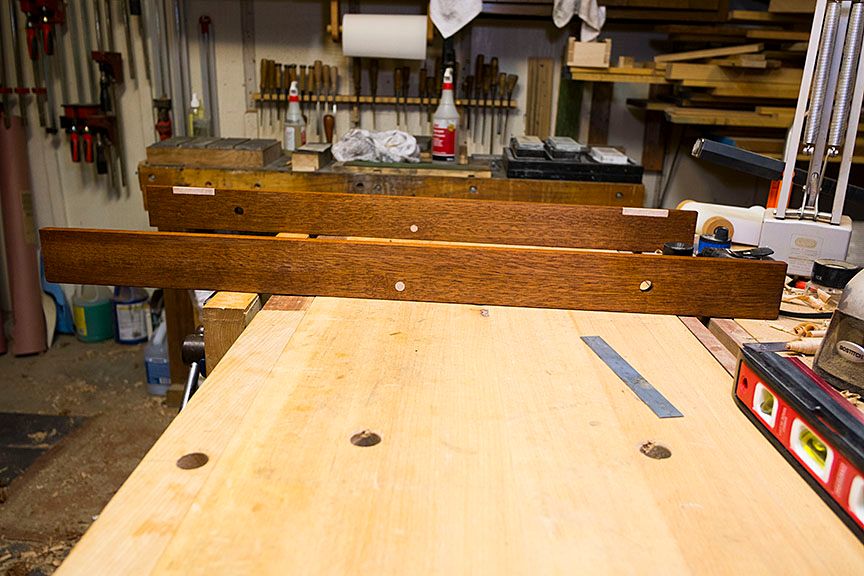
You can't tell much from either of these two photos but I have 'em and I control the mouse. The legs are rough milled and set in approximate position.  Photos from the front and back:


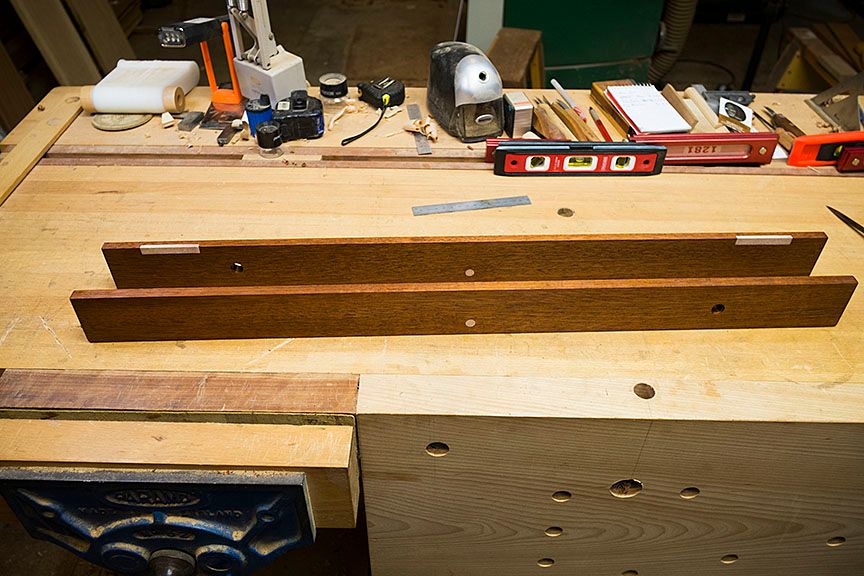
I've since finished milling and marked out the mortices on the legs and the tenon on the stretchers:


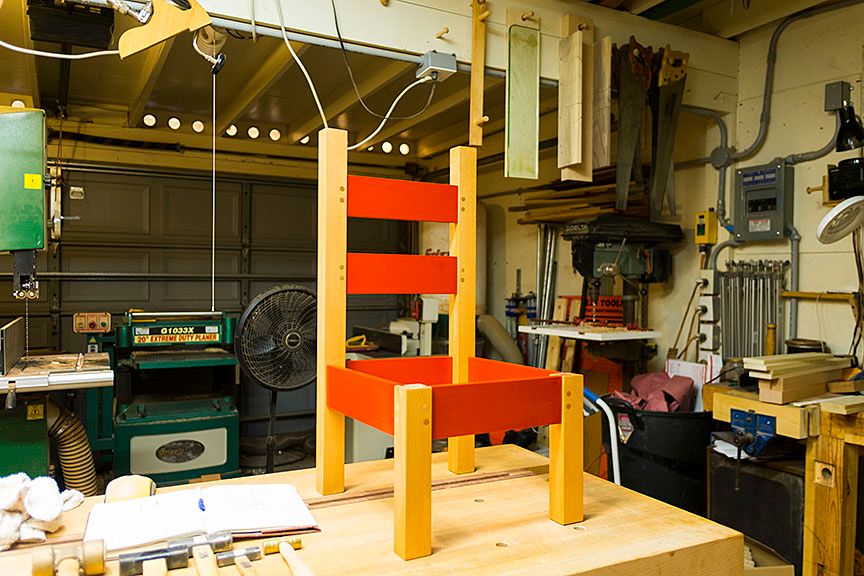
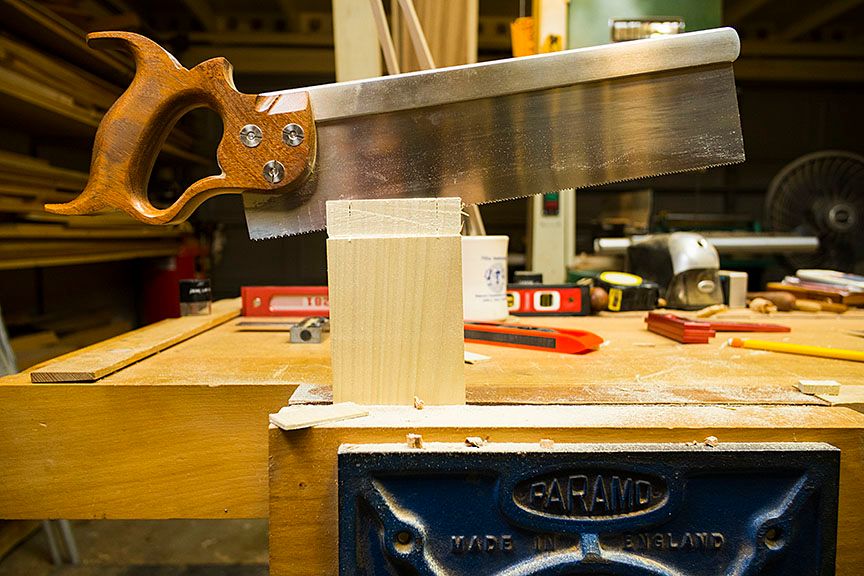
Before going to work yesterday I managed to chop one of the twelve mortices for the chair. I expect to beaver away on the remaining mortices today as long as I can before my 16:00 day job "show".

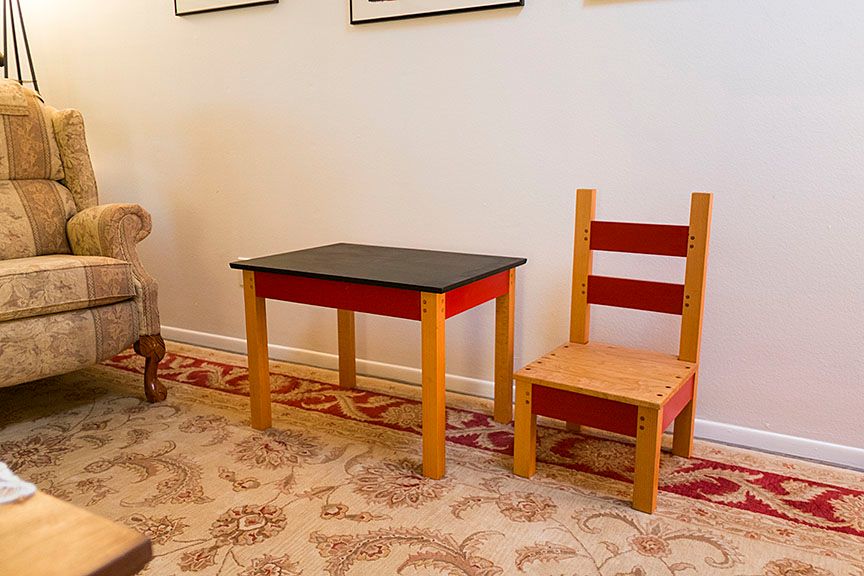
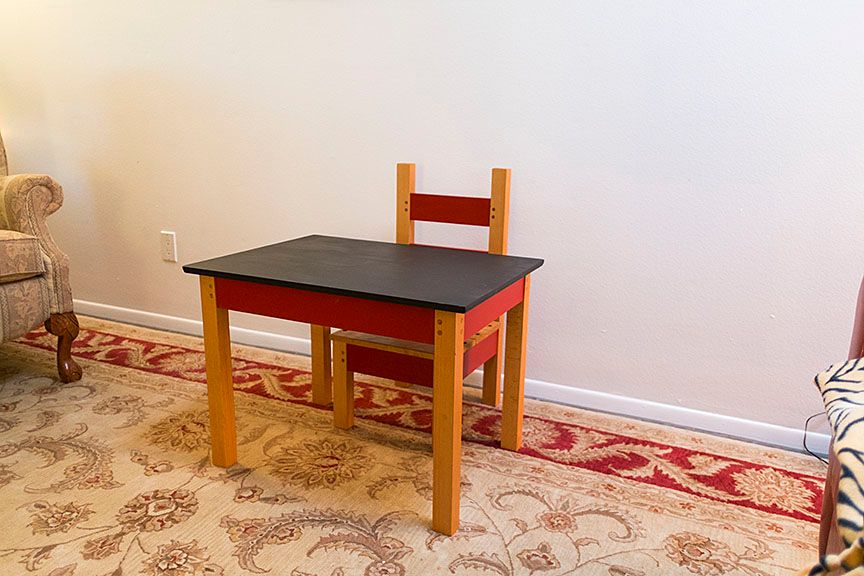
The table will wait until the chair is finished so I can be sure they fit together. 

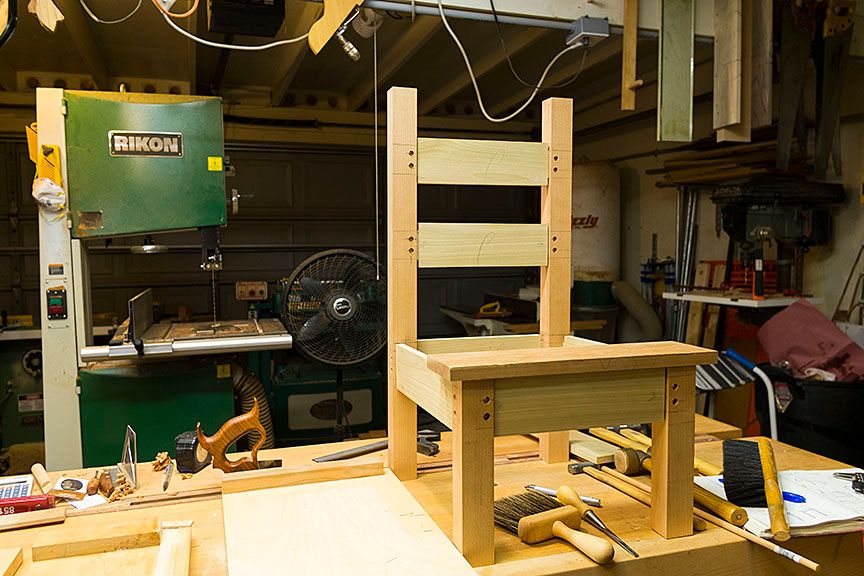
BTW, yesterday morning before I finished final mark out I had a bit of re-design panic....."Only on the back did I 'complete the box,' oh shit it will fall apart at the first contact of kid butt." I went back and googled kids chairs and most of them had legs with only top stretchers. Re-design panic over, if it falls apart I'll just blame google.  To add some strength I will use a slat seat screwed (thank you Bob) to the top rails. 

More photos to follow as the build progresses, I hope they will be a little more interesting.

ken
 

Sunday, January 03, 2016

Winding Sticks

I have marching orders to build a small table and chair for the grandpeanut's first birthday this month. Not wanting to rush into things I looked around the shop for a little one day project. A small hunk of Mahogany caught my eye, my guess is this hunk of Mahogany has been following me around the country for over 40 years. It was too small to do anything with but too big to throw away. As I looked at it I figured it was the perfect length for a set of winding sticks. Of course a set of winding sticks must have a light/white insert and nothing in the wood pile was what I wanted. Off to the wood store for coffee and to see what I could find.

Found two things that would work, some Holly pin turning blanks and one of the guys pointed out some table saw zero clearance inserts. Both followed me home.

I used the table saw inserts but next time it will be the Holly. The inserts trap sawdust and I tried several things to bring 'em back to white with no joy. they are not bad but the Holly would have worked better.

Anyway here are some photos of a fun little one day project (if you spend a lot the day geeking and playing with the critters) that uses most of your hand tool skills but doesn't require much butt scratching or heavy lifting.


One more:


Click 'em if you want to see 'em.

ken