Thursday, July 24, 2014

Marking The Tenon

Ralph asked if I would document the draw bore of the base.

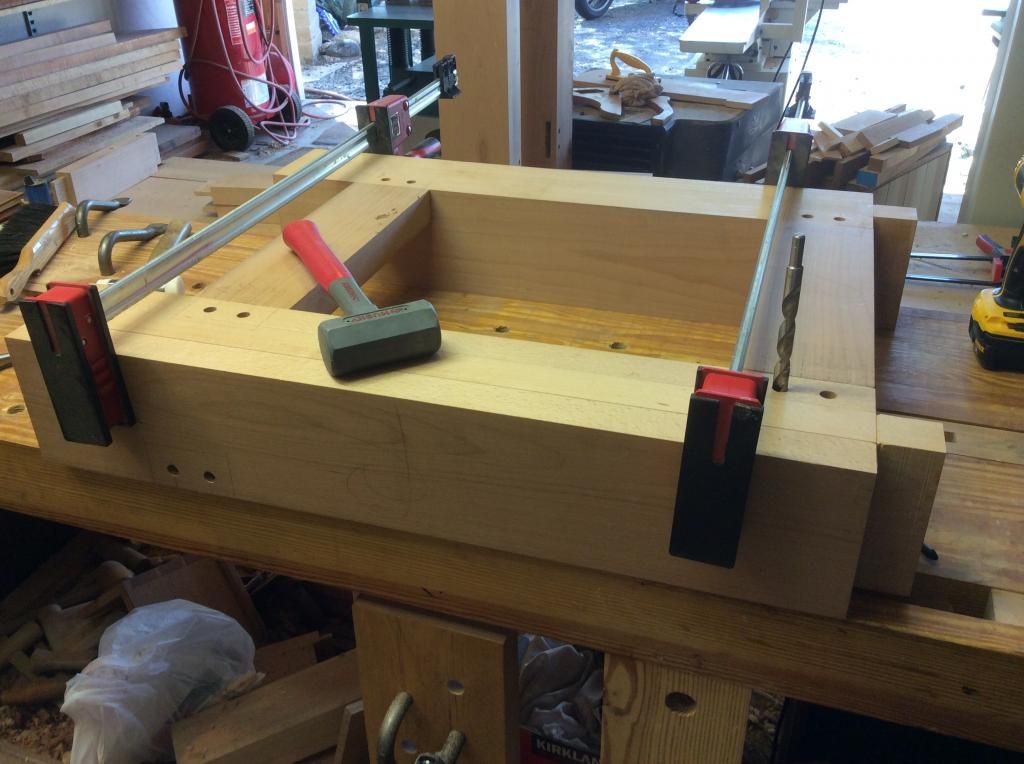
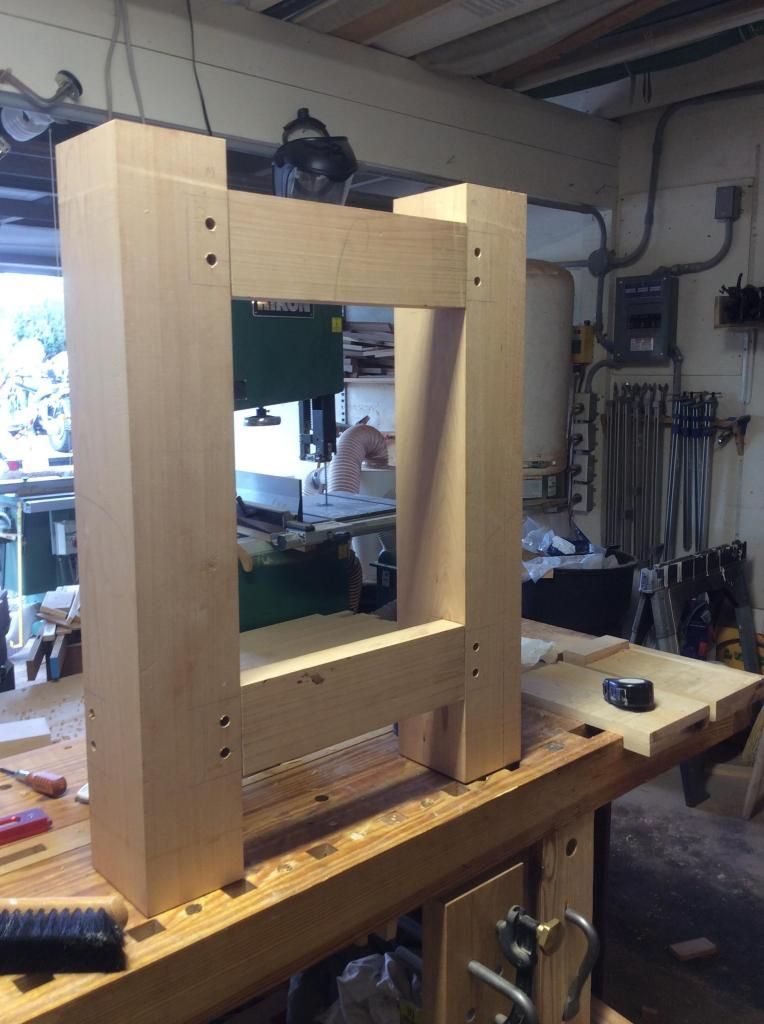
I drill the mortice draw bore holes before chopping the mortices. The next step is dry fitting the stretchers to the legs, making sure everything pulls up tight and square. I like to clamp once I'm happy with the dry fit.

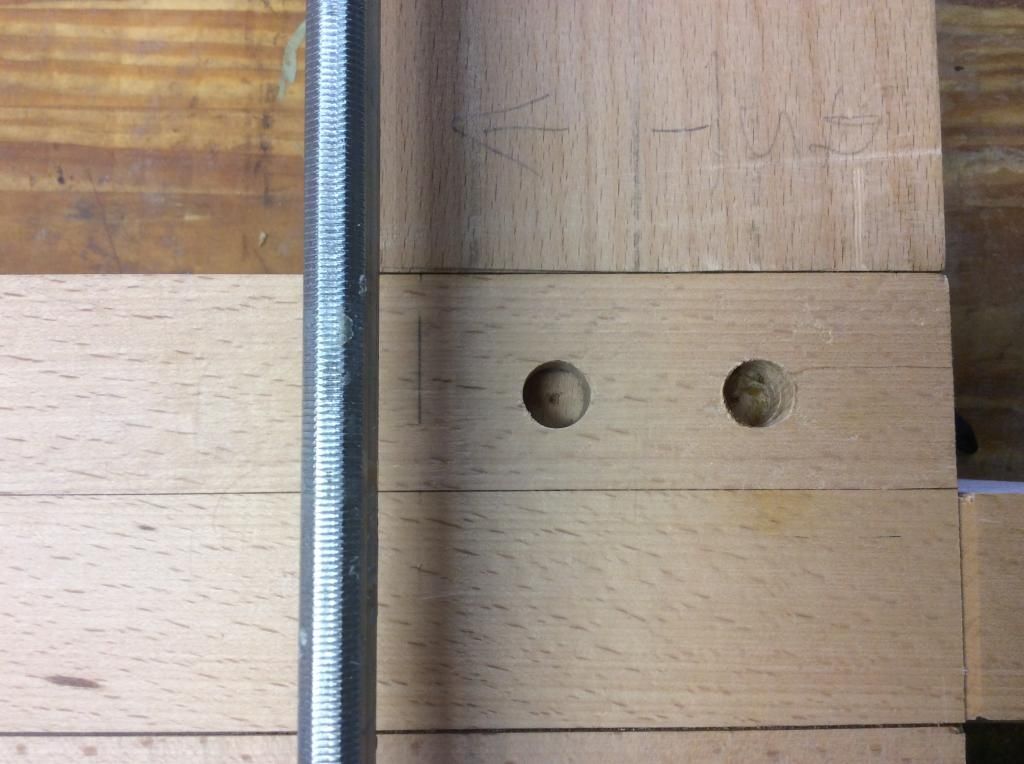
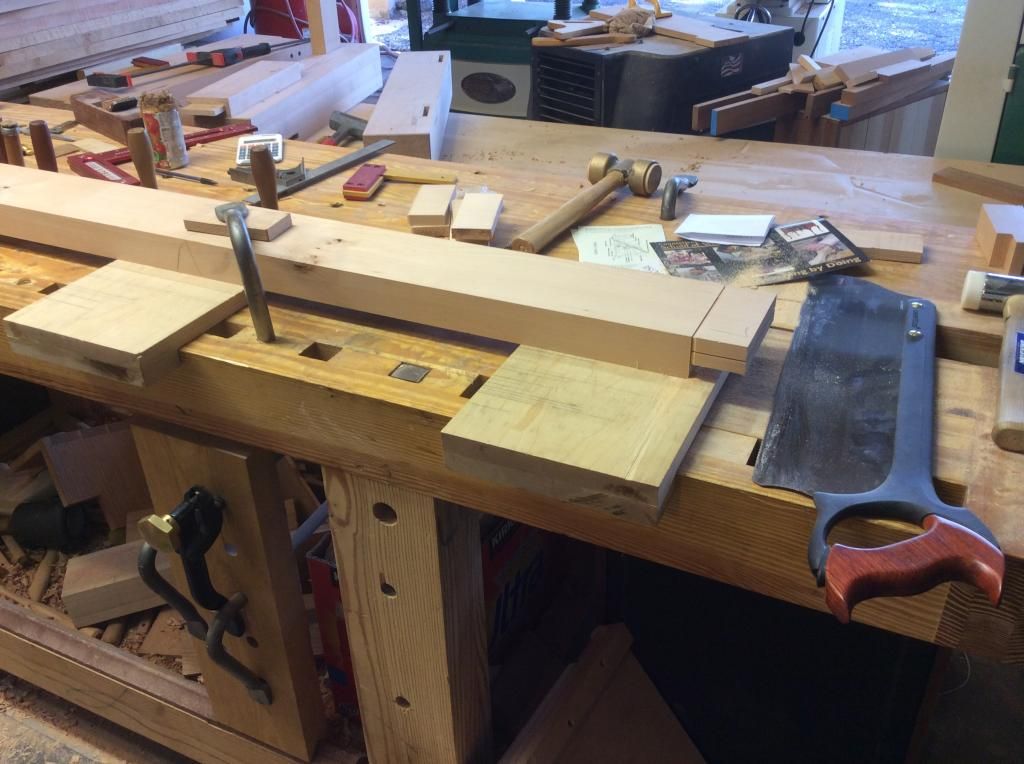
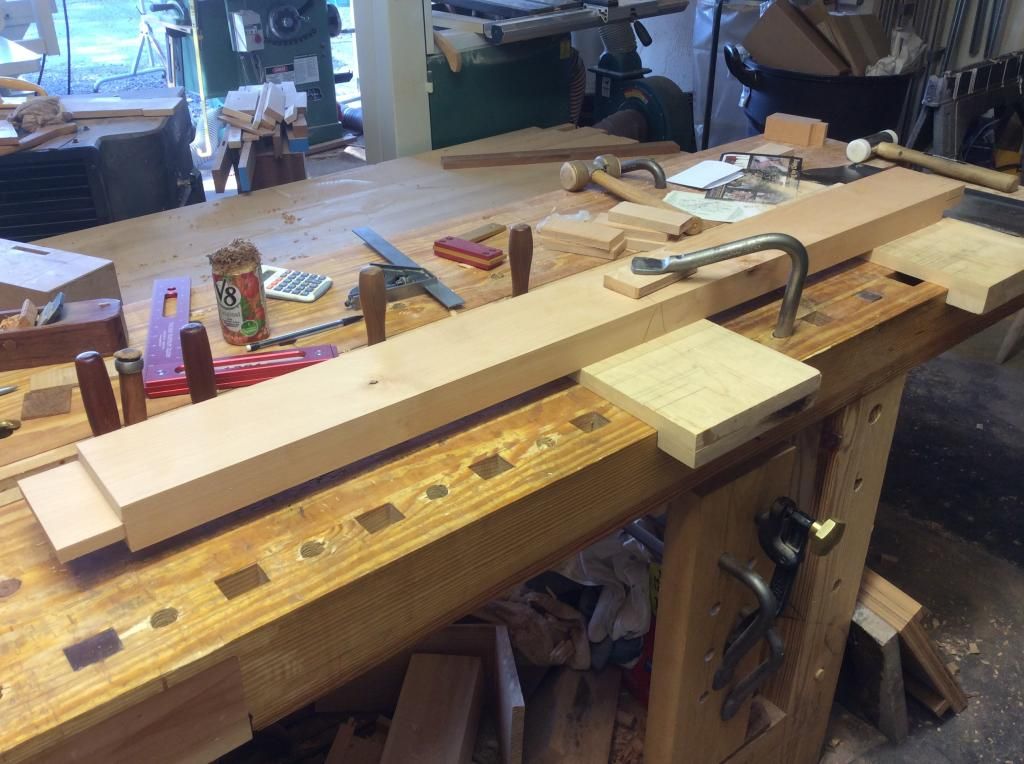
I drilled the mortice holes with a brad point drill, using the same drill I insert it into the mortice draw bore holes and spin a little to make sure it is centered and then give her a whack to mark the center on the tenon. Next is disassembly of the legs and stretchers, using the marked centers as a reference move the center for the tenon draw bore hole slightly (about 1 to 2mm) toward the shoulder of the tenon. Drill the tenons, reassemble the legs and stretchers, making sure everything is square and pulled up tight and clamp it. I will use draw bore pins to help get everything alined and slightly round the tenon pin hole. Once every thing checks, pull one draw bore pin, replace it with a wood pin and drive the pin home. Repeat until every hole is filled :-).

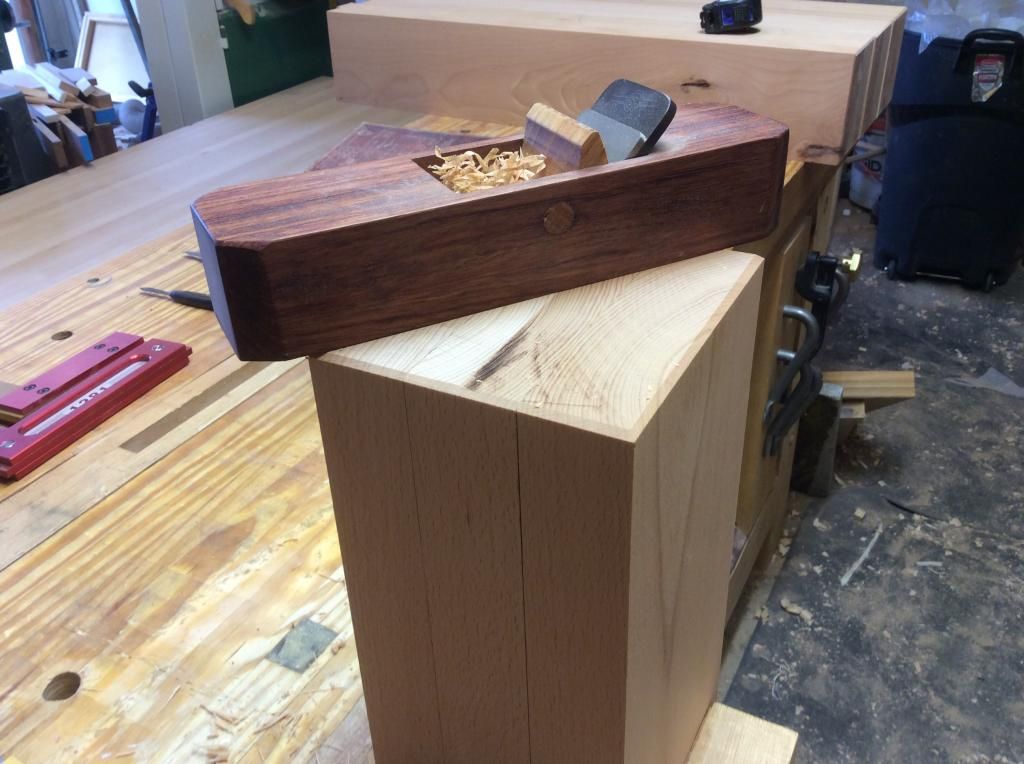
The set up:


The tenon reference mark, make it big to see:


0600 and Sweating Like a Pig

I'm truing the last of the shoulders on the bench legs, just a couple to go but......The sun is barely peeking over the mountains and I need a break. That is Monsoon in the desert, during most of the year once the sun goes down the desert cools into the 70Fs or below and it doesn't really heat up until after 1000.

Not so during Monsoon, the RH is so high the temperature will stay high all night, the last two nights it never got below the low90s-high 80s and mid afternoon temps are around 110F or above. The other problem is swamp coolers are ineffective, it really limits productive shop time.

Enough kvetching,  it is what it is and I'm almost ready to start pining the base together. I have a short Sim schedule today then three off, two long days on, then five off. I should be able to have the bench upright and functioning by the end of the month.

If it works out, the bench build will have been less than six weeks. A couple or three weeks more than it should but in reality not too bad for an old fart that's working full time on the day job as well as keeping Casa Chaos functioning, and entertaining two big stinking and hairy Labs, Sam the Wonder Dog and Sweet Maggie Dog. Life is good.

Tuesday, July 22, 2014

Damn I Have a Flat Forehead

My only excuse is most tenon cheeks I cut are not the size of the ones on the work bench. Without thinking when I went to saw off the tenon cheeks I did it as usual. Secure the leg to the bench, set the saw in the knife line and start sawing across the cheek....As posted earlier: Wrong move Bubba. So this morning I did it as if sawing the tenon, start the kerf across the cheek then down the cheek to a 45 across, flip the leg and do the other side down the cheek to a 45 across and then saw out the pyramid in the middle. Works like a charm.

I still have some chisel work to do on the first leg but that's life. Some day I may have to do something about the flat spot on my forehead.


Monday, July 21, 2014

Last BBQ and a Little Base

I lost a shop day yesterday but it was good to have friends over for food and drink. In this busy world we live in today it doesn't happen often enough. Life is totally out of balance with work dominance distorting our values and life. We started losing our way fifty or so years ago and I'm guessing most of my generational cohorts will need to die for a chance to regain some balance. Enough....When I think about it I can understand going postal.

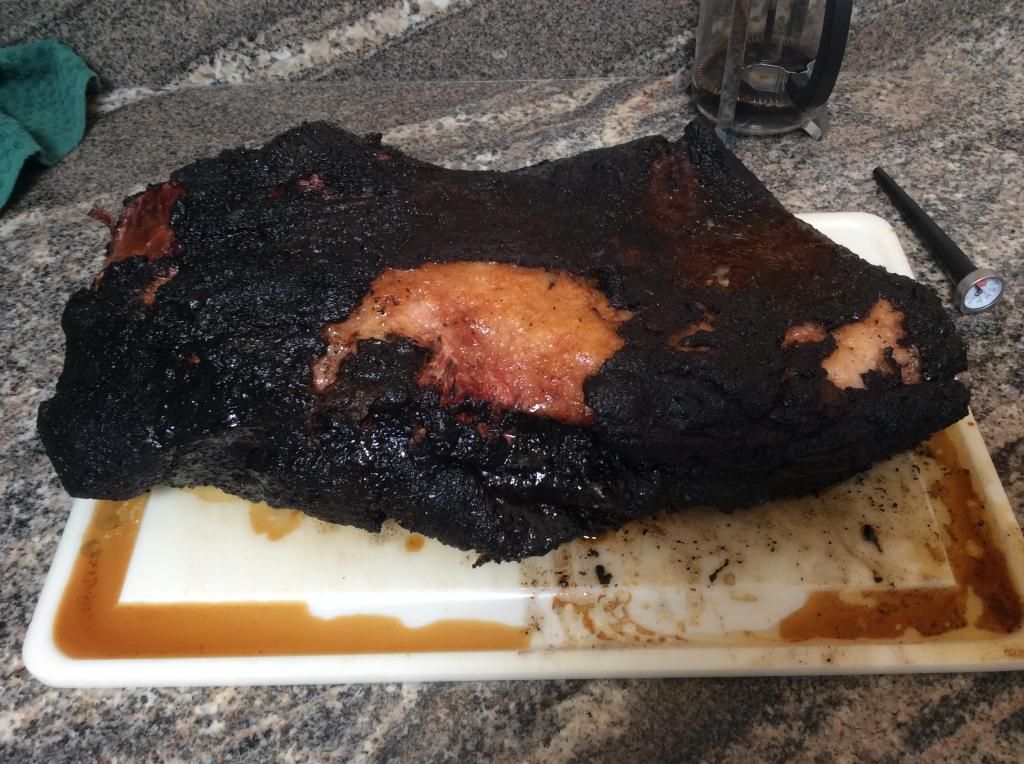
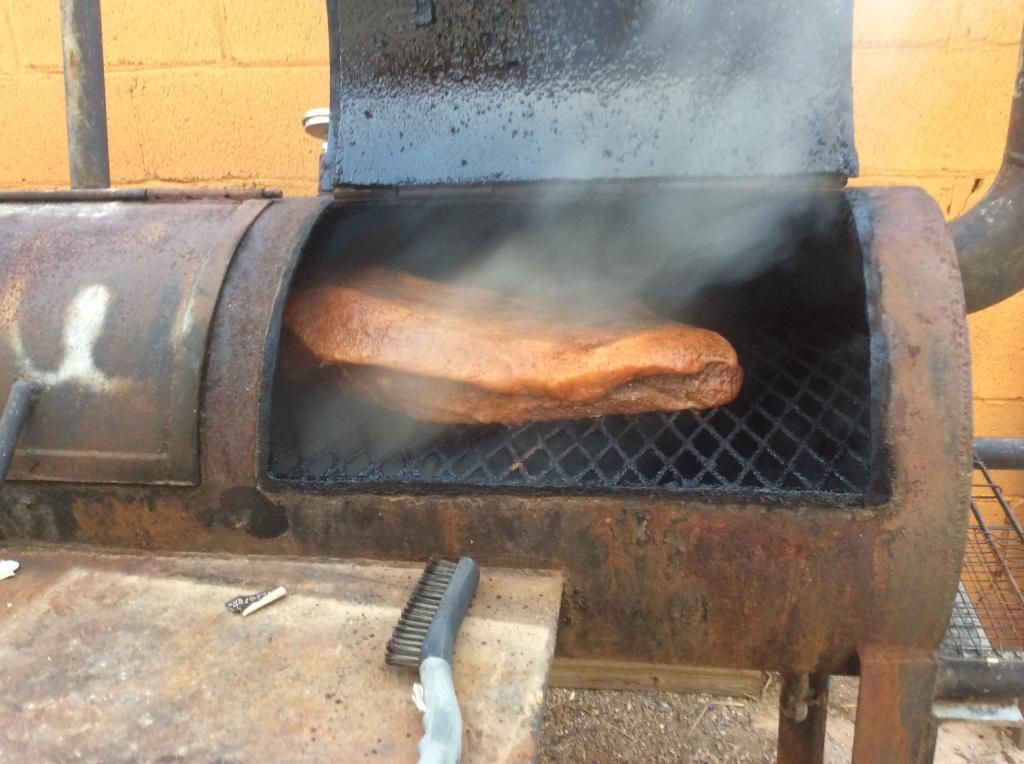
The BBQ brisket was one of the best I've ever done, almost fall off the fork tender, moist and with almost perfect balance of flavors. All the sides were very good, even the ones that shouldn't be close to a plate of BBQ :-). Here is how the brisket looked fresh out of the pit. Shame there are no more photos but I got too busy enjoying and forgot the camera.


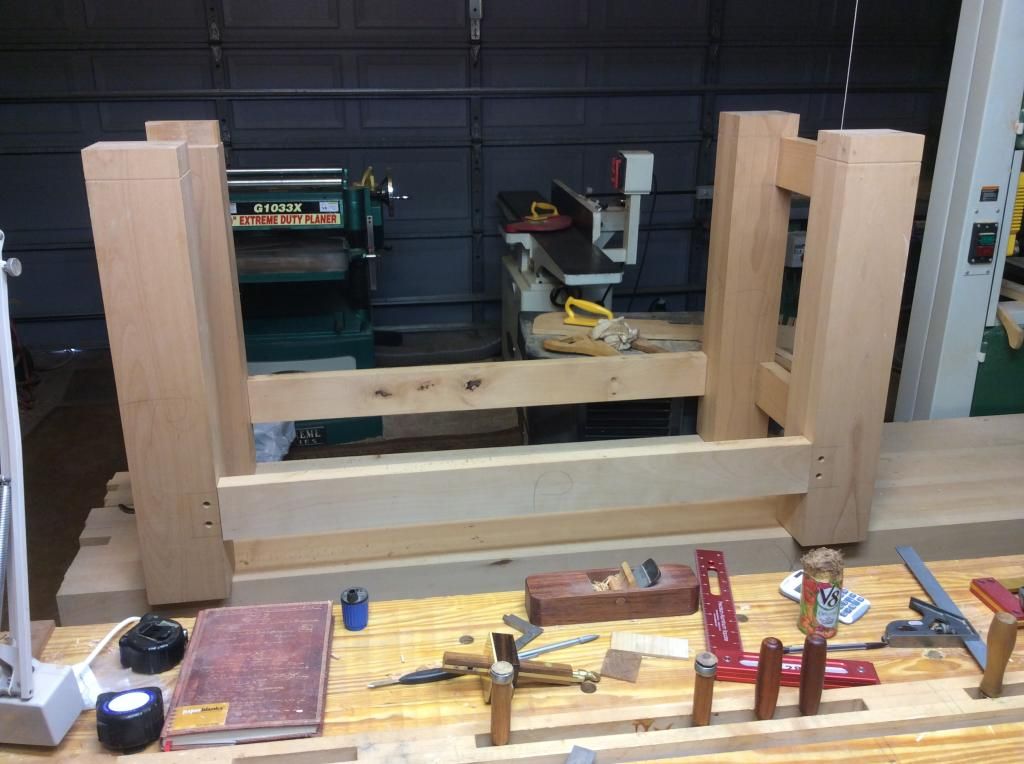
I dry fitted the base this AM just to see how it looks and to take some rough measurements. The base will be 627mm wide and 1463mm long. The top will have a 61mm split and at this time I'm not sure how long it will end up, I'll guess just a little under 3 meters.

I've one shoulder of the base tenons cut. I will need to change sawing technique. My most aggressive cross cut saw is 12PPI and because of the width and depth of the shoulder cut it needs around 9PPI. The saw plate overheated causing the cut to track off line. That is the bad news, the good is it went off line to the waste side and a little chisel work will take care of it. For the next shoulder I will treat it like a tenon cut and saw down the shoulder at 45 degrees, flip the board saw the other side at 45 degrees and then come back an take out the middle. A PITA but I expect less a PITA than the chisel work.

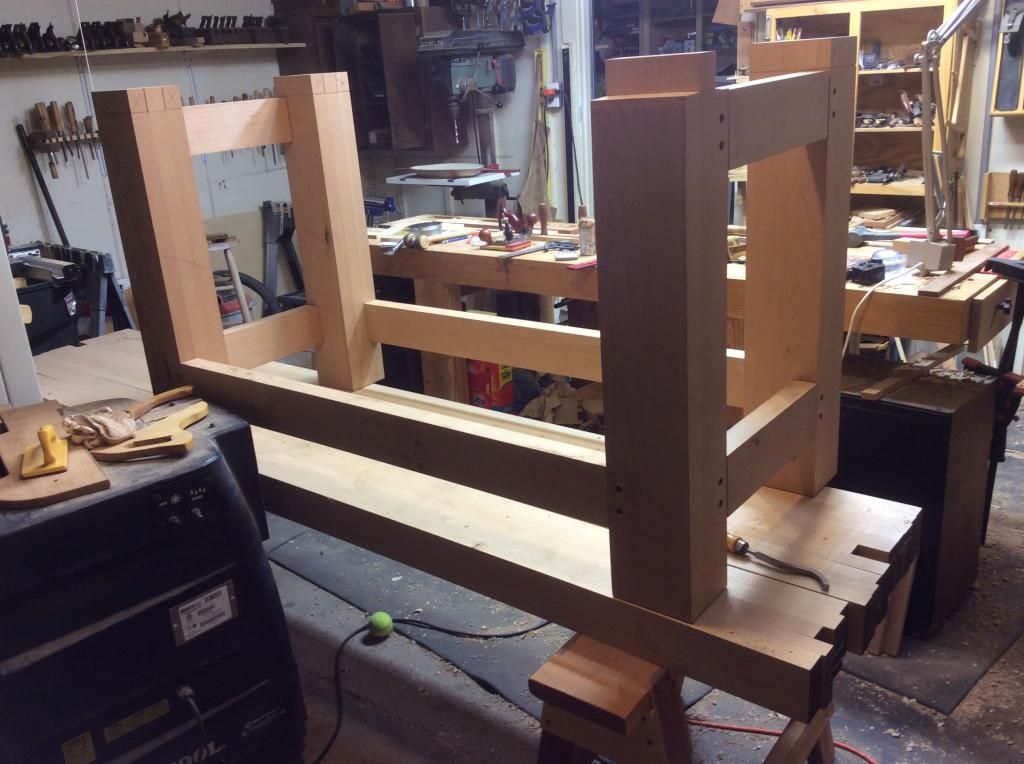
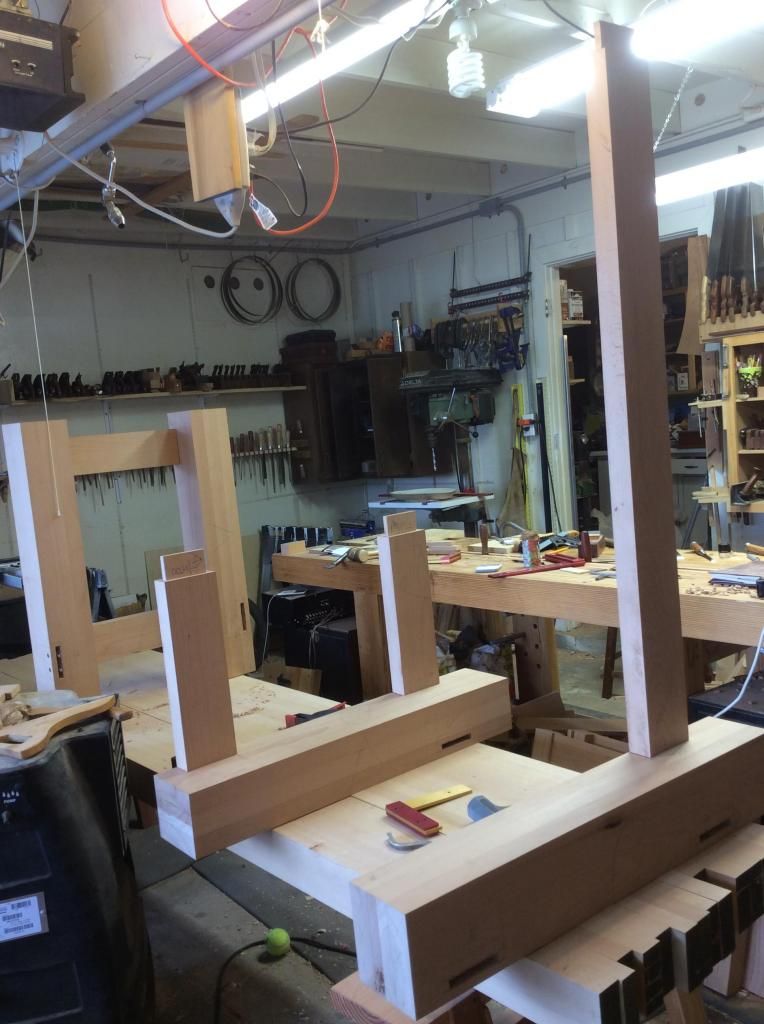
Here is how the base fits together:


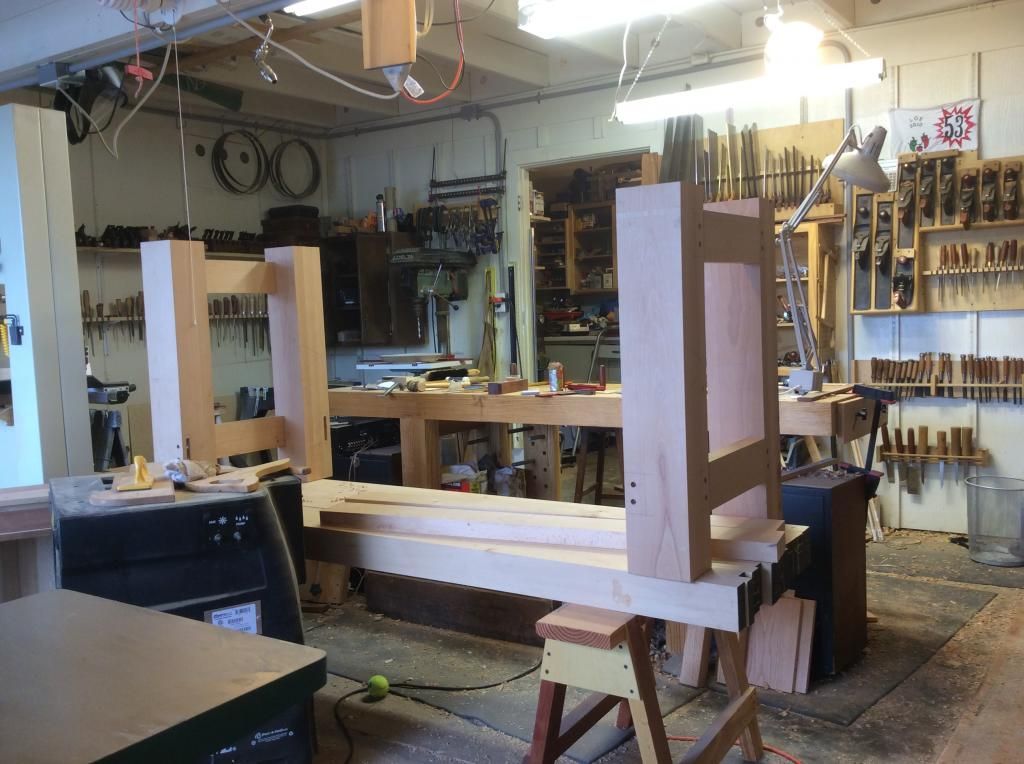
Another view, if you look carefully you can see the off track shoulder cut:


Sunday, July 20, 2014

Sunday Early AM

Started the fire in the pit at 2100 last night, by 0500 this morning the pit temp had settled to slightly over 200F. Here is a photo...real exciting isn't it :-).


I put the "rub" on the brisket and had it in the pit by 0530 and here is the way it looked at 0600. Now all that needs to be done is to monitor the pit temp, keeping it between 200F and 215F and adding a hunk of Oak as needed. I expect the brisket will be done around 1400 to 1500 this afternoon.


I'll throw some chicken on later and add a few links when the brisket is almost done. I could forgo the chicken and even the links but.....SWMBO has her requests. 

The beans are cooked, I will make a BBQ sauce for the table, the meat will be served "dry" so you can add sauce if you like. Make the Slaw, cut a few sweet onions and my job is done. It doesn't get much better.


Saturday, July 19, 2014

BBQ Tomorrow

I've fired up the BBQ pit at 2100, over the next 6 or 7 hours I'll tend to it making a good bed of coals and stabilizing the cooking area at 210F. Once I'm happy with the temp and can keep it stable with just a couple of hunks of Oak burning I will put the brisket on followed much later with some sausage and chicken. This is an 18 lb. brisket, I expect it will take 7 hours to cook. There is a big pot of beans cooking and I will make some slaw as well. Add some sweet onion slices and a bowl of jalapeƱos on the side and there will be a Texas meal to die for. BTW photos to follow.

All of this is for a friends B-Day and I expect MsOK will add some things that are not traditional, what can I say....She's not from Texas and heresy of heresies she stated not everyone likes BBQ brisket. Wash her mouth. One other MsOK heresy, the BBQ will be served on plates instead of butcher paper.

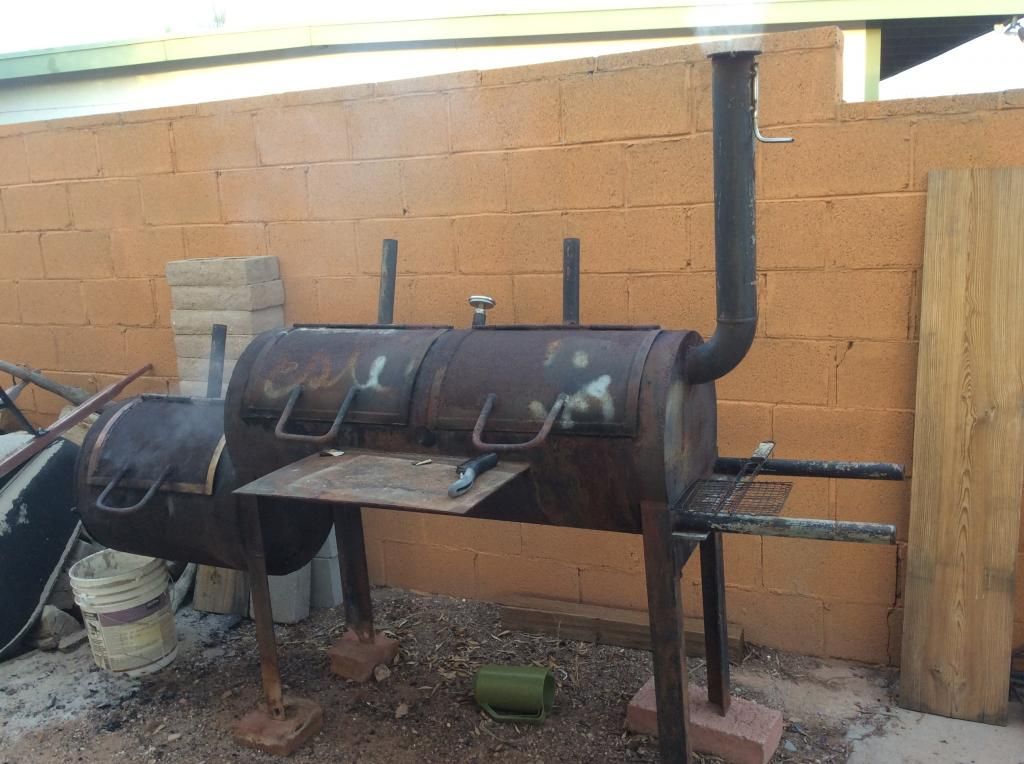
I made the pit I'd guess twenty or so years ago out of scrap pipe, I had enough to make three pits, two were built. One for me and one for the neighbor that helped with the build. The third was never built. While it is not as good as a traditional brick pit with a fire box and a metal lid it has worked very well. It will hold a temp with minimum attention and wood use is low for a metal pit.

If I could reproduce the City Market in Luling's sausage I could save the 2000 mile round trip BBQ run when I get a hankering for BBQ.  

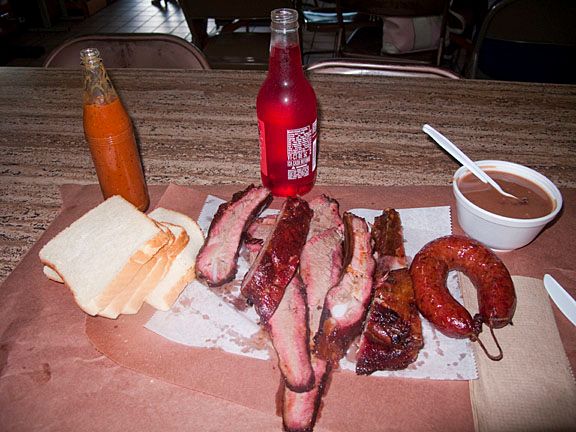
Here is how a Texas BBQ plate should look:

Friday, July 18, 2014

The Last Shoulder Cut

I haven't done much documentation just mostly photos of completed or near completed stages. That will change a little if I can remember to stop and take photos during the assembly stages.

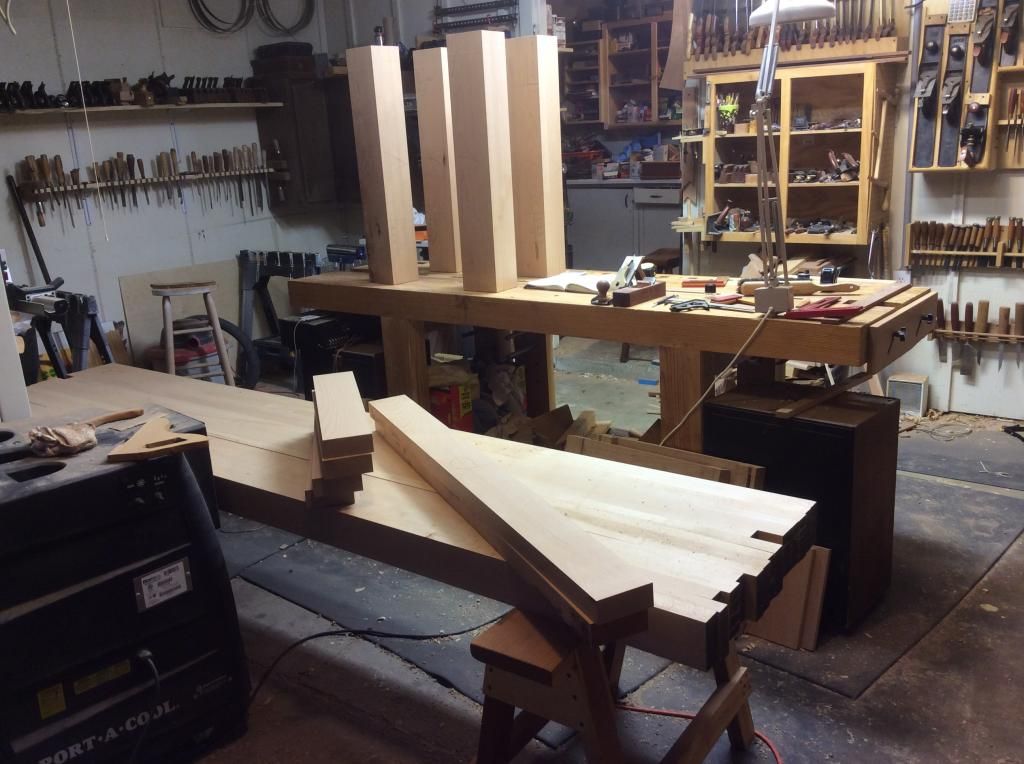
This is the set up for the shoulder cuts on the stretchers and the last of the set. Next up is cutting the leg tenons. I'll start defining the shoulders on the legs today but I expect it will be saturday before I have the leg tenons finished, work gets in the way of life.

I have to do my every six month fly the Sim even if I don't want too this afternoon. With two old, deaf, and blind guys up front and one just as bad on the panel it can get ugly. Oh well, once it is over it is over for another six months.


Another view:


Thursday, July 17, 2014

The Final Fitting

I'm truly getting close to having a work bench base. Today I'm cleaning up the tenons, truing the shoulders, and getting rid of all the nasty bits on the tenons and in the mortices.  None of it is hard, it just takes time and attention. Once I feel every thing is ready I'll reassemble the base, make sure all the joints pull up square and the base is square and true. When I'm happy with the assembly then it is just marking the location for the draw bores on the tenons and drilling them. Then reassemble the base check everything once more and when satisfied drive the pins home.

This base will be like the last one built, no glue just draw bored. There are a lot of advantages to draw boring. A big one is assembly, there is no rush just a leisurely putting together of Tinker-Toys. Another is the joints are not super critical as there are no glue surfaces, Everything is held together mechanically and is super strong. And last if you somehow screw the pooch, you can take it apart and redo the mistake.

When the base is completed I will be able to mark the mortices on the slabs. If I could put a couple of days off in a row together the bench could be upright by next week. It ain't going to happen though, work just called and I need to fill in for someone on Saturday. Stuff happens.


Wednesday, July 16, 2014

In the Short Rows

I like to tell myself it is getting close....BS of course because the trimming, finding the ugly bits in the mortices, getting it to all square up and finally driving home the draw bore pins will take some time. But if you squint it is starting to look like a work bench base. Once the base is finished I will mark out the mortices on the slabs and drill/router/chisel as needed to fit the base. That part will go fast. Once the base is connected to the slabs I'll add the Paramo #52 face vise, find some muscle to flip it upright and drill a few 3/4" round holes, add a lower shelf, a bench jack and that will be about all....At least until I find something else is needed.

BTW, I will not know if it will be flattened by hand or router and sled until it is upright and I can see any wind, hollows, or bellies. Small amount to remove it will be by hand but the old router sled is there if needed.


Sunday, July 13, 2014

LN and O1 Iron

I finally broke down and ordered a LN smoother the other day. I was surprised when I requested it be shipped with an O1 iron instead of the normal A2. The CSR helping me said they had sold the last of the O1 irons last week and would not be carrying O1 in the future. When I asked why she said they had received too many complaints about their O1 blades. Strange, I have several LN planes all with O1 steel and no problems other than sometimes the back isn't as flat as I like when you receive them. That's a pretty minor problem, I wonder what caused LN to stop O1 production.


BTW, the effect is to up the price of the LN planes because I will send some love to LV and replace the A2 LN iron with a LV PM-V11 or O1 iron. Any one like to buy a new nice and thick A2 iron for a #4.  

First Set of Legs

I put a set of legs together last night, just to see how they look. I still have some final trimming to do so the shoulders will pull up flush, I expect there are some nasty bits in the bottom of the mortices, but will take care of final fitting and cleaning out just before I pin everything together.

If MsOK will leave me be, if it happens it will be like the virgin birth, I will have the other set rough fit tonight and will finish up the base during the week. If I'm honest with myself a good timeline is finishing up the base next weekend.

This is like going on a long road trip, enthusiasm runs out about an hour before the trip runs out. I'm ready to get this sucker up-right and go back to work making furniture and do I have a pile of that lined up to finish and even more to start.


Saturday, July 12, 2014

I Lost a Couple of Days

I had hoped to finish the bench or at least get it up-right by Sunday, will not happen because I lost a couple of days. One driving up to Alpine with a friend and yesterday because of work....Not a biggie, stuff happens. The way it looks now I hope to be up-right the last week of the month, it should be a good time table and still not too bad productivity, six weeks from milling the first board to being up-right. I can live with that.

I'm in the shop today and will be tomorrow fitting stretchers to the legs. It is pretty slow going for no other reason than every thing is big, heavy, thick and the shop is hot. Once all the stretchers are fitted, I'll pin the draw bores and place the base on top of the slab to mark the mortices. I figure the slab mortices will be about 45mm wide, 60mm deep, and 125-130mm long. I still haven't figured out "how". I don't have a 45mm pig sticker :-), I do have a bevel edge chisel in that range that could work or maybe a electric router. I hate electric routers with a passion normally reserved for bible thumpers knocking on my door but this may be the time to blow the dust off one of 'em, a routers not a bible thumper, and go at it..

Friday, July 11, 2014

HWY 191 aka The Devil's Highway

Where to start? As some know I have quit riding motorcycles, the helmet, boots, and Motoport riding suit have been hung up and the '08 Honda Goldwing aka the Dirty Fat Girl along with a couple of other motorcycles are for sale. For my wind in the hair, smell the world, cheap thrill replacement I picked up a Mazda Miata.

Yesterday I had a hankering for some Bear Wallow Cafe beef and veg soup. A friend was already in Morenci, the kickoff point for the Devil's Highway north bound and he has wanted to make the run since I got the Miata. Works for me: Top down at 0800 Morenci at 1100 Alpine a little after 1300. A big bowl of soup, some BSing and a little after 1400 we split, my friend going on to Pinetop to spend the night and I headed south back down 191.

A little about HWY 191 aka the Devil's Highway because at one time it was HWY 666, and is aka the Coronado Trail. by what ever name it is a motor sport treasure. HWY 191 runs from Douglas on the Mexican border up through Flaming Gorge Utah, Yellowstone, and on to Canada. This part from Morenci to Alpine is ninety-one miles of constant curves, everything from 1st gear peg draggers to 100 mph sweepers. in that ninety miles the elevation changes from about 3000' to 10,000' and back down to 8,000'. The road runs north/south along the AZ-NM border. Yesterday along with the usual vistas we saw beside the road a small heard of Elk, a good number of deer, a bunch of Big Horn Sheep, a gaggle of Wild Turkeys and maybe a 1/2 dozen cars total going in each direction.

Bottom line....It was good to take a break from the bench build, the Miata was a blast, just as much fun as the Wing, different but just as much fun and the time to run from Alpine to Morence was 1:50 almost to the minute what it would have taken on the Wing.
  

Tuesday, July 08, 2014

One Leg Done, Three To Go

One leg is done, three more to go....Nine mortices left and the shop is already hot and the sweat is poring. Monsoon is here, the RH is in the 60s so instead of sweat drying and cooling it just runs over your glasses. Head bands help a little as does the tail of your shirt and lots of glasses wipes. That's the bad news about Monsoon, the good is it is about half our rainfall for the year, and it cools afternoon temps down into the 90s.

It will be slow going for the rest of the day, chop a little, clean glasses, chop a little more, take a long cool the core break, go chop some more.

See you on down the road.

Monday, July 07, 2014

Loves Me Some Pig Stickers

I finally finished marking out the legs and drilling the drawbore holes for the mortices. I even have started chopping mortices but....the afternoon temperature will soon run me out of the shop until early evening.

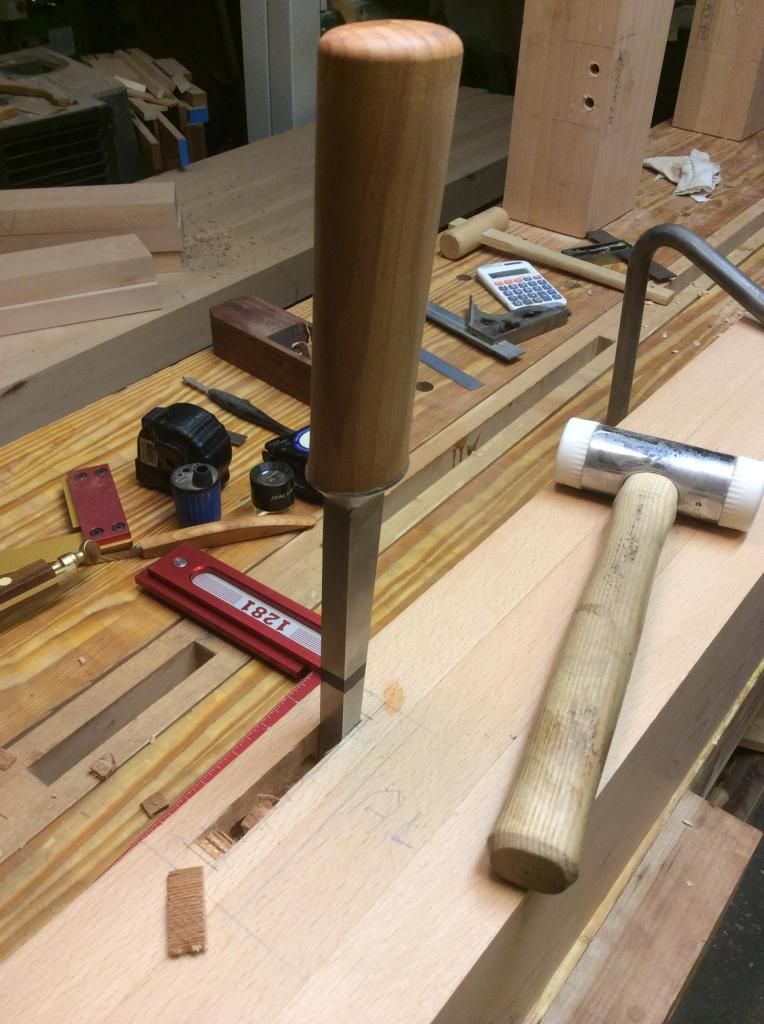
The real reason for this post is to praise the English "Pig Sticker". The mark on the chisel is at 60mm and this is the first pass. I'm about 30mm deep or half way to desired depth. It may take two passes to finish the mortice off if I back off a little for fine control as the chisel nears planned depth or I could just go for it as there is plenty of wood between the bottom and the other side. This is without being heavy handed, nice controlled chisel hits so as to keep every thing going where wanted. It doesn't get much better. The pig sticker is a Ray Iles chisel from TFWW , one of the best buys in woodworking.

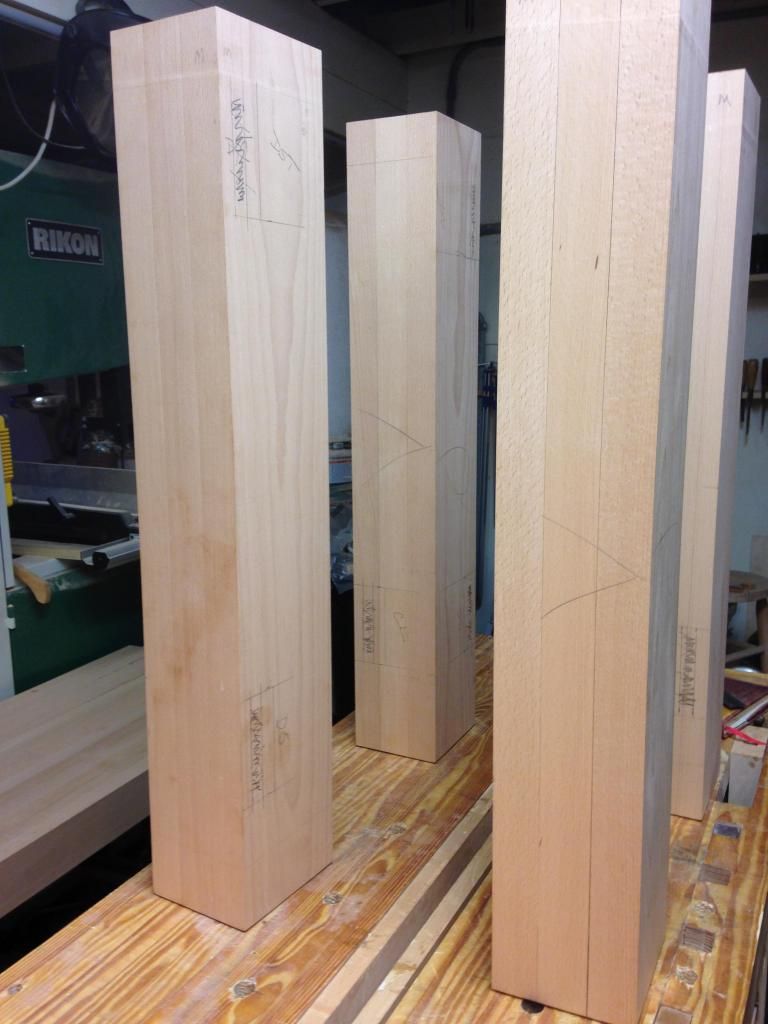
Here are the legs marked out and drilled for drawboring:


Here is the pig sticker in action:


I don't know if you can see the chip near the mortice but that is the normal chip from each drive. It doesn't take long to chop four mortices, I expect it is faster than setting up a hollow chisel mortice machine. On something with as many mortices as this workbench the machine would be faster but I'll bet not by much.
 

Marking Out

I spent the early AM, before it gets so hot sweat gets in my eyes, marking out the legs of the bench. I don't know about anyone else but the marking out phase is where I worry the most. No real reason to other than a mistake, a wrongly placed line or mark, can really ruin your day when the chisel or saw hits the wood. It is a measure twice, mark once process for me. Then once finished walk away and have a cup of coffee or tea, geek a little, anything to spend a little time away so when I go back to the shop I'm looking at the marks with fresh eyes and seeing what's there not what I want to see.

Back out to get up close and personal the the 1/2" pig sticker. BTW, I know it is strange but chopping mortices with a pig sticker is one of my favorite processes. It is almost Zen like, place the chisel, whack it with sensitivity, push to remove wood that is not mortice, do it again until everything that is not a mortice is gone.  Rinse and repeat.


Sunday, July 06, 2014

Bench Parts

I've finished with the machine work. All the parts are trued and dimensioned. The slab and legs are glued up. The rest is hand work. Sixteen mortices to chop and sixteen tenons to cut, sixtyfour draw bore holes to drill and then put it all together like a puzzle. I did a quick back of the envelope calculation and I expect the finished bench to be just under 500 lbs.

I've also finished up the hard part, marking the location of the mortices. No matter how many times I do it, it still gives me the willies. Not much worse than chopping a mortice in the wrong spot, makes for a hard recovery.

BTW, I don't know about you but if I squint I can almost see a finished bench :-).

Saturday, July 05, 2014

Love Me Some Wood Stock Plane

Damn, every joint and muscle in my body is rebelling, I keep telling 'em just one more job to go before taking a break, they are screaming "no mas, no mas".  I expect this will be my last work bench build with out a helper, the old body can't take moving and working on work bench sized slabs and legs any more.

The slab is finished, the legs are ready for cutting and chopping the joinery. MsOK comes home tonight near midnight so work on the bench may be slowed for a day or two but if not the base should be ready to join the slab in a couple or three days and the bench standing in a week. But as you know, the best laid plans.......

Cutting the chamfer on the bottom of the legs reminds just how useful a small wood stock plane can be. A block plane does OK and even a #3 will work but my wood stock plane sings. It is the same with shaping the edge of box lids and bases and table tops. It is worth building one if for no other use.


Friday, July 04, 2014

Getting To The Short Rows

I had some help this AM and we got the slab ready for mounting to the base. I expect once on the base there will be some final truing but it is close unless the slabs decide to do stupid wood tricks over the next couple of days.

The first two leg blanks are in glue up, once they are off the bench top I will glue up the other two and start the base joinery. If left to myself I'd have a finished bench by Tuesday at the latest but that is not to be....MsOK returns from visiting the kids in Austin and Houston Saturday evening, I'm not sure when she goes back to work but until then I'm sure to have entertainment duties.

BTW, 10' of 230mmX100mm Beech is a heavy sucker, even the small slab at 190mmX100mm is enough to do your back in for a week. I'm glad I decided on a split top, I'm not sure two OFs could handle it if it were 600mm wide.


Thursday, July 03, 2014

Bench Curmudgeon

The base of the new bench will be Beech, the local wood store has a 25% off sale on Beech add in another 15% for buying more than 100 BF and it gets pretty reasonable. In fact cheaper than any of the usable domestics, so a little over 100BF of 8/4 Beech followed me home this morning. I broke it down off the bed of the truck so I only had to move four 10' boards from the truck to the wood rack. Still by the time I started breaking the Beech down the temp was in the mid 90s with a mid 20% RH. By the time I finished it had kicked my ass.

I've a helper scheduled for tomorrow to true and dimension the slab, the guy I had helping me last Sunday went into tachycardia that evening. Hope this bench build doesn't end up killing someone.

The design of the bench has been pretty well set from the get go, the only real questions were split top or not and what wood for the base but the voyeur in me can't help looking at what others are doing. Maybe I don't understand folks reasons and yes I know different things blow different people's skirts but damn it seems most of the benches are not being built to work wood but to see how many gadgets the builder can add to his/her bench.

I admit to trying many of the "must haves"....leg vises, wagon vises, sliding deadmen.  You name it, with the exception of the classic Scandinavian tail vise, I've tried it. Most just add clutter to the bench and get in the way of working wood.

The new bench will have a Paramo #52 face vise, some dog holes, an asymmetrical split top, and I will make a bench jack for the few occasions a jack or sliding deadman is handy. There will be no tail vise, wagon, or otherwise. With the face vise, a few different bench stops, some battens and holdfasts I can hold just about anything I want to work on easier, quicker and with less monkey motion than I would be able to on almost any of the benches I see being built.

Damn I'm becoming a bench curmudgeon...Hey you kids get off my rocks, back in the day we didn't need no stinking vises, we held our work with our toes, let me tell you...........

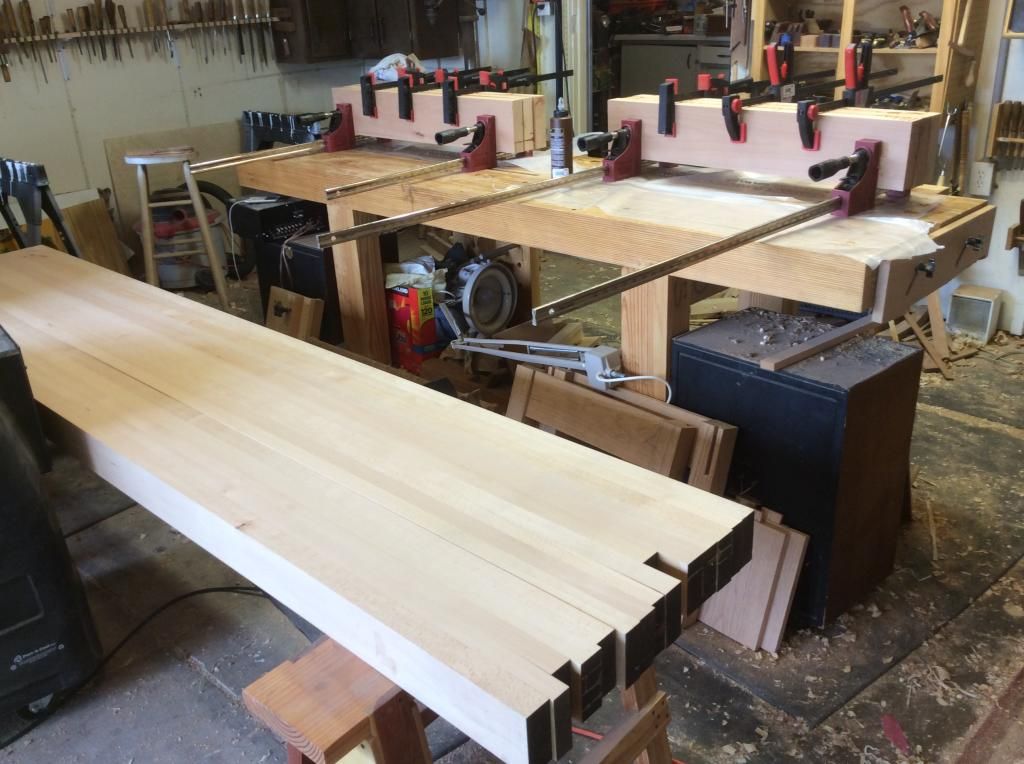
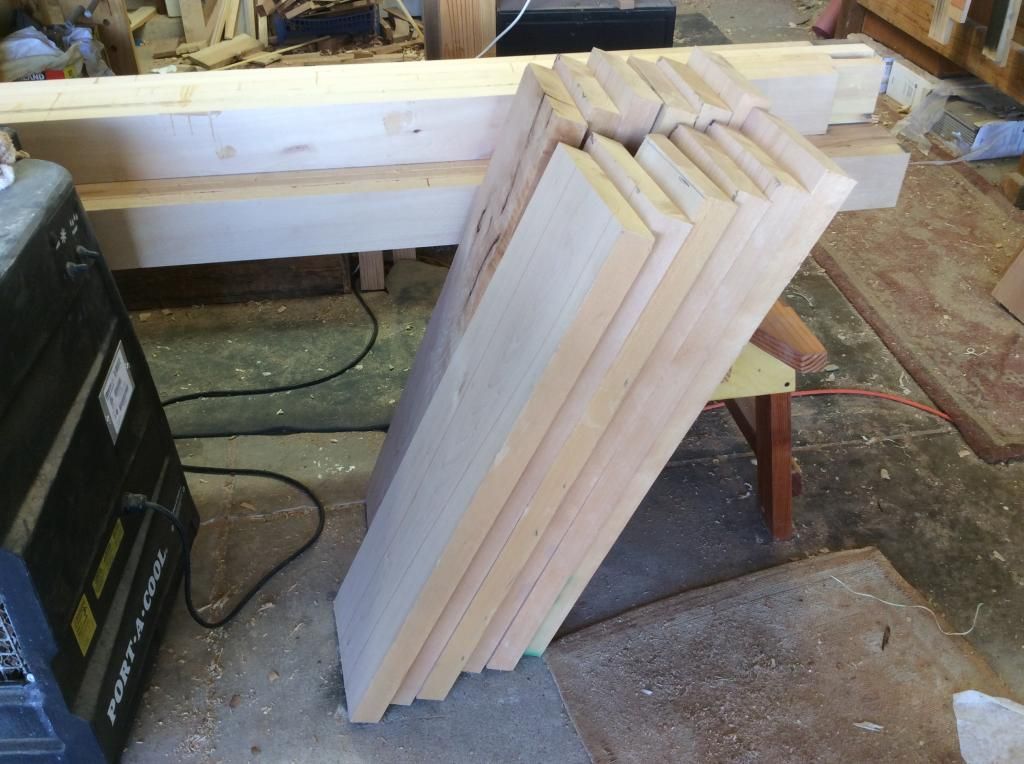
Back on my meds, the leg blanks rough cut, waiting to be rough dimensioned, trued and glued: