I drill the mortice draw bore holes before chopping the mortices. The next step is dry fitting the stretchers to the legs, making sure everything pulls up tight and square. I like to clamp once I'm happy with the dry fit.
I drilled the mortice holes with a brad point drill, using the same drill I insert it into the mortice draw bore holes and spin a little to make sure it is centered and then give her a whack to mark the center on the tenon. Next is disassembly of the legs and stretchers, using the marked centers as a reference move the center for the tenon draw bore hole slightly (about 1 to 2mm) toward the shoulder of the tenon. Drill the tenons, reassemble the legs and stretchers, making sure everything is square and pulled up tight and clamp it. I will use draw bore pins to help get everything alined and slightly round the tenon pin hole. Once every thing checks, pull one draw bore pin, replace it with a wood pin and drive the pin home. Repeat until every hole is filled :-).
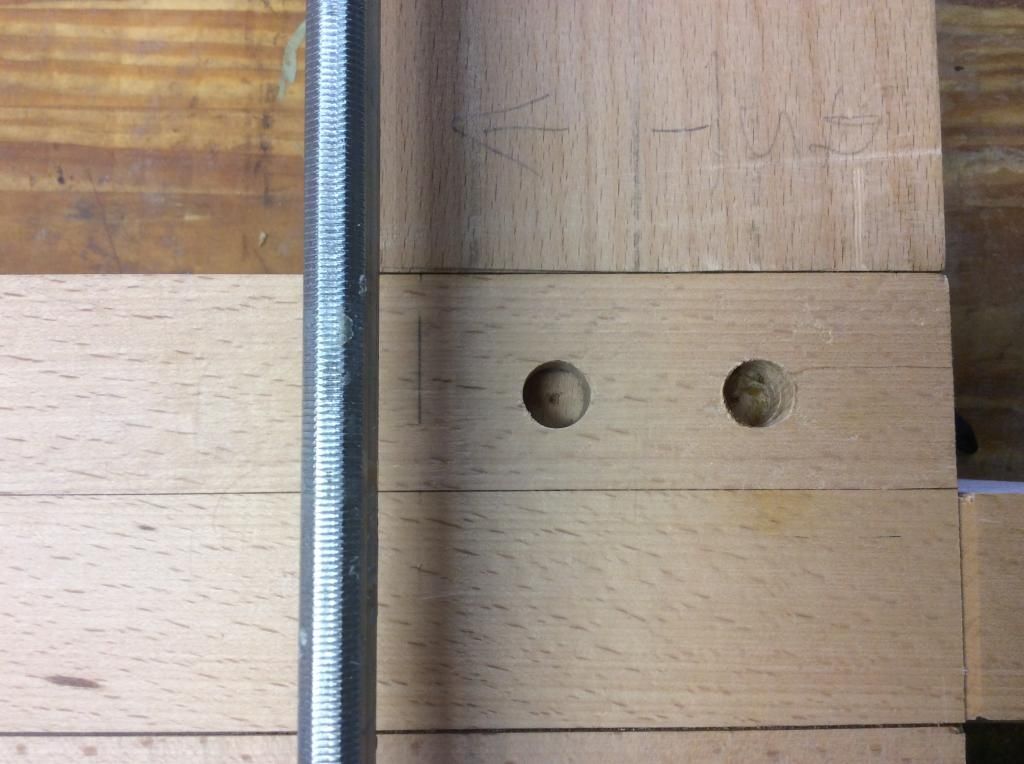
The set up:

The tenon reference mark, make it big to see:
Hi Ken,
ReplyDeleteI got to wait until I get home to read this. At work for some unknown reason I can't view your pictures. I'm thinking of using draw bore on the dining room table I'm making for daughter #2.
Ken have you ever done this without using the draw bore pins? I can't understand the use of them. It seems to me that they will round out the hole and make it loose.
ReplyDeleteRalph,
ReplyDeleteYes, more often than not. I only use the draw bore pins to help pull the joint up tight if needed. The slight rounding of the tenon bore hole is a feature, not a bug. It can help with getting the wood pin started through the tenon.
Remember once the wooden pin is seated it does not go straight through, if you could see it from the side it would have a slight concave bend in relation to the shoulder line.
ken