Saturday, January 31, 2015

Working on a Coffee Table

I've been working on a new coffee table. The base is some beech left over from the bench build, I'm not sure of the top but I expect it will be either Walnut or Cherry.

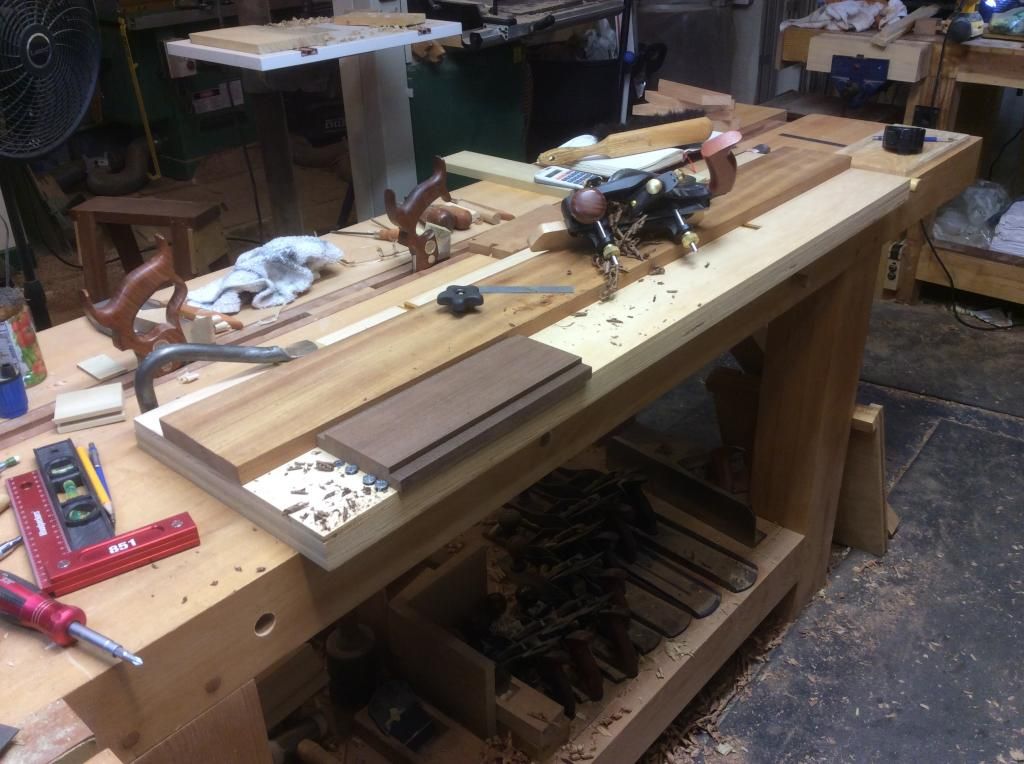
The mortises are chopped, the stretchers are cut to size and tenons sawed. I've fitted one stretcher to the legs, only three more to go. I'm not sure how I will shape the legs but I'm thinking mostly rounding with a curve from the inside to the outside. As of now I expect the top will be semi-floating.

Can you tell I've only a vague concept in mind and designing on the fly. The two goals of the build are bullet proof strong but light in weight and to the eye.

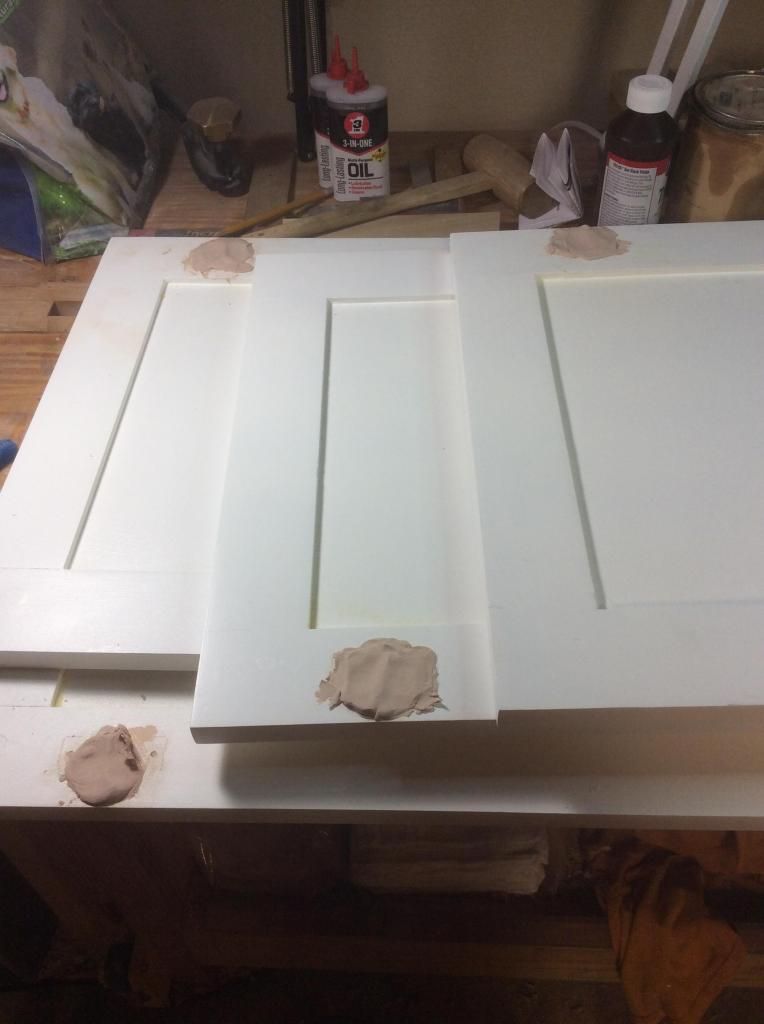
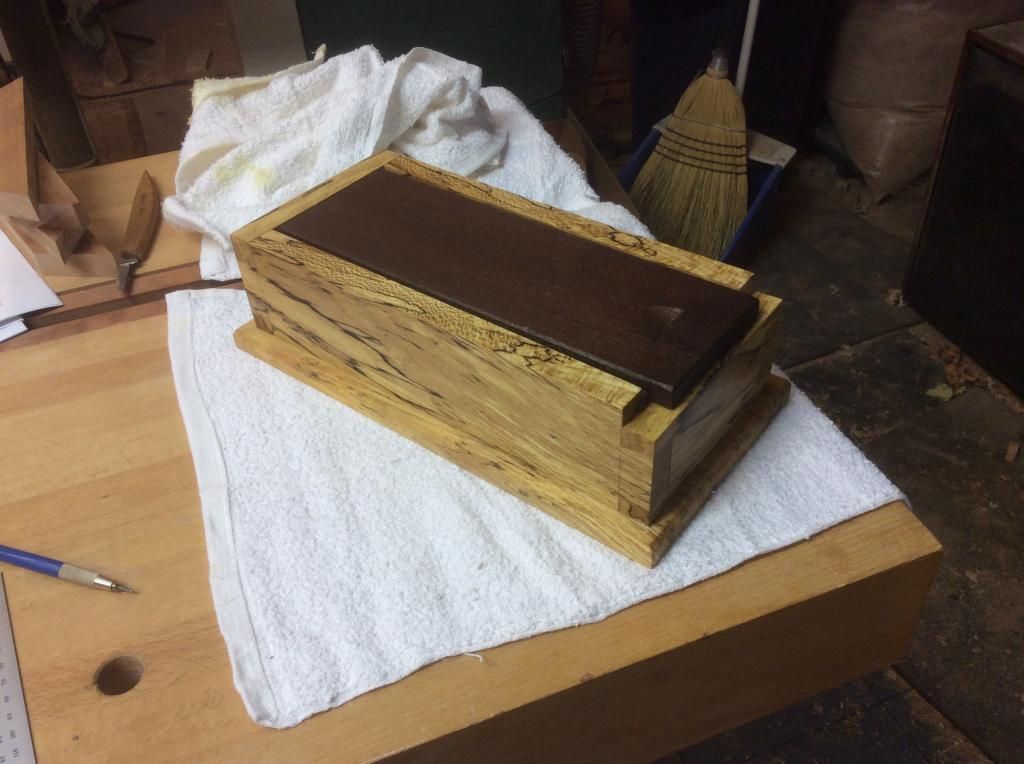
Here's a photo of one of the fitted tenons just because:


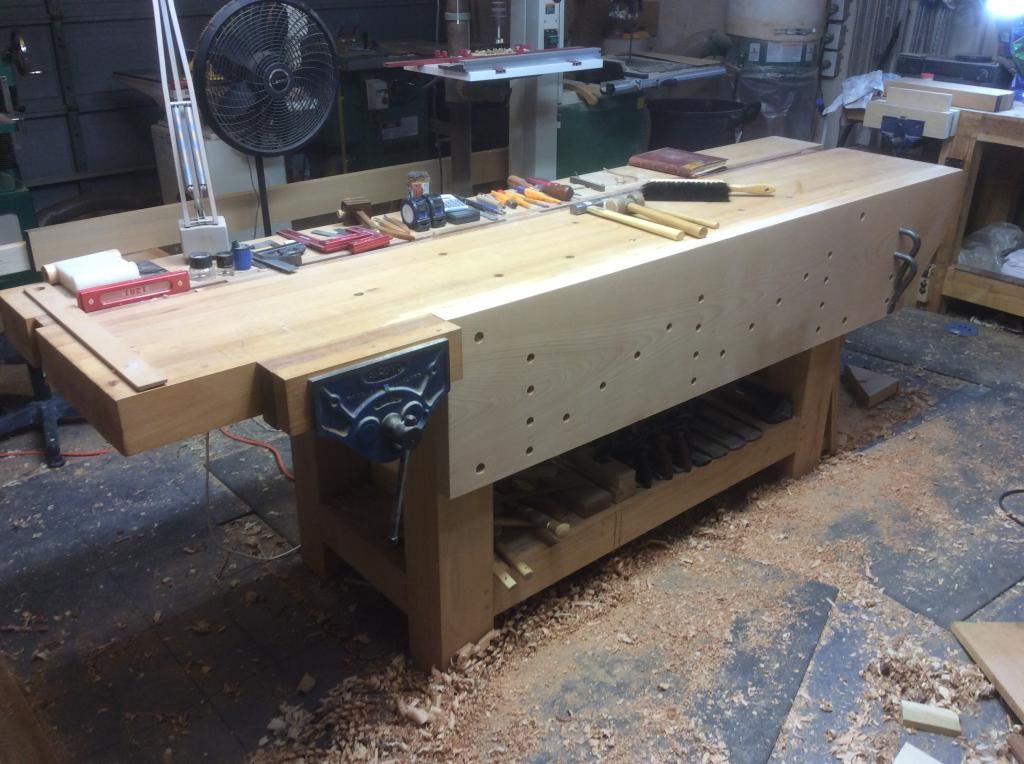
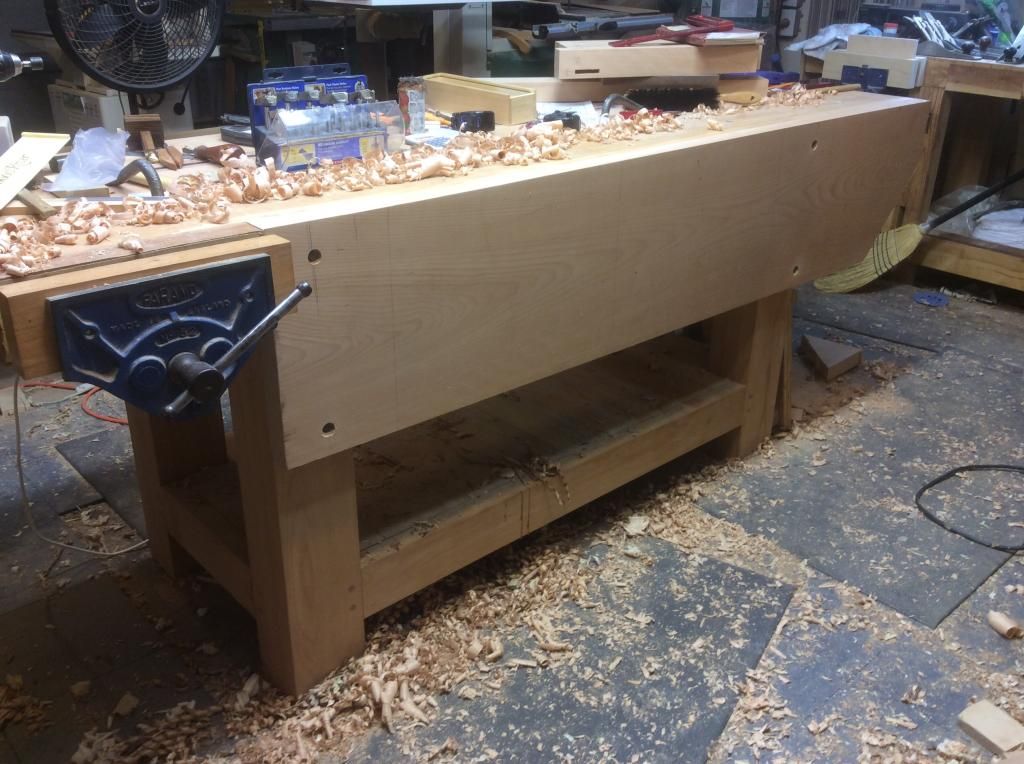
The new English style apron is nice. I wish I had added one a long time ago. 

Each bench build over the years has come closer to being the "perfect" bench. This one with the added apron is the best yet. The asymmetrical split top slab is close to optimum size for both the working area and the off area.  Not having a tail, wagon, or twin screw vise frees up the end of the bench and has never been missed. I'm not sure why so many folks bad mouth English metal QR vises. I find they work as well or better than any other vise for most operations and with fewer downsides than other types of vises.  Maybe I'm not as fussy as some. Anyway, the addition of the apron and eliminating the need for a bench jack or deadman has made this bench as close to perfect for me as I expect a bench can be.

Sunday, January 25, 2015

Finished

It's finished. My English/Roubo or as I like to call it my "Cross Channel" bench is done.

Now for a couple of cups of coffee while I sit and enjoy looking at it, hell who knows I might even get wild and crazy and even make a shavings or two before the day's over.


Taking a Break

I've had my morning Cardo.  Because of the size of the apron slab I had the wood store give me a true edge with the other rough. The slab was too big to get both edges true with the wood store equipment and I sure as hell didn't want to wrestle it around the table saw or band saw by myself for either edge.
Because of the rough edge I installed the apron with the true edge down and I left the rough edge up with between 1mm to 6mm exposed above the top of the bench. Can you say thank you woodworking gods for the wood stock scrub plane I acquired so many years ago. It was fairly short work with the scrub plane to get it down to needing the #5 with heavy camber and then to the #8 to finish it up. sitting here typing, sweating like a pig, and my body screaming No Mas No Mas, I can say it was "fairly short work" and it was. I just need to do it more often.....the machines will do that to you.

Anyway, the apron is installed all that is left is to drill the dog holes. I've laid out three vertical rows between the legs that will be supplemented by two row of angled holes running from the bottom to the top and I expect I will add a fourth vertical row on the other side of the right leg.


Saturday, January 24, 2015

It's Glued

I'd looked at it, thought through the ways of doing the glue-up, figured out how to deal with the cross grain but was going to wait until I had finished work today to make the plunge. I looked at the bench one last time, looked at the clock and thought "what the hell I have time and it will give another 8 hours in the clamps before morning. Just do it". So I did.

I will not know for sure until the clamps come off but best I can tell everything went well, it is square and the glue lines look tight.

Clamps come off first thing in the AM, then Spaz screw the apron to the legs, joint the top, and drill the dog holes. It should keep me out of trouble for most of the day.


Friday, January 23, 2015

Bench Apron

I've been using a bench jack with the new bench. It works OK, about the same as a sliding deadman but still more trouble to fool with than I like.....I'm lazy don'tchknow, it's just the way my momma raised me. At least that's my story.

I've always thought the English bench offered the best combination of no muss no fuss work holding vs. complication. The only thing I do not like about the English bench is the lightness of construction. Anyway I've been thinking that a nice thick, heavy apron on my French bench might be the answer instead of the bench jack but thinking about it and doing it are two different things.

Bottom line it has been on the back burner, just a hummm thought every once in a while until a couple of days ago. The wood store's wood of the month is Walnut, I'm out of Walnut so I went by to look at what they had. I didn't like any of the 8/4 Walnut in their stacks so I looked around to see if there was anything else of interest.

Hidden at the bottom of the 8/4 Beech stack was an 8' almost 400mm wide hunk of timber which would be perfect for an apron. A little over one hundred USDs later I'm tying it down in the back of my truck, still not sure if I'm going to do it but I sure as hell wasn't going to let that board get away.

Today I had time to wrestle it in place and look at what it would be like.....I'm still not 100% but I expect I'll attach it with Spax screws and see what it is like to live with. If it doesn't work I'll have one big hunk of firewood to burn before winter's over.

Clamped in place:


The only down sides I can think of off hand are it will limit the use of dogs to ones that have a lip and it will restrict easy reaching from the front of the bench for the planes and bench appliances storied under the bench. The dogs are not a real problem because I seldom use dogs, I mostly use holdfasts and battens.

Anyway if I'm about to screw the pooch pipe up.


Doors

I've had so much fun building the new pantry for the kitchen, I'm beside myself.

Between work and WX it took several weeks to finish painting the doors. Once the last coat dried I eyeballed where the 35mm holes should go and drilled 'em. As Charles Pierce says "Will he see the rake"....Whap, damn right in the face.

The bottom holes on the bottom two sets of doors are just one of those thin red ones off for the doors to hang where I want them. After much butt scratching and having serious conversations with myself ranging from "hang the suckers" to "where is the axe" I found some two part epoxy wood filler to fill the holes. I'm waiting on the filler to dry enough to flatten and re-paint. Then re-drill and finally hang those suckers.

The good news the pantry is near the finish, the bad: Once MsOK returns from Texas I know she's going to start ripping out my bathroom tile and the process starts all over, just in a different room.

Waiting for the putty to dry:


Monday, January 05, 2015

Block Plane

I use a Block Plane less than almost any of the other dimensioning and smoothing planes. Except when a low angle is needed, I will usually pick up the #3 or one of the wood stock planes for typical Block Plane uses. BTW, I will stumble around and get to the point.

A couple of years ago the local wood store had a sale on a knuckle cap low angle Block Plane, I really didn't have a need because I already had an under utilized  Stanley LA Block Plane but what the hey....lack of need has never stopped me before. Anyway, it, the LA knuckle cap, Block Plane followed me home. Once home I did a cursory sharpening and gave it a try.....It didn't work worth a crap. I was busy with other things and like I said earlier I had other options for an operation I didn't do often so the new Block Plane got pushed to the back  of the shelf and forgotten. In fact later I picked up a Veritas slew LA Block Plane that became my go to Block Plane.

Yesterday I was getting the final coats of paint on the pantry doors from hell and while waiting for the paint to dry doing tool maintenance. For some reason I noticed the unused knuckle cap Block Plane. I pulled the iron did a good sharpening, put it back together, and it still didn't work worth a crap. It took a heavy cut on one side and no cut on the other. I inspected the bed, checked the iron for square, re-sharpened the iron to make sure, put it back together and still no joy. I slewed the iron as much as possible where you could barely see the iron on the side that cut and the other side was a good mm or almost two extended with the same results. No shaving on the side with the extended blade.

Thinking I might be loosing it I packed it up and went to the wood store. We all stood around scratching our respective butts till one of the younger guys that could still see inspected the bed and could see that it was not level.

We traded bodies, I keep my iron, once home I tried the "new" Block Plane. It is really sweet and may become a primary go to user.


Saturday, January 03, 2015

Opti

A fellow Tucson woodworker also does volunteer Greyhound rescue work. He has a one year old Black Lab/Greyhound mix that needs to find a home. As Mark puts it, Opti is a sweet energetic puppy and I think cute as can be. Look at the legs on him.

Anyway if interested you can email Mark at "marklauer at gmail dot com" or if you would like more info on Greyhound rescue go to http://www.azgreyhoundrescue.org/

Would you look at those eyes, they can melt your heart:


Here is the one of legs like a basketball player:


I hope he can find a good loving home, I know nothing brings as much joy into your life as a good dog.


Friday, January 02, 2015

Solstice Boxes

I posted last night that I expected I was through with Solstice Box builds for awhile, not so fast Bubba. seems a few have already disappeared and a few have been put to use by MsOK.  These are the ones I found still around:


The red one is MsOK's B-Day gift and she has already said I can't give away the spalted Sycamore box. That only leaves three in stock. As I like to have a half dozen or so around for gifts through the year I guess there's still a need to build a few more.

I've some Beech left over from the work bench build.  MsOK banned the coffee table to the patio a couple of days ago. I've been trying to find a use for the Beech.....Beech meet need. I've had a half formed idea of a floating top table in my head for awhile. I made a couple of drawings this morning and roughed out some dimensions. I'm not sure what wood to use for the top but thinking maybe Cherry would look good with the cream of the Beech base. The big design considerations are I want the table to be bullet proof strong but light in both appearance and weight.

I may not get much done today, lots of housekeeping to do....Insurance company never sent proof of insurance on the new truck to the bank, that's first up as soon as the agent opens. Then the usual first day off of running the streets taking care of everything put off while working plus a couple of additional chores, maybe in the shop by early afternoon.

Thursday, January 01, 2015

Finished Today's Box

Finished today's small box. My box inventory is in pretty good shape for now so this may be my last small box for awhile. It has a spalted Sycamore body and base with a South American Walnut top, finished with Tried and True Bee's Wax.


I've a beautiful spalted Maple board leaning against the wall of the shop. I've been looking at it for several weeks now trying to decide what to do with it. I may make a couple of doors tomorrow using the spalted Maple as panels. Then decide later what kind of cabinet or chest to build to hold the doors.

Or I could make MsOK happy and make a couple more frames for her ceramic mosaics. It's nice to have options.

Making Boxes

Cold in Tucson, even a little snow in the valley last night. Well shucks, I guess I can't paint pantry doors today....Darn.

Shop was pretty cold this morning as well, I got it warmed up enough to work in. MsOK had to work today that left the critters and me to entertain ourselves. Let's see, a kinda warm shop with two big smelly dogs at my feet and nothing that had to be done. Damn it's going to be a good day.

I had a short piece of spalted Sycamore just large enough to make a small box and a small box is a good project for a cold day with nothing pressing. I think it was either Kurt Vonnegut or George Carlin that said the purpose of life is to fart around. Whoever said it I managed to live a purpose filled life today. BTW, the box is in the clamps, the base is waiting and the sliding top is also waiting to be fitted. Love projects you can finish in a few hours, with a ton of tea breaks and doggie butt scratching.

The South American Walnut top waiting for the box to come out of the clamps:


I gave some of my scrap wood to another Tucson woodworker a couple of weeks ago. I received an email from him today showing one of his projects using some of the scrap Black Limba to make drawer fronts. He really did some nice work....It was a much better use of the Black Limba than it's intended fire pit destination. What a great way to start the year.