Saturday, April 04, 2015

Tenon Buttons

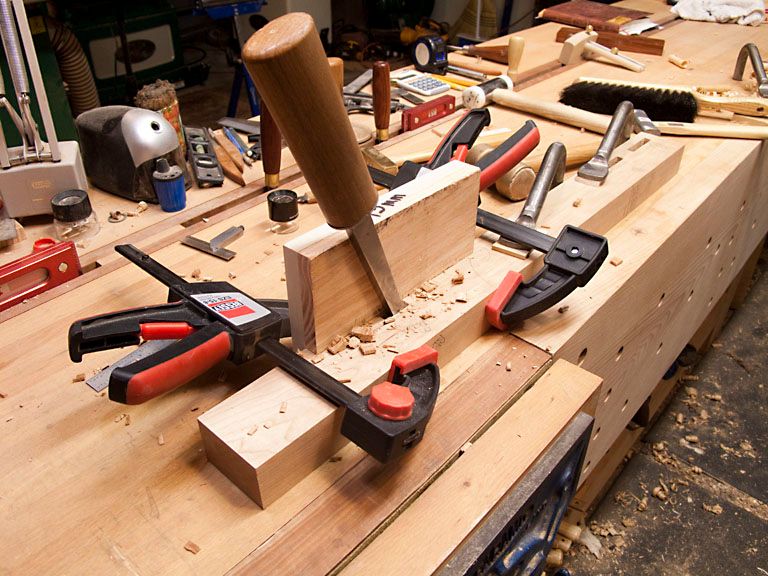
I usually attach the top to the base via mortices and tenon buttons. I expect most have their own way of making the buttons but here is mine....if you think your way is better please do not let me keep doing it the hard way.

I usually use a 3/8 chisel to chop the mortises which means a 9mm tenon is just about right. I like Oak for the buttons because it splits easily and a 19mm thick piece of Oak works well. I'll cut the Oak into 70mm X 30mm strips. that gives me two buttons per strip.

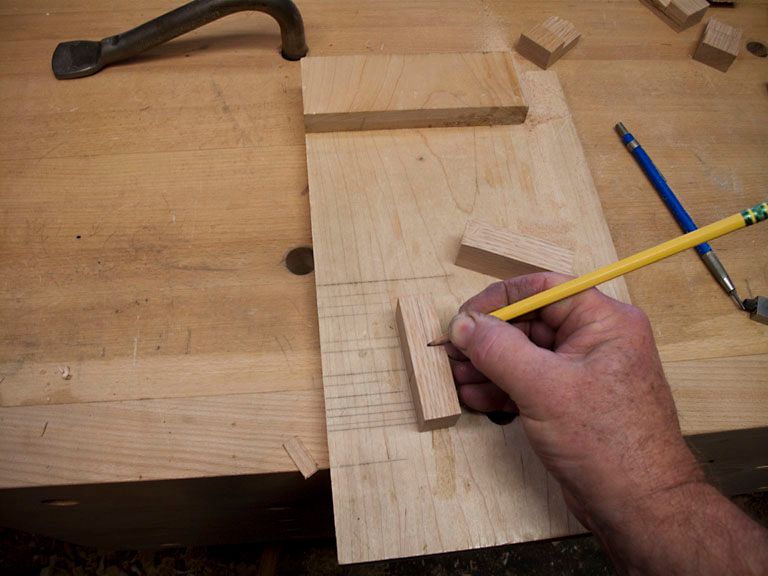
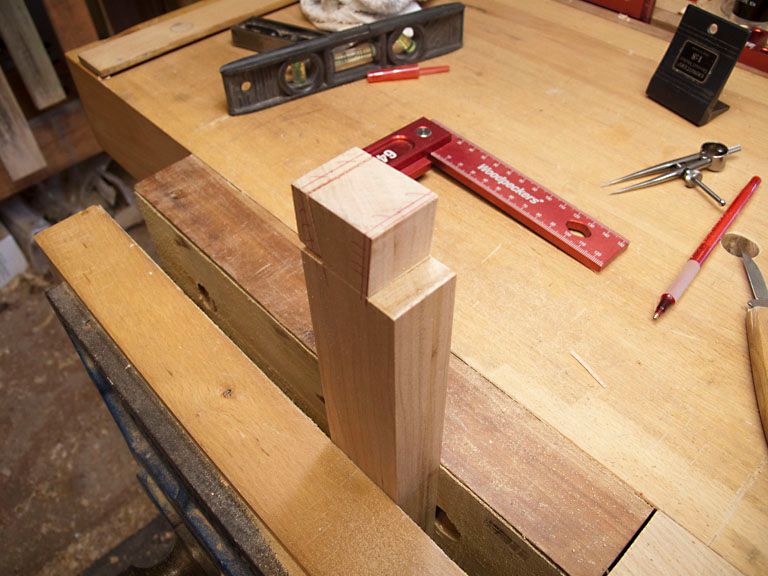
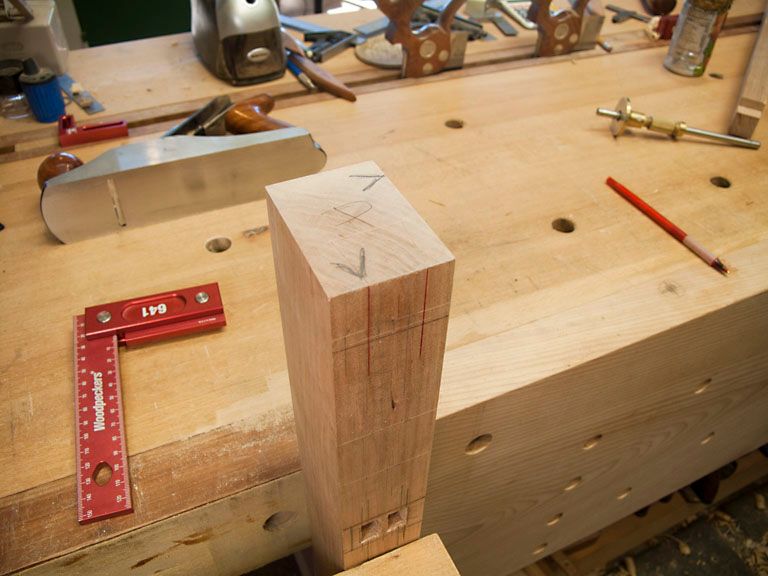
First step is to mark two lines near the center the length of the tenon part, carry one line to the top face and the other to the bottom face.


Then on each side mark a line near the center, none of the lines need be exact:


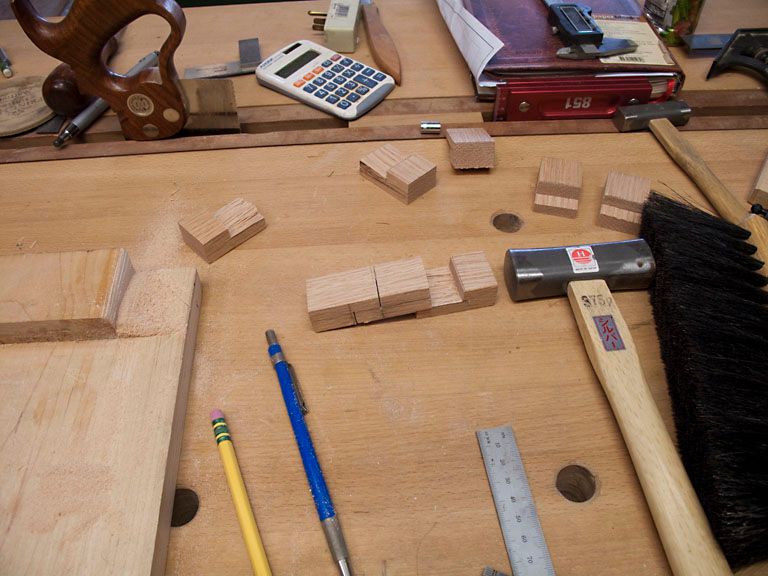
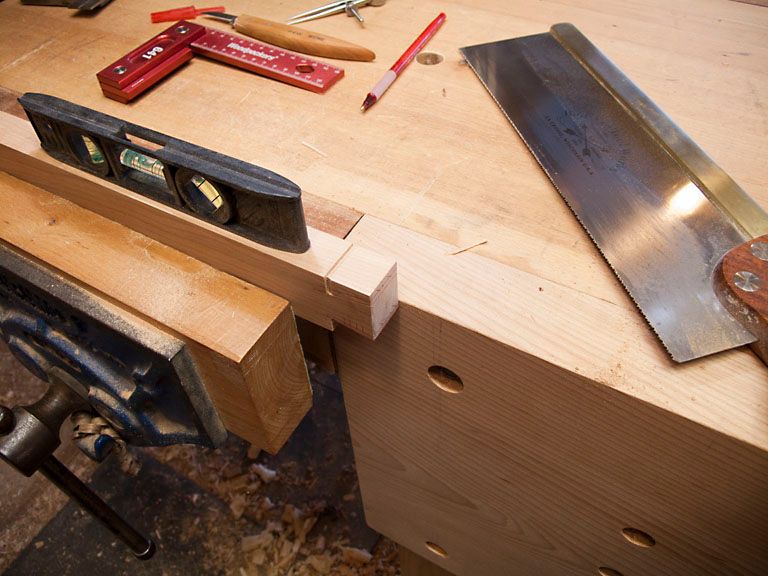
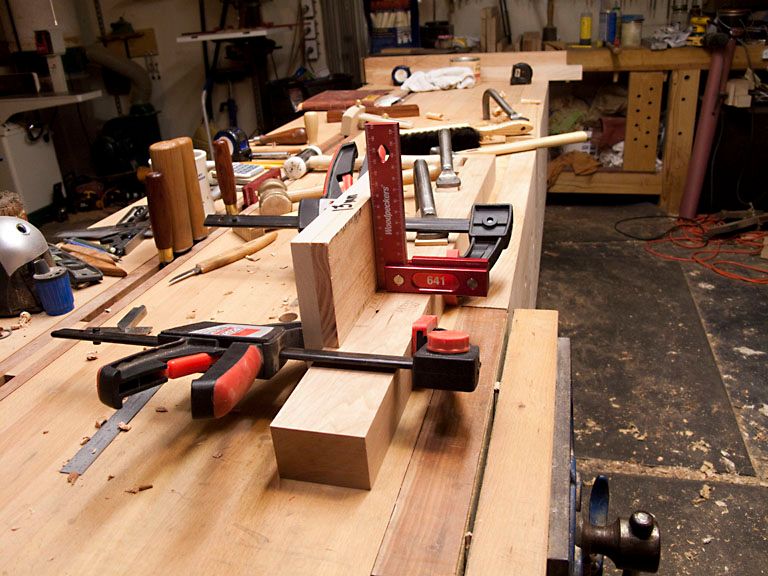
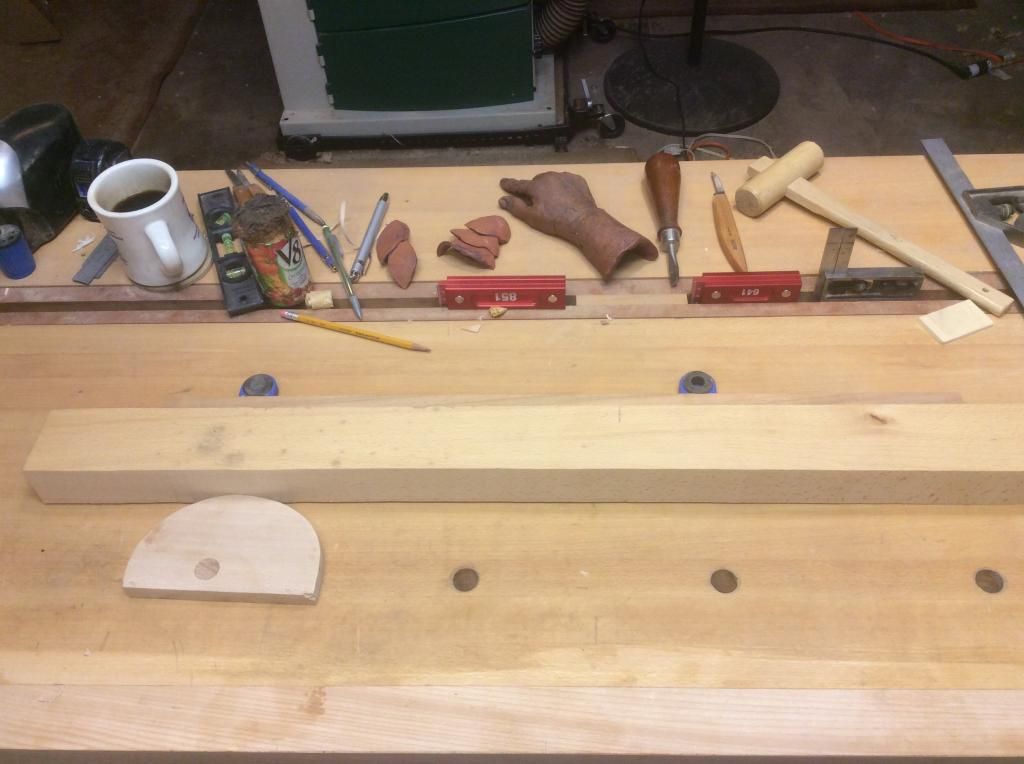
Saw from each of the face lines stopping at the center line on the side, then supporting one end on something give it a good whack:


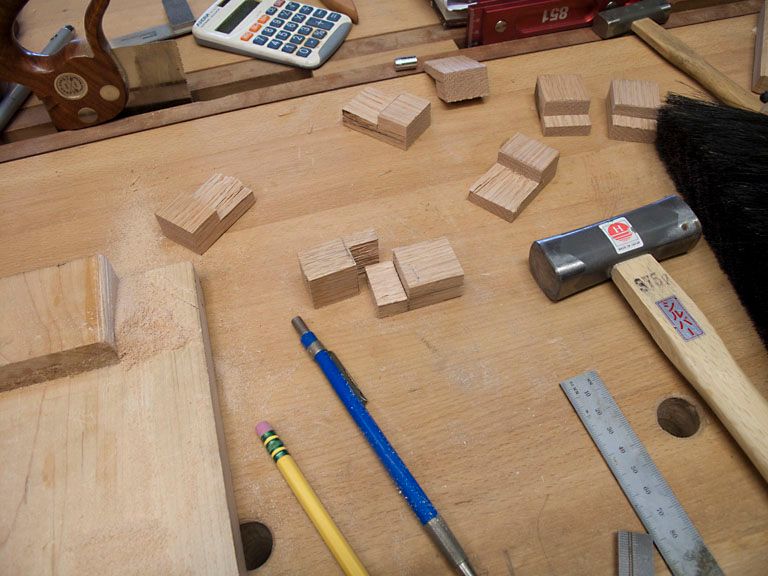
repeat as often as necessary for the number of buttons needed plus I always do a few extra:


These are for attaching the top to the bath vanity, I will be needing them soon.


Bath Vanity

The Bath vanity base is in the short rows. I've some mortises to chop, the ones for the bottom shelf slats and for the top's button mortises. Should only take a couple of hours to do the chopping.  I know it's weird, but for some reason I enjoy chopping mortises. Once all the remaining mortises are finished I will shape the legs, clean everything up and then draw bore and glue that sucker together.

I'm still undecided on the top and the drawer fronts. I'm leaning toward a dark top, MsBubba might object if asked, this may be one of those do then beg forgiveness times. I'm guessing I'll go safe and just use Cherry for the drawers.

It's been nice having several days off in a row....stuff gets done.

Mickey's Bench

Around the first of the year a work friend asked if I would help him make a work bench. Sure no problem so off we go to Home Depot for a couple hundred board feet of construction grade DF. We stickered it, and covered it, and let it set as long as he could stand (a couple of weeks) before ripping the 2X12's down to working size. Then I explained it needed to set awhile to finish the major part of its stupid wood tricks after ripping.

After a couple of weeks he couldn't wait and we started truing and sizing the lumber. that's when one of his old heart problems flared up and he ended up in the hospital. Everything was put on hold for several weeks. This pattern repeated itself several times over the next months.

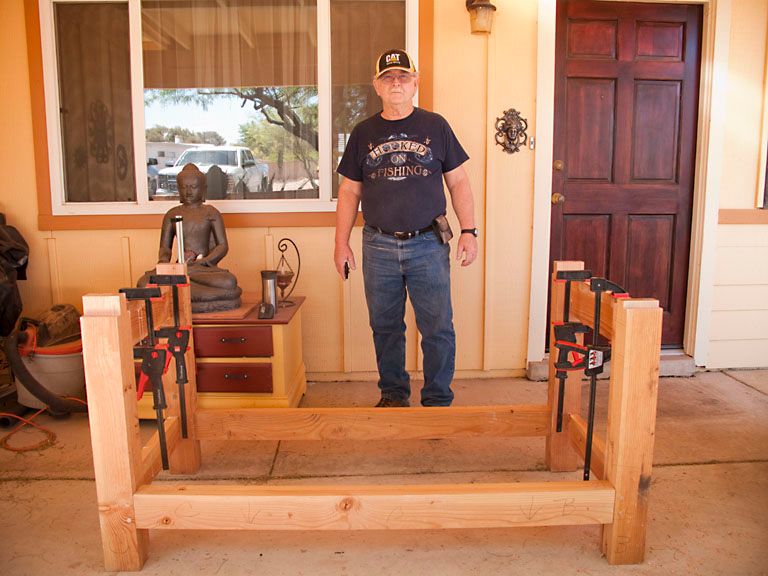
I'll cut to the chase: today we stood the bench up. He still needs to install his vises, drill some dog holes and trim the ends but he has a working bench. What should have been a couple of weeks job once the wood settled down ended up taking four months.

It's as ugly as granny panties with tons of mistakes because I would tell him what needed to be done and maybe show the procedure then leave it to him to do it. But as said many times during the build: "It's a work bench". That's the bad news, the good is: It is strong and solid. It sets on the ground with no rocking, the base is within a couple of mm of being square, the slab has no twist and is flat enough. It will make a hell of a good first work bench, a lot better than my first one.

A photo of Mickey with the completed base:


Wednesday, April 01, 2015

More Bath Vanity

I didn't have a lot of time in the shop today. Work asked me and one of the other instructors to write two Check Ride Plans of Action, one at KICT and the other at KMEM plus a new set of standardized questions for the Knowledge Test portion of the Aircraft Type Check (FAR 61.157 Check). I've been working on it off and on for several weeks but the Suits decided it needed to be finished yesterday. My shop time today sucked hind tit because of the deadline.

For a couple of nano-seconds I thought about a live edge slab for the top of the vanity. I even made a trip to the wood store to see if I could find a slab that would work but no joy. I expect that is a good thing because the more I thought about it the less I liked the idea.

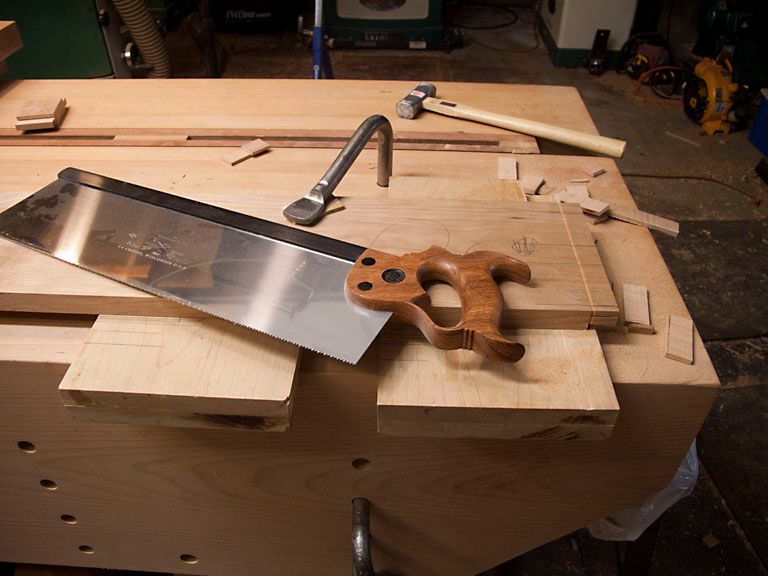
I did get a little done. The bottom shelf stretchers are marked out and I sawed one of the stretcher tenons. Whoopee. Anyway here are a couple of photos. The first is sawing a tenon on one of the stretchers:


The second is of the finished tenon:


Monday, March 30, 2015

More on Bath Vanity

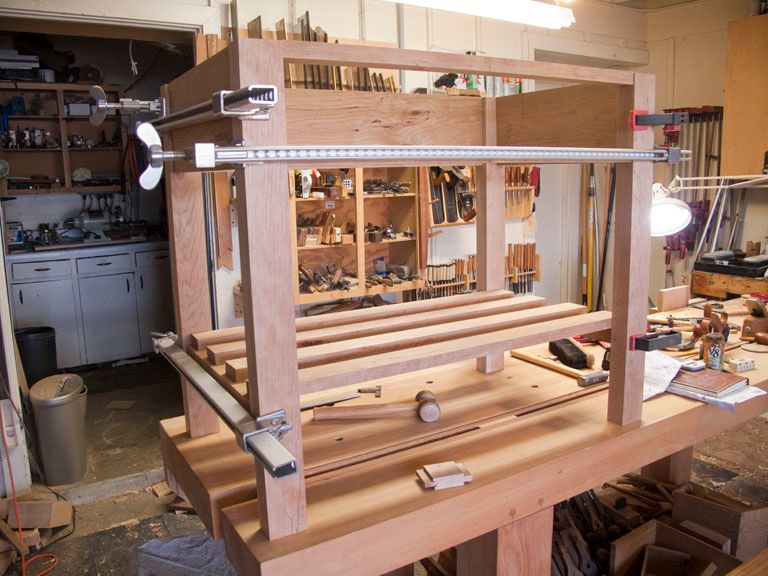
The bottom (shelf) stretchers have been fitted. I've clamped the vanity together so I can mark the shelf slats. Once that is done I'll chop and saw the slats' M/T's, put the vanity back together in sections to mark and drill the draw bores, make a couple of drawer boxes, and a top. I could be finished in a couple or three days If I could find 'em to rub together.


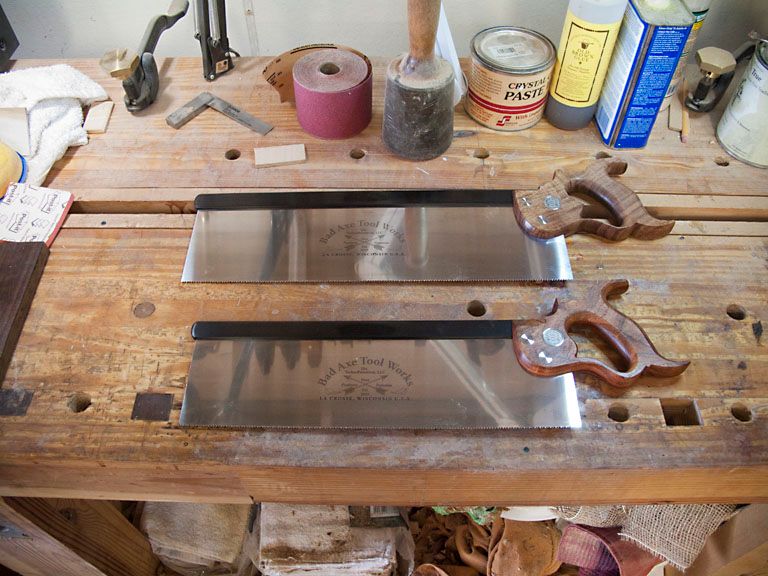
The Postal Lady delivered a care package from Bad Axe this afternoon. It had a couple of new saws, a 16" Tenon and a 14" Sash saw. Damn Bad Axe saws are pretty, addicting to.


New Week

I had to work over the weekend so not much done in the shop. Some folks can come home after work, go to the shop and do several hours of productive work....That ain't me. About the best I can do is a little light tool maintenance, sharpen some iron if it is already sharp, wipe the dust off and put back in place the tools left on the work bench from the last time I was in the shop. That's about it.

I did receive a ECE Coffin Smoother I "won" off eBay. The Smoother was a pleasant surprise, the iron had been honed but other than that there was no evidence the plane had ever been used. Sometimes you get lucky. I've a "horned" old style ECE Smoother on the way, another eBay "win", hope it is in as good shape as the Coffin Smoother. As always, anything off eBay is a crap shoot.

I should get a couple of saws from Bad Axe Tool Works either today or tomorrow, the two saws will almost complete my collection of Bad Axe saws. The only one left is the new 12" dovetail saw, it looks like a clone of the TFWW dovetail saw. The TFWW dovetail saw is my favorite small dovetail saw, I expect once the tool budget recovers from the last two saws, in other words....next month, I will put one on order.

Back to the shop for a couple of hours work before the rest of the world awakes and starts demanding time.

One last thing, a friend sent this link to a youTube video about a day in the life of a line pilot. It doesn't get much truer, if you have ever wondered what it was like to set up front, watch. BTW, I received the link a couple of days before the German F.O. decided to take 150 with him.

Living the Dream https://m.youtube.com/watch?feature=youtu.be&v=rNxz2hhSXuY


Thursday, March 26, 2015

Bath Vanity Update

I lost today to work....Can't complain too much I ended up with three unexpected days off. Stuff happens with days off, stuff does not happen on work days....Go figure.

The basic joinery with the exception of the lower shelf and the drawer divider is finished. I dry fitted the legs and stretchers to see how it looks. It's not bad.

Next up is the lower shelf, drilling and marking the mortise and tenon that will be draw bored, and chopping the button mortises for attaching the top. I also need to make the top, a small minor detail.

The UPS girl and I are becoming best buds, over my days off she delivered the Miele vacuum I ordered for my B-Day, new work shirts, a new ECE rebate plane, and a couple of books ordered from Lost Art Press. Yet to come in the next couple of days is a ECE Coffin Smoother and a couple of Back Saws from Bad Axe.

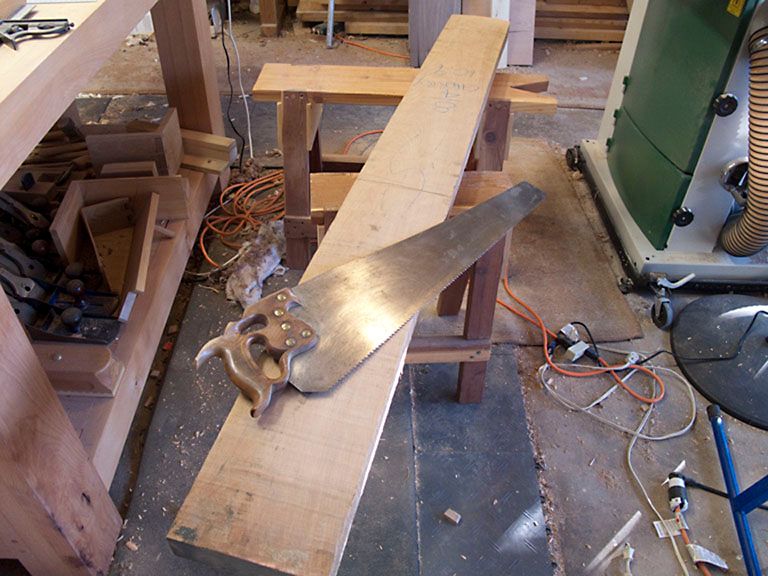
Here is a photo of prepping to saw tenon shoulders on one of the stretchers with a Bad Axe Large Tenon Saw, the saw is a beast but is really nice to use on a wide tenon:


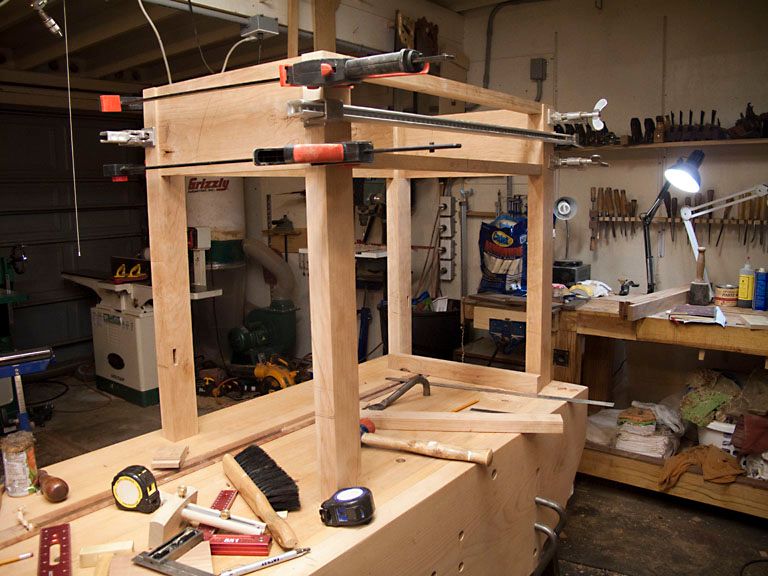
One of the almost finished Bath Vanity base:


Tuesday, March 24, 2015

Starting the Bath Vanity Joinery

Sometimes the work gods smile upon you, sometimes they piss on your head. This week they smiled. My clients canceled at the last minute so I ended up with three unexpected days off this week plus the one I had scheduled. With one phone call the sky turned blue and the birdies started to sing.

With the unexpected days off I've started the bath vanity joinery, It is pretty standard stuff, the front top stretcher will have a dovetail and the bottom stretcher double M/T. The sides and back will have split M/T joints which I expect will be pinned.

Here are few photos. The first is of one side of one of the dovetails. It needs the nasty bits cleaned but other than that is is ready to fit straight from the saw:


Ready to saw the other shoulder:


Marking the pins on the leg:


After finishing the dovetails I will saw the double tenons on the lower stretcher before moving to the sides and back. Once the basic joinery is finished I will clamp it together and mark the slats for the lower shelf. 


Monday, March 23, 2015

Worked on the Bath Vanity

I had a couple of free early morning hours to work on the bath vanity this weekend. I was able to finish chopping the mortices and have marked the stretchers.

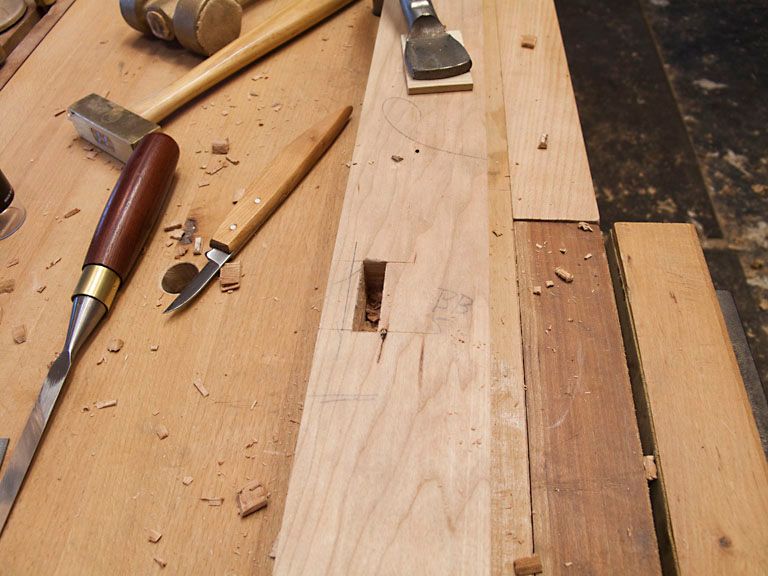
Sometimes I will use a guide to chop, sometimes not. This was one of the times I've used a guide, mostly because I had one of the correct size. I could be wrong but I think it may be a little quicker to use a guide than not because once set up you can pretty much chop on autopilot.

Here is a photo of setting the guide up and checking for square:


Chopping the mortice:


Finished mortice:


Sunday, March 15, 2015

If You Squint

There is a Cherry bath vanity in that pile. The only thing missing is the top.

All the parts are to size, I just need to finish marking out and cutting the joinery. I'll let everything sit for a few days to see it there are any more stupid wood tricks left. If everything stays stable, I'll start the joinery by next weekend.

Famous last words..."It shouldn't take too long to finish".


Plane Till Magnets

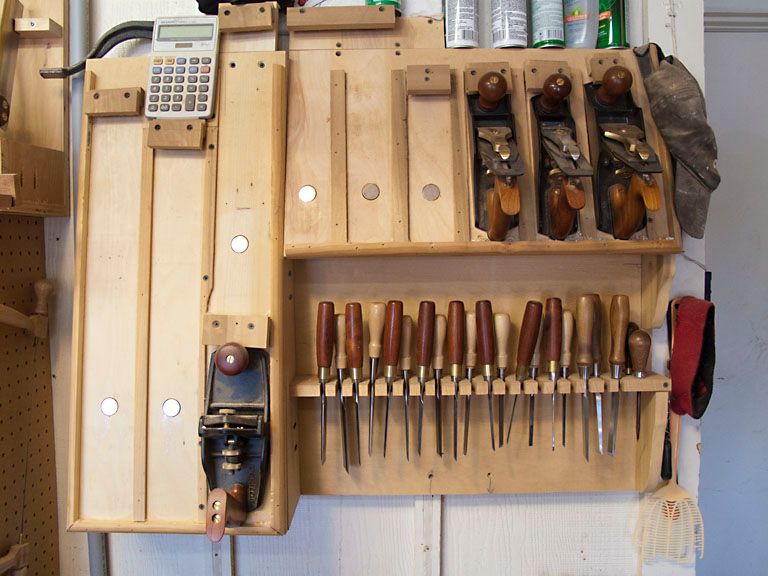
My plane till is handy, has held the working planes for several years without incident but....There's that damn but again...Because it is not at a high angle I've worried about someone or something coming along and knocking one or more of the planes out of the till.

A couple of days ago I decided to build in a little insurance by mounting a rare earth magnet in each slot. The magnets might not prevent all chances of the planes hitting the floor but it will be much harder to dislodge one now.

As always with simple fixes like this one you wonder what took so long.


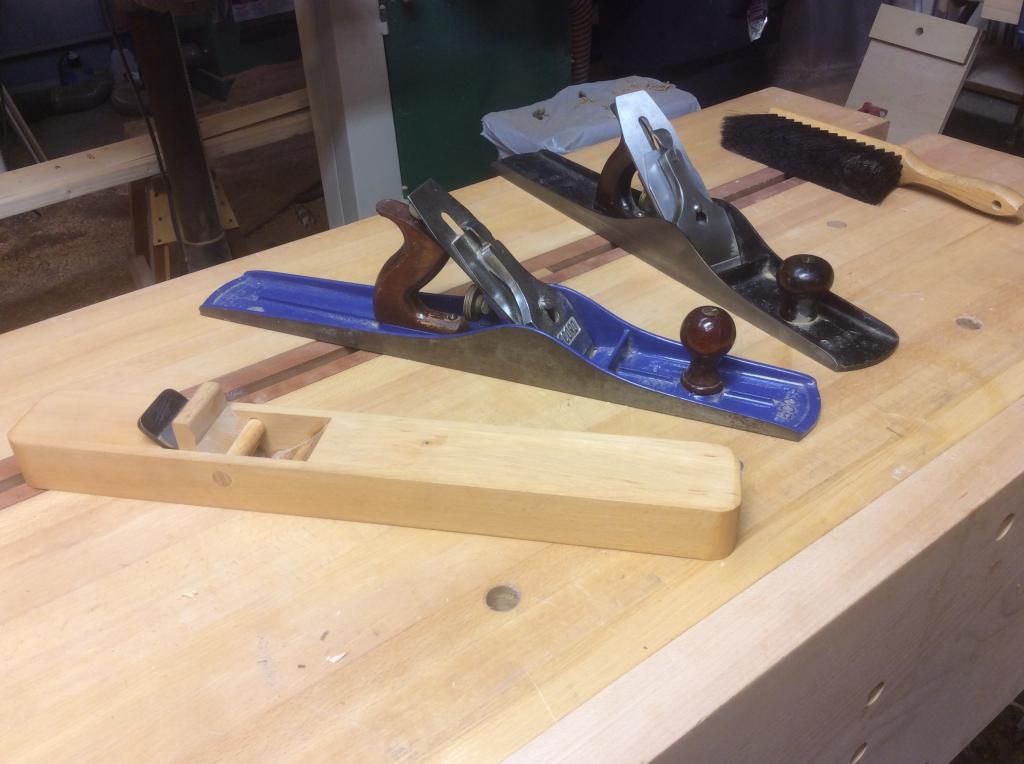
The Last of the Bench Planes

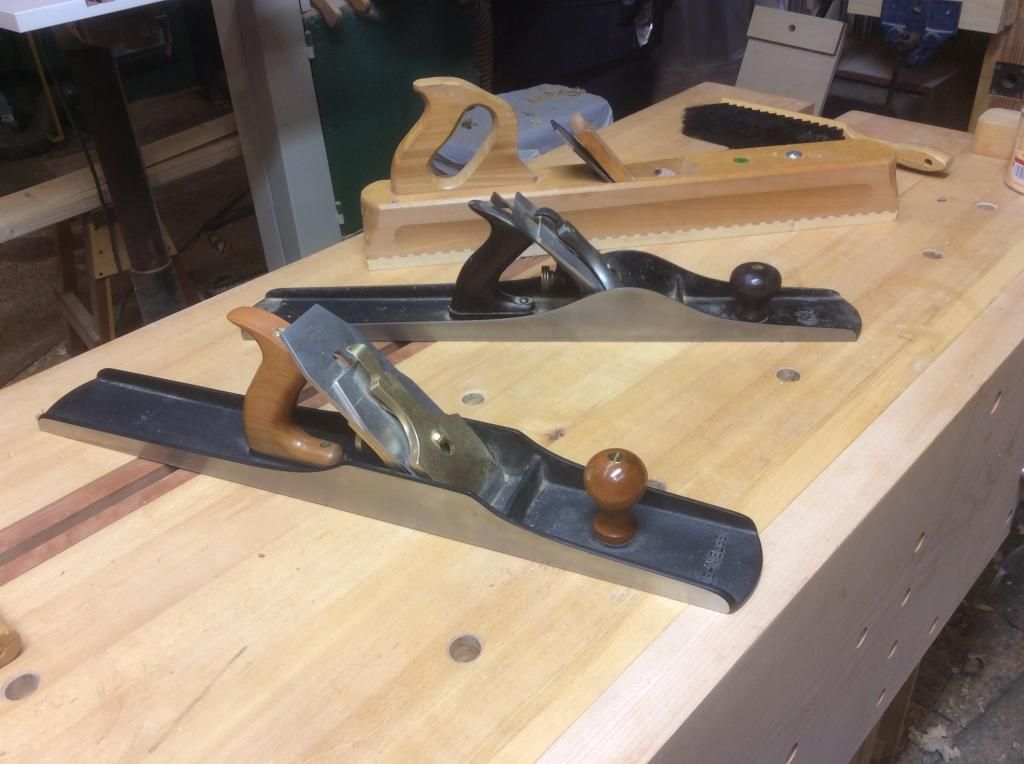
This is the last of the bench planes, again I'm mostly doing this to have a record of my tools stored somewhere other than my home computer. I figure if there is a fire the computer record will be gone as well as the tools.  There are three #8 sized planes, in the foreground is a LN #8, next is a type 9 Stanley #8, and the ECE Jointer. While the LN is a beautiful well made plane and is a joy to hold and use for a short period of time, the Stanley and the ECE get most of the work because they are light and much less tiring to use.


BTW, I added some rare earth magnets to the plane till. Photos when I have time. 

Saturday, March 14, 2015

The #7 planes

I have few of the longer planes, mostly because the machines do most of my scut work. As much as I would love to re-claim the square footage used by the table saw, planer, jointer, and dust collection, my occasional four square of rough lumber nips that wish while it's still forming. Long live the iron apprentices.

Here are the #7s:


The shop made wood stock wasn't meant to stay that long, I had planed to cut it off to no more than "Jack" length but it works pretty good at the current size and I never got around to cutting it shorter. The Record next to it was one of the first "good" planes I acquired, mail order from Garrett Wade IIRC back in the 70's or early 80's, at about the same time the ECE in the #8 group followed me home. The type 9 Stanley in the background is the one of this group that is used the most.


Friday, March 13, 2015

Bath Vanity

Not a lot of progress on the vanity but some, spent most of the day at the dentist getting a crown replaced and then running the streets. Also did a little shop maintenance, more about that once finished and I have photos.

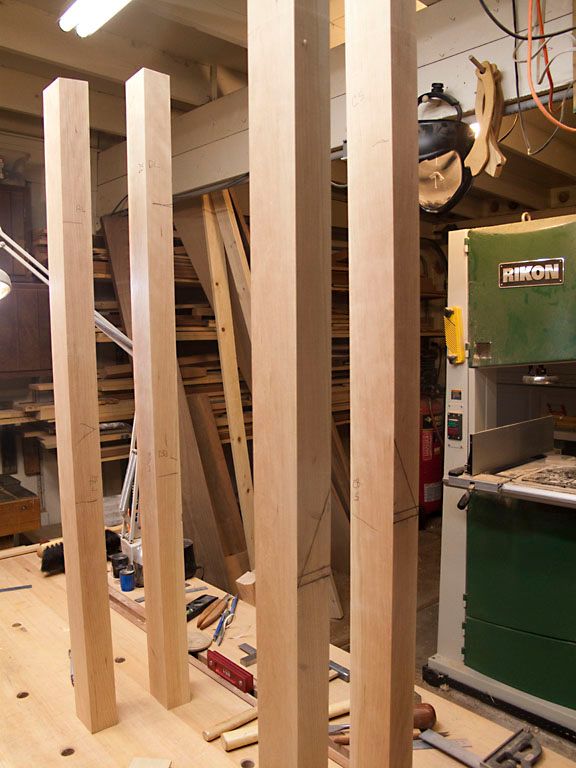
The other day I rough dimensioned the legs and they have been sitting long enough to have finished stress movement. They are now, other than length, to finished size and I did the rough marking out. Tomorrow I'll take them to finished length and do the final marking of the mortices....Maybe even chop a couple.

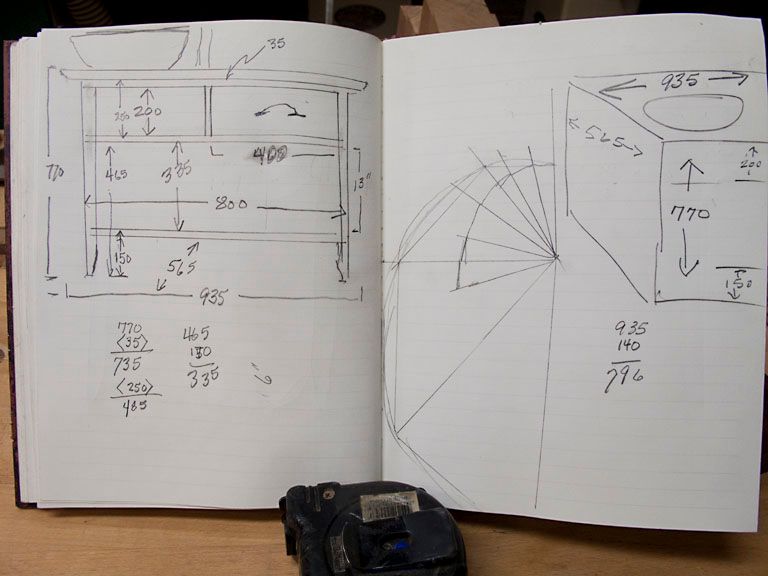
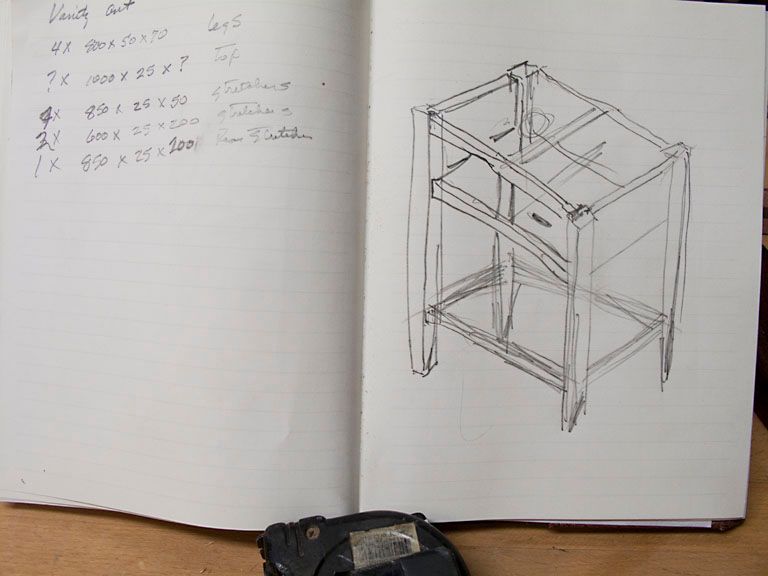
Here is the basic plan for the vanity:


A really rough drawing:


And the legs marked out:


I expect the vanity construction will follow my usual draw bored M&T joints where able, dovetails and housed dado's for the other joinery. In other words KISS but strong.


Thursday, March 12, 2015

The #6 sized planes

I have very few #6's.

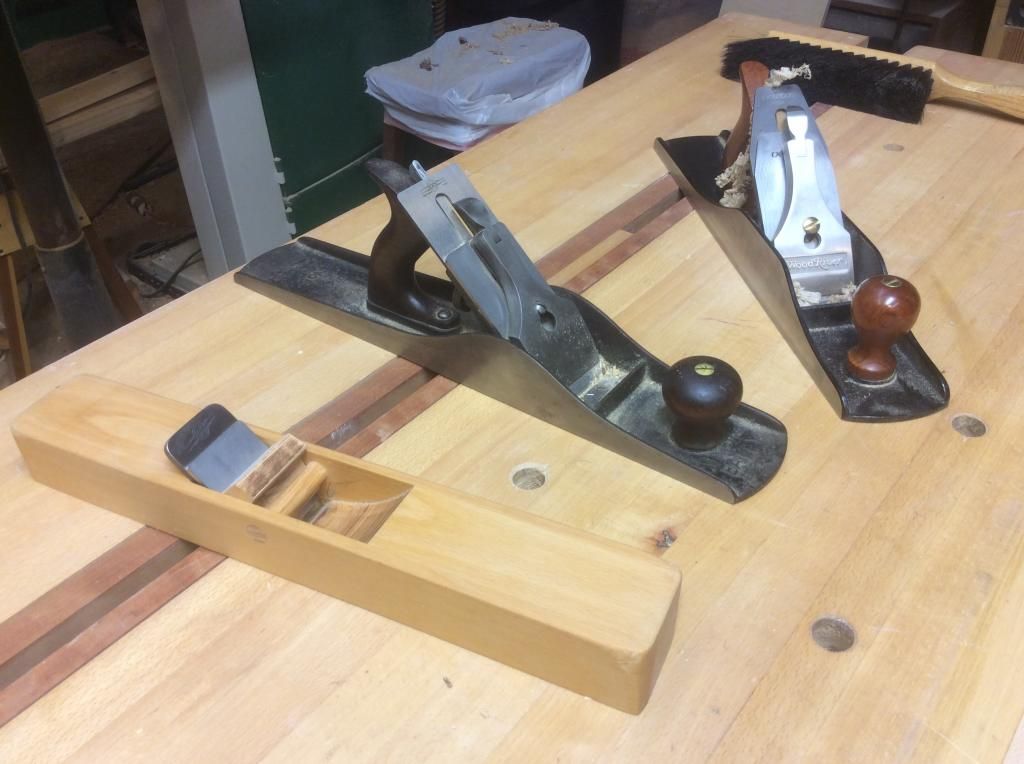
From left to right a shop made with a Hock O1 iron, a type 9 Stanley #6C with a Hock O1 iron and chip breaker, and last a Woodriver #6 with a Vertias O1 iron. They are all good planes but I would guess the least used of my planes.


I need to do the first day off of the week street running this AM, the usual stop for gas, pick up the cleaning, go to the wood store and Home depot, pick up my meds, then Costco for everything else. I hope there is a little time and energy left for shop time before beer-thirty this afternoon. Oh, one other thing...I'm expecting the UPS girl to stop by sometime today with some goodies, pics if she makes it (of the goodies not the UPS girl :-)). 

Monday, March 09, 2015

Bitch of a Friday

A little backstory. To stay qualified to instruct in a Simulator I have to fly a FAR 135.297/293 check ride every 6 months. This time my TCE (Training Center Evaluator) needed to have his TCE renewal done while he checked me. Can you see how convoluted it can get especially when you add in a young PITA "Fed" observing the TCE giving the check.

In spite of not having touched the controls of a Sim since the last time I was checked (six months ago) and being older than dirt as well as blind and deaf, I flew a pretty good ride. Where the bitch of a Friday comes in was with the PITA "Fed" questioning this and that with the checking TCE during and before the ride which should take four hours max ended up being over seven hours. Add in that seven hours plus after we finished my check I had to do a final Sim period for a client that was going for a "Type Check" the next morning.  My duty day was a solid twelve hours, of which the only enjoyable part was the last with the client.

I'm getting too old for that kind of happy horse pucky.  

Starting on The Cherry Vanity

SWMBO has been on my case to build a vanity for the hall bath for some time. After showing her several different woods she picked Cherry. I found a couple of nice 8/4 Cherry boards, one a true 8/4, and several true 4/4 ones at my local independent wood seller's place a couple or three weeks ago. This AM I started rough dimensioning the Cherry. Once cut to rough sizes I'll let it sit for several weeks to finish doing its stupid wood tricks before taking it to working size. Anyway I can now say "Why yes dear, I've started on the vanity", it should buy me a little time.

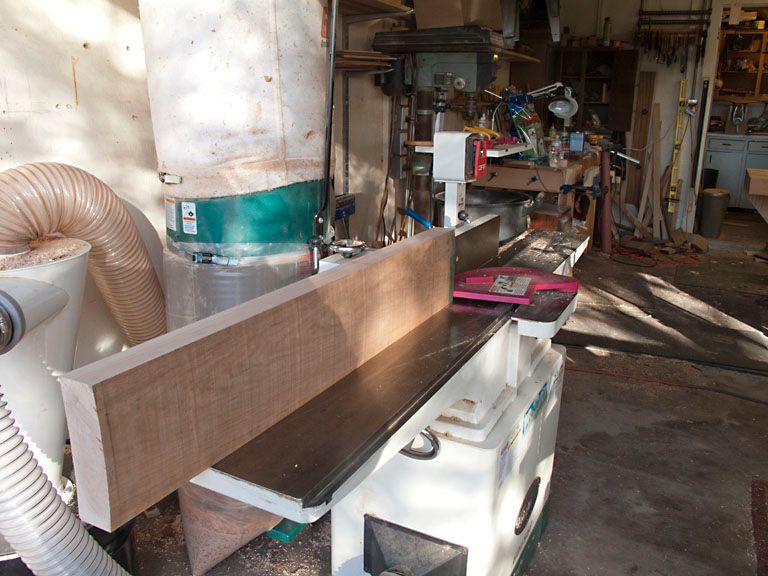
Here is the start, cutting the leg blank boards to size:


Truing the edges so the blanks can be ripped:


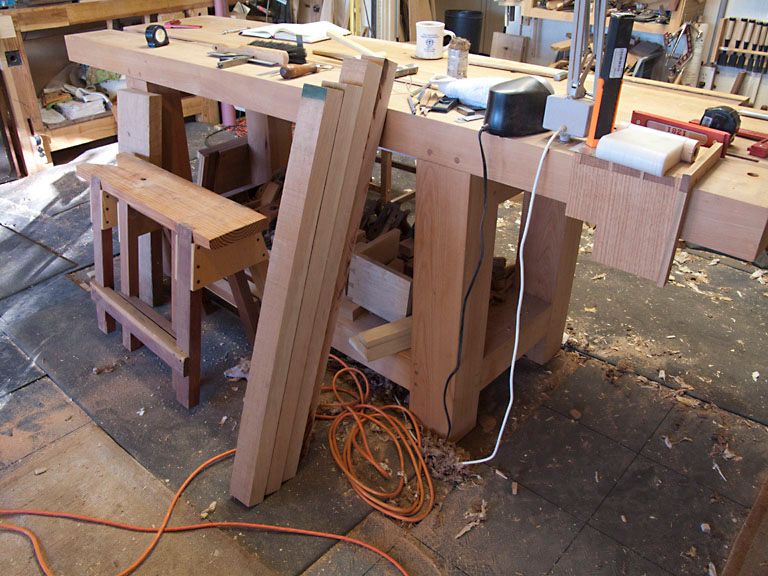
Blanks to rough size:


Sunday, March 01, 2015

Logarithmic Spiral Holdfast

Some time ago I read about using a logarithmic spiral to hold work on the bench top. I can't remember where so as to give credit but whatever this isn't new just new to me. Anyway when I read about it I kinda filed it away as one of those ideas that might work but would not be life changing.

Last night a pinched nerve in my right arm woke me in the middle of the night. When that happens about the only thing that relieves the pain is to get up and sometimes a little use of the arm helps. OK Bubba enough back story cut to the chase.

With nothing better to do I made one to try. It works. I don't think it would replace a holdfast with a doe's foot on my bench but it works and I expect if the bench dog holes were placed with using a logarithmic spiral in mind it would work very well.

Here is a photo:


As you should be able to see, the arm from the pivot point gets progressive longer which pinches the work against a baton/stop as it is moved from right to left and releases as the work is moved left to right.  Actually it is pretty slick and with correctly placed dog holes could work very well.

Saturday, February 28, 2015

Tru Oil

Finished the little box today along with taking care of MsOK and shop maintenance. The box was 'because", mostly because I hadn't cut a set of dove tails in awhile.

I picked up a small bottle of Tru Oil several weeks ago and because this box is a "What scraps can I find to saw some dovetails and maybe if there are enough put a lid on a box" box. I tried the Tru Oil, it's OK. I expect if I used several coats with rubbing out after each coat set it would look very nice. As this is a because box one coat is about it and with just one coat Tru Oil is nothing to get excited about.

I did some tool maintenance along with the shop maintenance, got careless with the 4 1/2's iron and took a slice off the end of my left thumb right after it was sharpened. Nice thing about sharp iron, you do not know you're cut until you see the blood flowing. I still had the glue pot hot. A little hot hide glue and a paper towel stopped the flow fairly quickly.

Friday, February 27, 2015

Grinding Station

I set up a new Grinding station today. Picked up a CBN wheel the other day, Amazon delivered a Tormek grinder jig, I added a couple of hunks of ply and I have a new faster way to grind the bevel. Is it better than the T-7, we will see but one thing is for sure....It's faster.

The Tormek BGM-100 kit is worth the money, it has everything you need except the ply:

.


Making a Small Box This AM

I hadn't cut a dovetail in a couple of weeks, can't let that happen too often for too long. I think it was Ralph that said if it has been some time between now and the last time you did a procedure you had better do a couple of practice joints before doing one for keeps.

Anyway if you pick your woods, in this case Maple and Spanish Cedar, you can hide a lot of rust. I've some Walnut already trued that will make the top and bottom. Still, bottom line it's going to be a "second" and will end up in the gift pile.

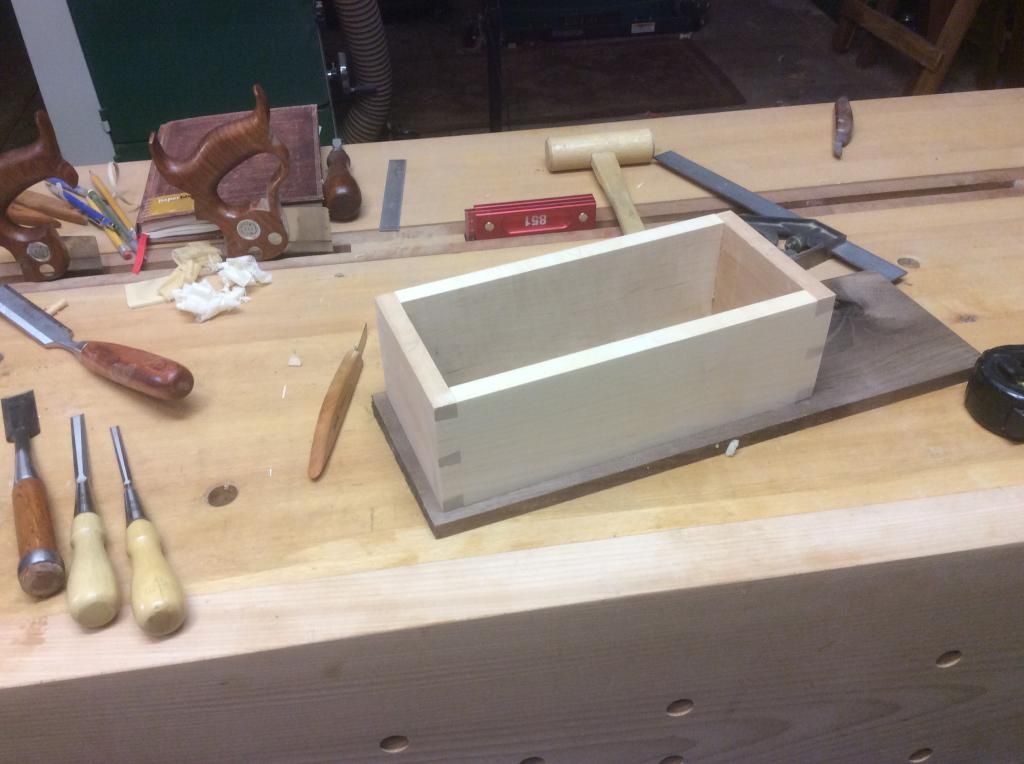
The box in progress:


I'll start rough dimensioning the bath vanity this afternoon, that and shop maintenance should take care of today. One of the shop maintenance items will be setting up the new CBN wheel with a Tormek tool rest/chisel-plane iron jig.

I like the Tormek for the precision and cool cutting but it is, as is well known, slow. The CBN wheel works reasonably cool and is much faster. While I keep the Shaptons available I'm always trying to get away from water.  BTW, I still love me some oil stones but they are slow, will not work well with all my chisels, and need a strop to finish.

The CBN wheel and Spyderco stone, which will cut any tool iron, will allow me to eliminate water for 90/95% of my sharpening and requires no more stone maintenance than oil stones.

That's the plan.

Number 5 Sized Planes

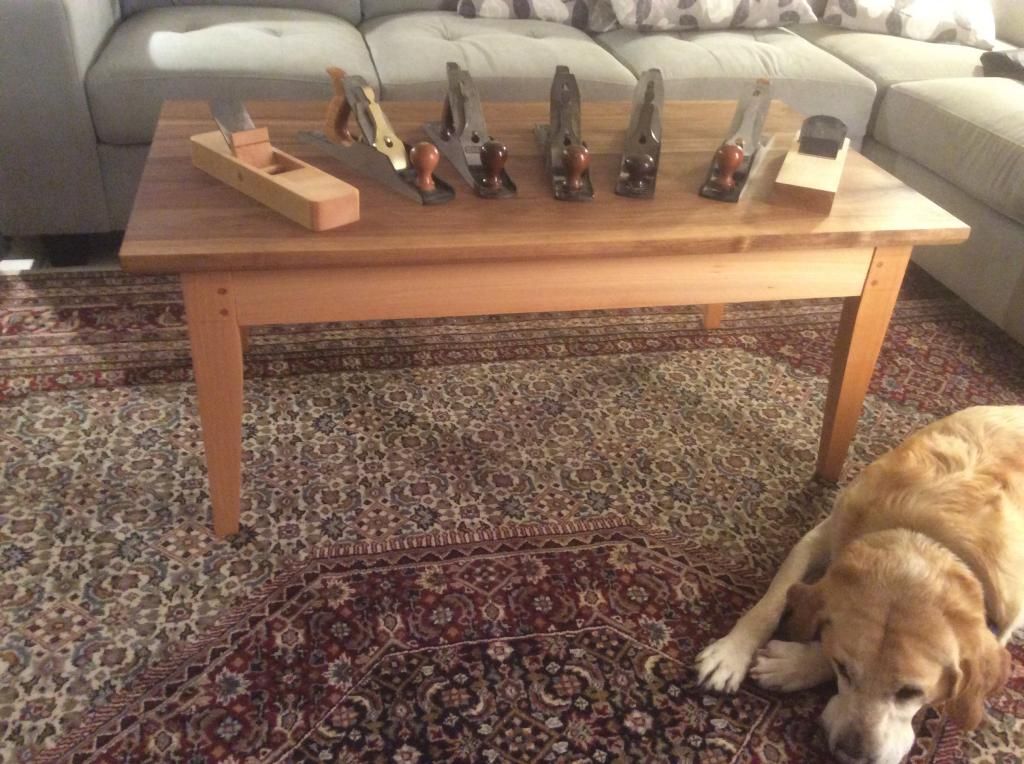
Continuing to document my tools. Photographed on the new coffee table with Sam the Wonder Dog guarding them in his usual alert fashion.


From left to right: A shop made Beech Krenov style with a Veritas single tapered iron, a LN with a PM-V11 iron, a type 11 Stanley with a heavy cambered OEM iron, another type 11 Stanley with Stanley iron, a type 9 Stanley with OEM iron, a Woodriver with PM-V11 iron, and a Tsunesaburo 70mm with a Swedish Sandvik carbon steel iron.  

Thursday, February 26, 2015

The Dirty Fat Girl is For Sale

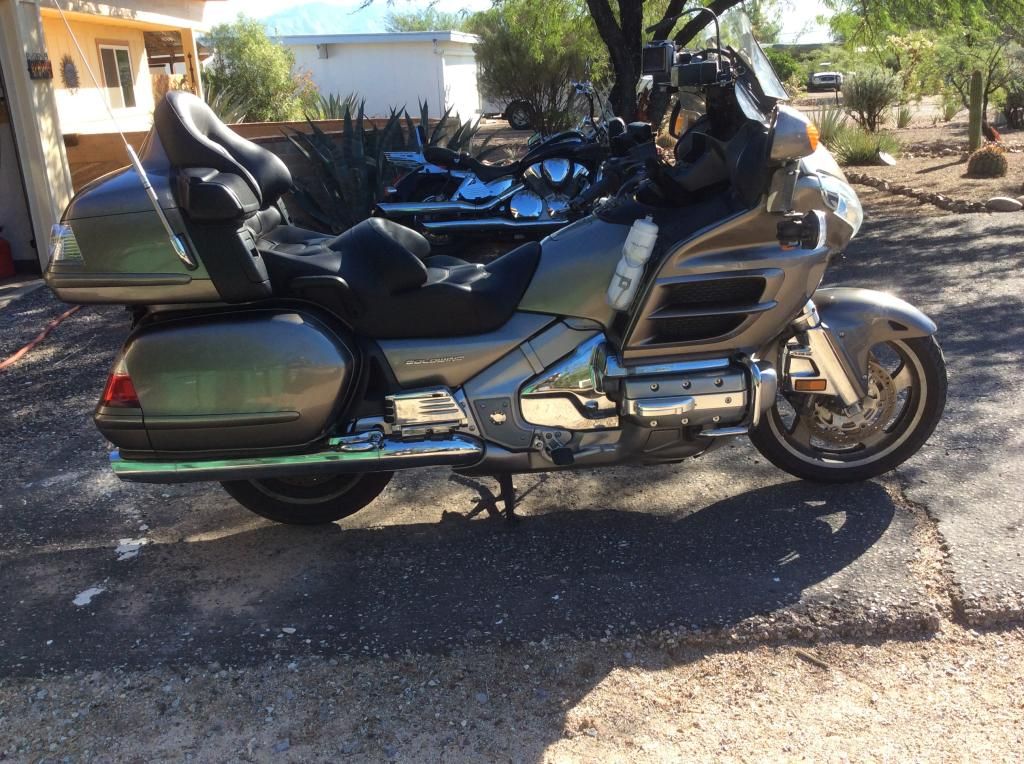
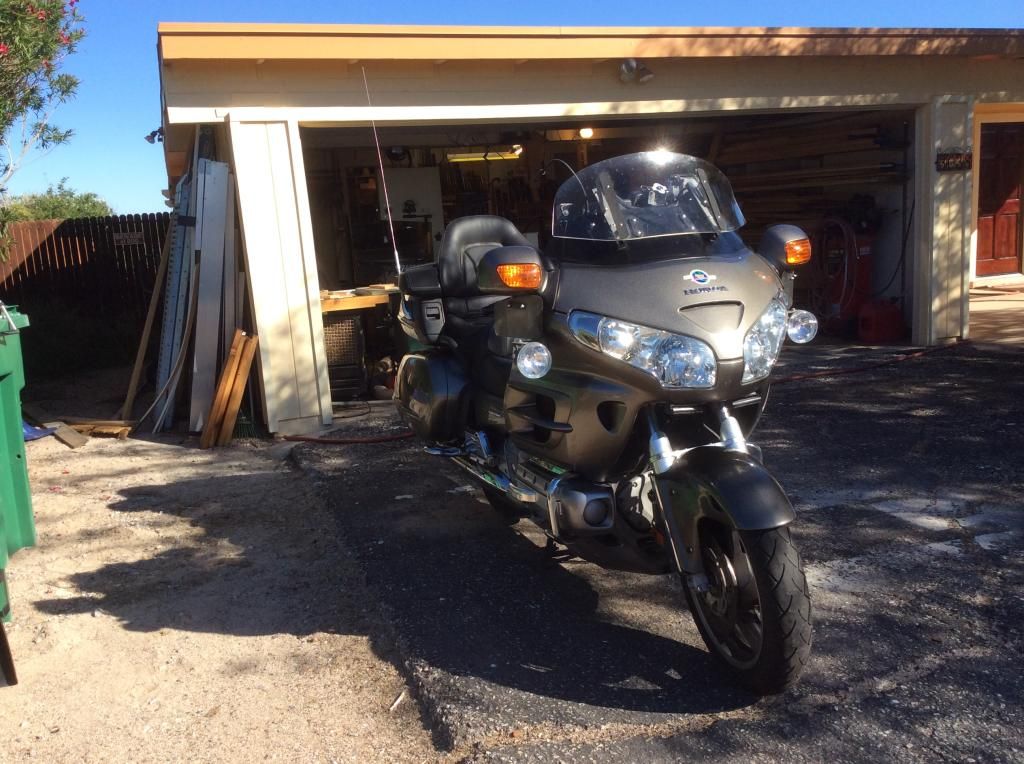
There is a time for all things in life. A time to do and a time to stop. It is time to stop riding motorcycles. I've been on the cusp for a little over a year, it has been such a big part of my life I didn't know how I would take just walking away so I've put off the finial decision. This last week I was helped to that decision by a client who needed "The Conversation". Telling someone they are too old and no longer have the skills to fly is one of the hardest things we do....It's hard for the client, it's hard for the instructor. I have never wanted to impose the duty on anyone. I walked away from flying seven years ago, a job that let this dumb West Texas farm boy see more of the world and do things that most never see or do. It was a good life. My riding has also been a good life, I've done things I've always wanted to do e.g. riding coast to cost in less than 50 hours, going to Sturges with good friends, and other long rides through day and night in all weather and conditions from 13 degrees at night to 118 degrees mid afternoon through Death Valley. It has been great but it is now time to hang up my Motoport and Shoei for the last time.

As the title of this post says, The Dirty Fat Girl is for sale. She is a '08 Goldwing with less than 90,000 miles, built for Rallies and long distance riding in all weather. Some of the major mods are: Mega Monte Traxxon suspension, Phillps 4G HID running lights, three Garmin GPS, radar detector with laser shifter and screamer, trailer hitch, Windbender with farkel shelf and rake kit, new heated seat, Centramatic wheel balancers, reading light, TPMS. to name a few of the useful mods. There will also be lots of accessories for sale including three Motoport Kelvar riding suits, a couple of Fox Creek leather jackets, and many boots, helmets, heated undergear and other stuff.

The price for The Dirty Fat Girl is fair for both the seller and the buyer and is firm at $12000 USD.


From the front:


Sunday, February 22, 2015

Number 4 Sized Planes

Damn there is a herd of those suckers.


From left to right:LN #4 with LV PM-V11 iron, LN 41/2 with Veritas O-1iron, Type 9 Stanley with Hock O-1, Veritas Smoother with PM-V11, shop made Beech stock with Veritas tapered single iron, a type 13 Stanley with Hock O-1, a Record #4 with Hock O-1, The Record #4 was the first "good' plane I acquired back in the mid 70's, then a type 13 Stanley's with a PM-V11 iron, and last a early (could be a type 9) Stanley Frankenplane with a small adjustment knob and Woodriver iron.

Insanity

It, insanity, happens when I have more than two days off in a row with nothing but shop time planned. For some reason I think if I just stir it around some more I can fit ten pounds of poop into that metaphorical five pound bag. I keep trying but the results are mostly the same.

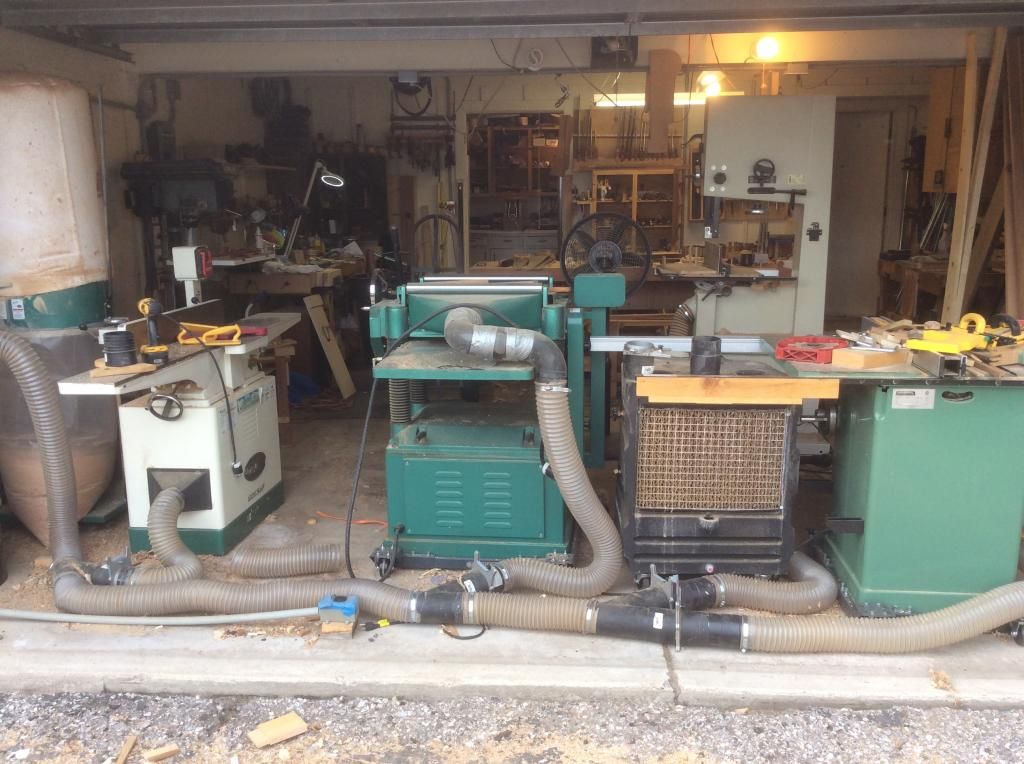
I did a total re-arrange of the machine area of the shop today. Bottom line there is too much stuff in not enough space and no amount of moving it around will change that fact by much but today's changes did give the machine area or at least the area between the machines and the bench area a more open feel. That's about all I can hope for.

Here's a bad photo looking into the shop.


Along the east wall, to the right side of the table saw, is a walk way and wood storage. the good news most of the machine work is with the jointer and planer and they have more space for working than they had with the old arrangement.

I've been thinking about this change for several months and while not a big improvement I think it will make for an easier work flow.

Saturday, February 21, 2015

Planes #3 Sized

Over on the Sawmill Creek forum is a thread to show your working planes. I've posted most of these images there. While posting I started thinking about having a record of my wood working tools for insurance purposes and where would be a good place to store that record. This blog drew the short straw.

I'll try to keep the boredom level as low as possible but over the next several weeks there will be posts with photographs of my tools starting with my #3 sized working planes.


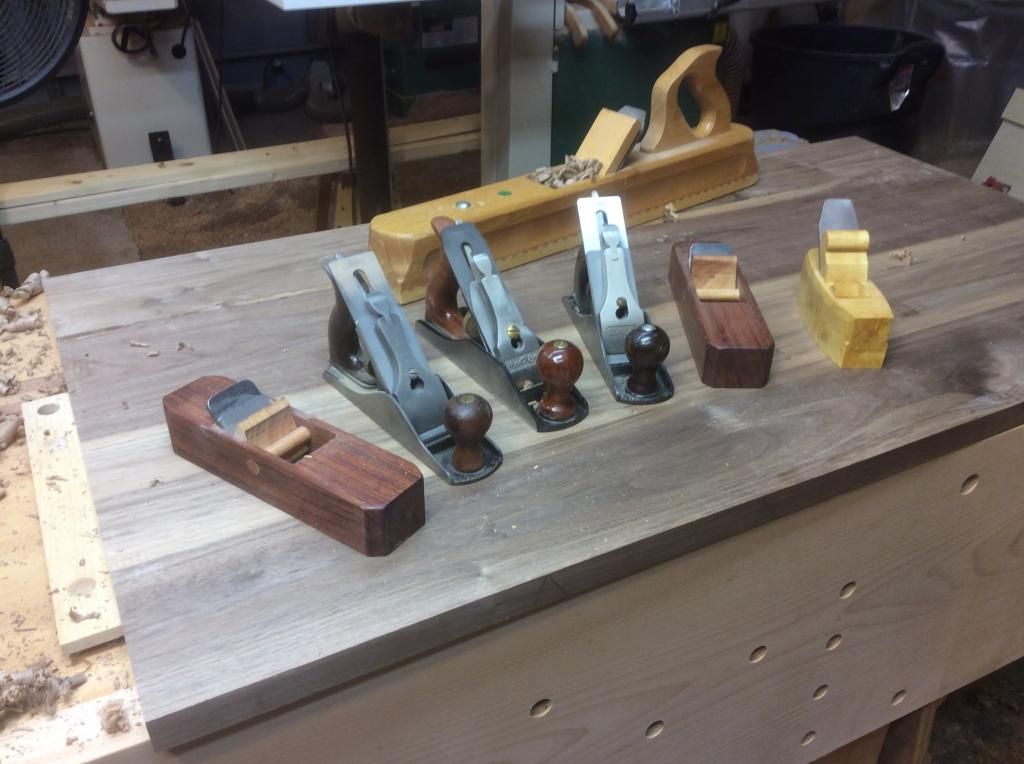
From left to right: A shop made Krenov style smoother with a Hock O1 iron, a type 13 Stanley with a Hock O1 iron, a V3 Woodriver with a Vertias O1 iron, a post war Stanley with a Hock O1 iron, another Krenov style smoother also with Hock O1 iron, and last a Philly Coffin Smoother with a O1 single iron. Of this group I use the first Krenov and the Woodriver more than the others. The Philly smoother is new and still getting over the shock of moving from the UK to the desert. Once it stops doing stupid wood tricks I expect it will be one of the go to smoothers.

BTW, they are setting on the back side of a Walnut coffee table top that was still being flattened. The front side was almost finished, I used a LN #8 on it and the #8 kicked my butt, I got smart on the back side and dug out the woody, so much better. I do love me some wood stock planes.


After getting most of the high spots down with the woody I used a type 9 Stanley #8 with a Hock O1 iron and chip breaker to finish the job. The LN planes are beautiful and work superbly but damn they are heavy and on something like this slab of table top the weight will turn old arms and backs to jello.  Once the table top was flattened and smoothed the Krenov woody pictured above left was used to relive the bottom edge to give a lighter look to the coffee table. I've no better plane for that type of job because of its light weight and the plane's shape allows using both hands and working in either direction.

Friday, February 20, 2015

Coffee Table Finished

The coffee table is finished. Well almost, I still have to attach the top which I will do tomorrow. I've had enough fun for today, my back is yelling No Mas No Mas followed by Cerveza Por Favor.  I think I'm going to listen.


Tuesday, February 17, 2015

Walnut Glue Up

I did the coffee table top glue up yesterday after work. Pulled it out of the clamps this AM and have started the clean up. I was pulled away before I could wipe down the "runners" and of course paying the price today. I have to learn to say "wait a minute".

Even with the PITA glue clean up it shouldn't take too long to finish the top and make the mortise buttons. I expect a couple or three coats of Tried and True with Bee's Wax for the finish and I can walk away from it and on to the next.


Saturday, February 14, 2015

Coffee Table Base

The coffee table base is pegged and waiting a little top rail clean up and the top. Sorry Ralph, no photos of the draw boring as there wasn't much to photograph. A bath vanity is next on the list of honeydos, I'll try to remember and document each step of the draw boring process. BTW, on the long stretchers I used the draw bore pins to get everything tight and alined, it was easier than using long clamps. For the short stretchers clamps were easier.

It's in the den just to get it out of the way, back out to the shop later to finish cleanup and finishing before adding the top.


Thursday, February 12, 2015

Coffee Table Short Rows

The coffee table base has been dry fitted, the draw bore holes drilled, and I've started chopping the twelve button mortises in the stretchers. Once the button mortises are finished the stretchers and the legs need final shaping and smoothing before pegging that sucker together.

I've some very nice 6/4 Walnut for the top and maybe a couple of days off this weekend to finish the top.  The coffee table could be doing coffee table duties by sometime next week.

I've SWMBO entertainment duties the following weekend before starting the next couple of projects; a bath vanity for my bathroom and a tall side board for the dining room. So many project, so little time.

Of course so little time could be because of the shop "black hole effect", as one of MsOK's friends put it "everything goes it but nothing comes out".

Saturday, January 31, 2015

Working on a Coffee Table

I've been working on a new coffee table. The base is some beech left over from the bench build, I'm not sure of the top but I expect it will be either Walnut or Cherry.

The mortises are chopped, the stretchers are cut to size and tenons sawed. I've fitted one stretcher to the legs, only three more to go. I'm not sure how I will shape the legs but I'm thinking mostly rounding with a curve from the inside to the outside. As of now I expect the top will be semi-floating.

Can you tell I've only a vague concept in mind and designing on the fly. The two goals of the build are bullet proof strong but light in weight and to the eye.

Here's a photo of one of the fitted tenons just because:


The new English style apron is nice. I wish I had added one a long time ago. 

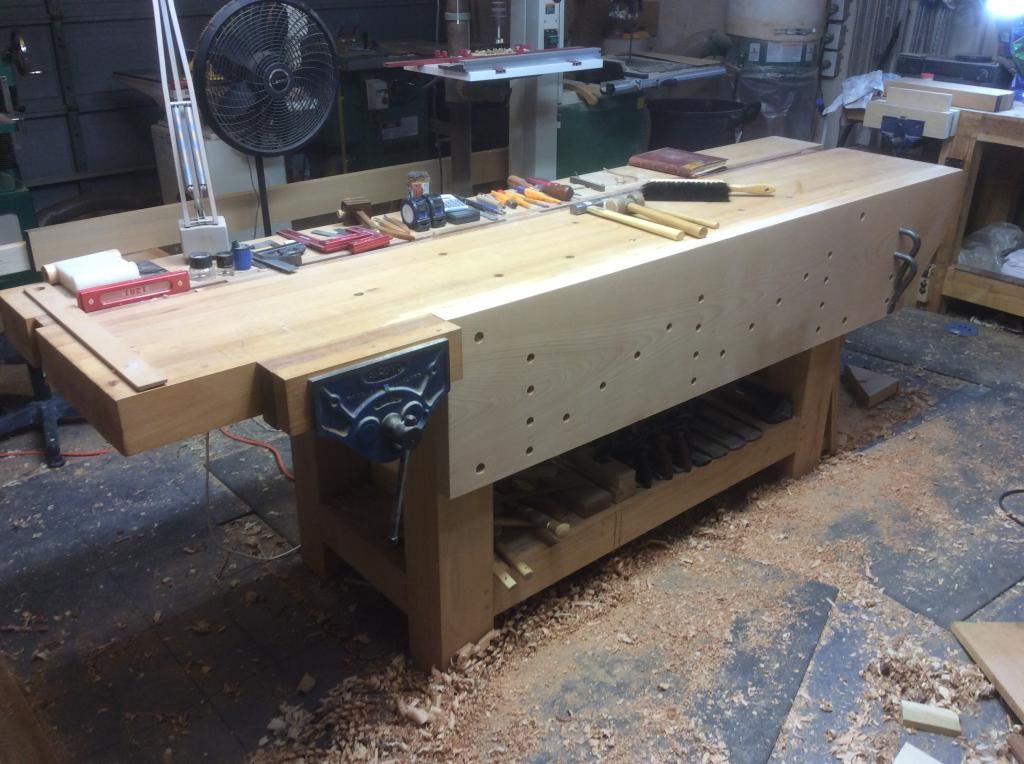
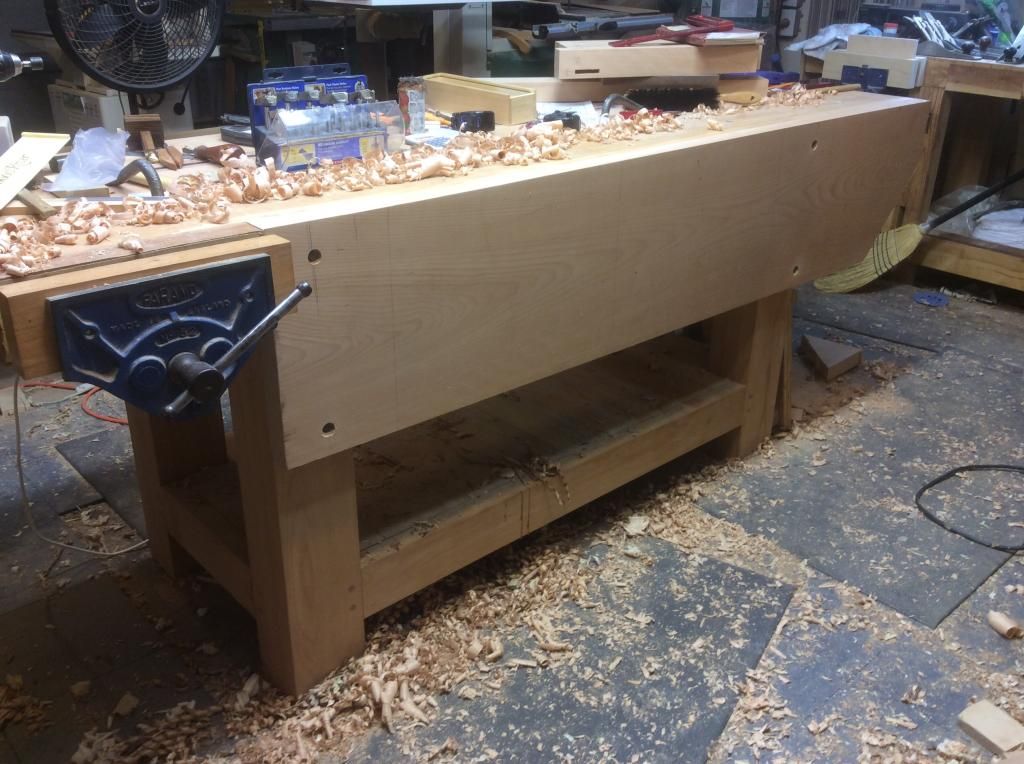
Each bench build over the years has come closer to being the "perfect" bench. This one with the added apron is the best yet. The asymmetrical split top slab is close to optimum size for both the working area and the off area.  Not having a tail, wagon, or twin screw vise frees up the end of the bench and has never been missed. I'm not sure why so many folks bad mouth English metal QR vises. I find they work as well or better than any other vise for most operations and with fewer downsides than other types of vises.  Maybe I'm not as fussy as some. Anyway, the addition of the apron and eliminating the need for a bench jack or deadman has made this bench as close to perfect for me as I expect a bench can be.

Sunday, January 25, 2015

Finished

It's finished. My English/Roubo or as I like to call it my "Cross Channel" bench is done.

Now for a couple of cups of coffee while I sit and enjoy looking at it, hell who knows I might even get wild and crazy and even make a shavings or two before the day's over.


Taking a Break

I've had my morning Cardo.  Because of the size of the apron slab I had the wood store give me a true edge with the other rough. The slab was too big to get both edges true with the wood store equipment and I sure as hell didn't want to wrestle it around the table saw or band saw by myself for either edge.
Because of the rough edge I installed the apron with the true edge down and I left the rough edge up with between 1mm to 6mm exposed above the top of the bench. Can you say thank you woodworking gods for the wood stock scrub plane I acquired so many years ago. It was fairly short work with the scrub plane to get it down to needing the #5 with heavy camber and then to the #8 to finish it up. sitting here typing, sweating like a pig, and my body screaming No Mas No Mas, I can say it was "fairly short work" and it was. I just need to do it more often.....the machines will do that to you.

Anyway, the apron is installed all that is left is to drill the dog holes. I've laid out three vertical rows between the legs that will be supplemented by two row of angled holes running from the bottom to the top and I expect I will add a fourth vertical row on the other side of the right leg.


Saturday, January 24, 2015

It's Glued

I'd looked at it, thought through the ways of doing the glue-up, figured out how to deal with the cross grain but was going to wait until I had finished work today to make the plunge. I looked at the bench one last time, looked at the clock and thought "what the hell I have time and it will give another 8 hours in the clamps before morning. Just do it". So I did.

I will not know for sure until the clamps come off but best I can tell everything went well, it is square and the glue lines look tight.

Clamps come off first thing in the AM, then Spaz screw the apron to the legs, joint the top, and drill the dog holes. It should keep me out of trouble for most of the day.


Friday, January 23, 2015

Bench Apron

I've been using a bench jack with the new bench. It works OK, about the same as a sliding deadman but still more trouble to fool with than I like.....I'm lazy don'tchknow, it's just the way my momma raised me. At least that's my story.

I've always thought the English bench offered the best combination of no muss no fuss work holding vs. complication. The only thing I do not like about the English bench is the lightness of construction. Anyway I've been thinking that a nice thick, heavy apron on my French bench might be the answer instead of the bench jack but thinking about it and doing it are two different things.

Bottom line it has been on the back burner, just a hummm thought every once in a while until a couple of days ago. The wood store's wood of the month is Walnut, I'm out of Walnut so I went by to look at what they had. I didn't like any of the 8/4 Walnut in their stacks so I looked around to see if there was anything else of interest.

Hidden at the bottom of the 8/4 Beech stack was an 8' almost 400mm wide hunk of timber which would be perfect for an apron. A little over one hundred USDs later I'm tying it down in the back of my truck, still not sure if I'm going to do it but I sure as hell wasn't going to let that board get away.

Today I had time to wrestle it in place and look at what it would be like.....I'm still not 100% but I expect I'll attach it with Spax screws and see what it is like to live with. If it doesn't work I'll have one big hunk of firewood to burn before winter's over.

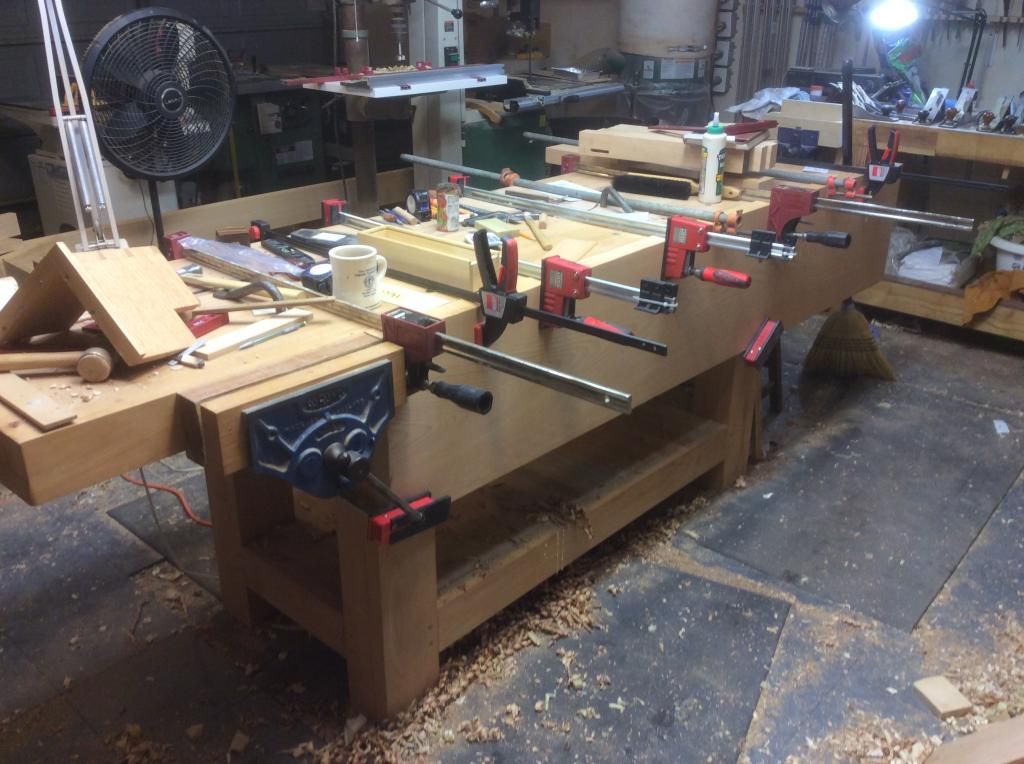
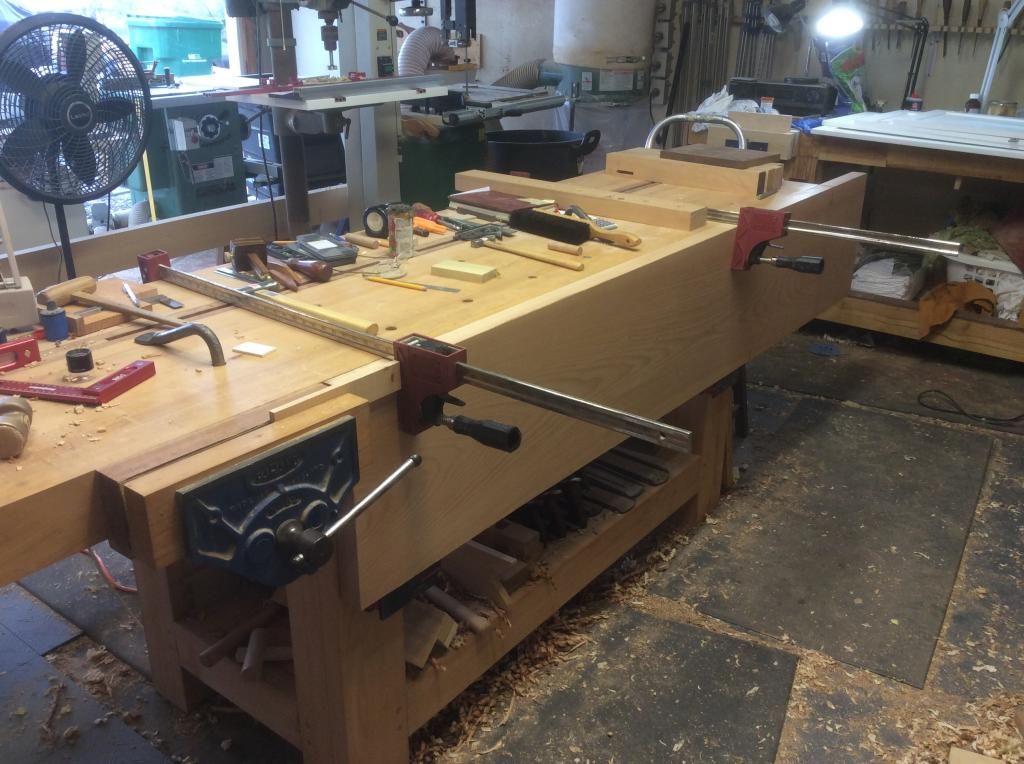
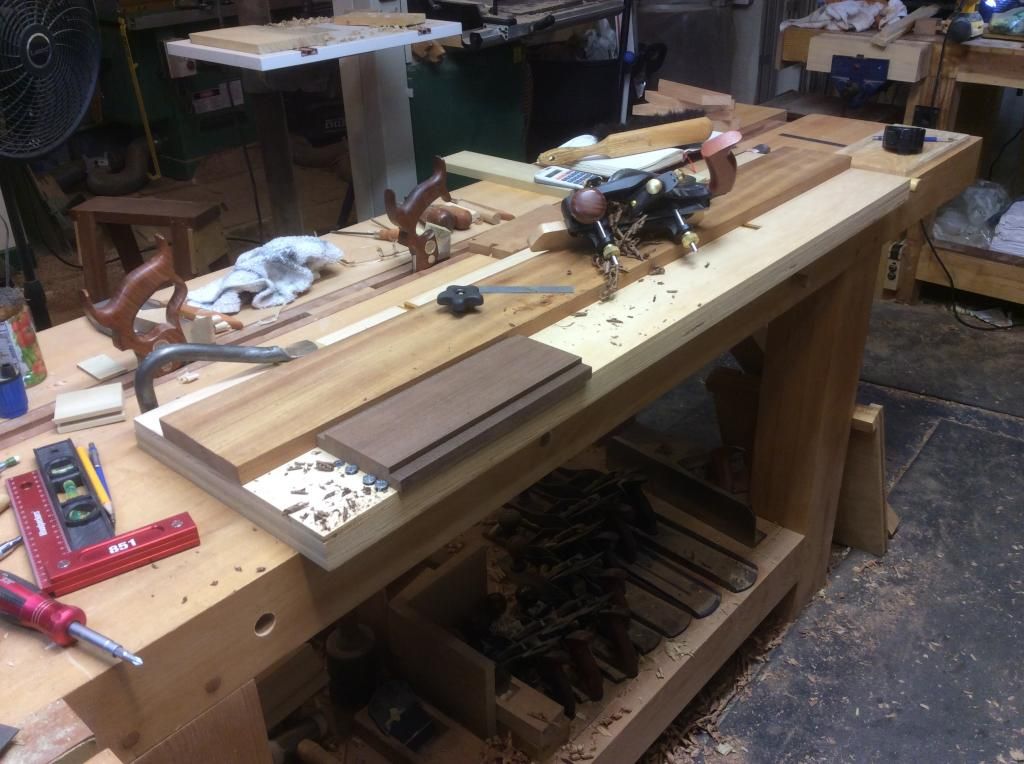
Clamped in place:


The only down sides I can think of off hand are it will limit the use of dogs to ones that have a lip and it will restrict easy reaching from the front of the bench for the planes and bench appliances storied under the bench. The dogs are not a real problem because I seldom use dogs, I mostly use holdfasts and battens.

Anyway if I'm about to screw the pooch pipe up.


Doors

I've had so much fun building the new pantry for the kitchen, I'm beside myself.

Between work and WX it took several weeks to finish painting the doors. Once the last coat dried I eyeballed where the 35mm holes should go and drilled 'em. As Charles Pierce says "Will he see the rake"....Whap, damn right in the face.

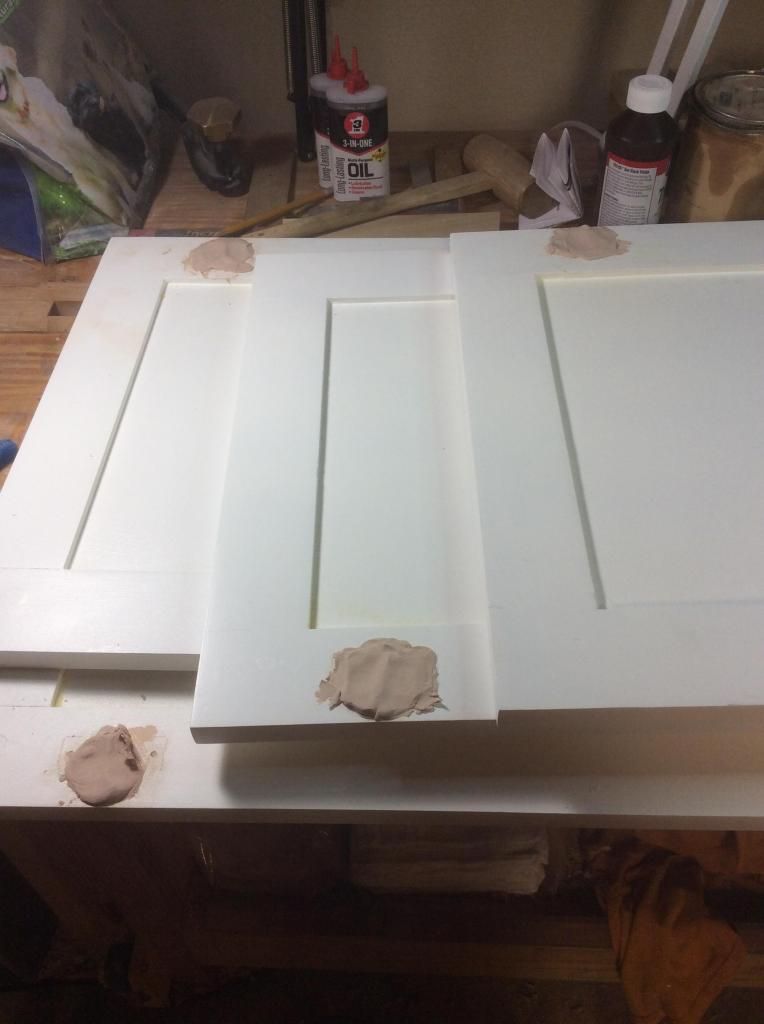
The bottom holes on the bottom two sets of doors are just one of those thin red ones off for the doors to hang where I want them. After much butt scratching and having serious conversations with myself ranging from "hang the suckers" to "where is the axe" I found some two part epoxy wood filler to fill the holes. I'm waiting on the filler to dry enough to flatten and re-paint. Then re-drill and finally hang those suckers.

The good news the pantry is near the finish, the bad: Once MsOK returns from Texas I know she's going to start ripping out my bathroom tile and the process starts all over, just in a different room.

Waiting for the putty to dry:


Monday, January 05, 2015

Block Plane

I use a Block Plane less than almost any of the other dimensioning and smoothing planes. Except when a low angle is needed, I will usually pick up the #3 or one of the wood stock planes for typical Block Plane uses. BTW, I will stumble around and get to the point.

A couple of years ago the local wood store had a sale on a knuckle cap low angle Block Plane, I really didn't have a need because I already had an under utilized  Stanley LA Block Plane but what the hey....lack of need has never stopped me before. Anyway, it, the LA knuckle cap, Block Plane followed me home. Once home I did a cursory sharpening and gave it a try.....It didn't work worth a crap. I was busy with other things and like I said earlier I had other options for an operation I didn't do often so the new Block Plane got pushed to the back  of the shelf and forgotten. In fact later I picked up a Veritas slew LA Block Plane that became my go to Block Plane.
Yesterday I was getting the final coats of paint on the pantry doors from hell and while waiting for the paint to dry doing tool maintenance. For some reason I noticed the unused knuckle cap Block Plane. I pulled the iron did a good sharpening, put it back together, and it still didn't work worth a crap. It took a heavy cut on one side and no cut on the other. I inspected the bed, checked the iron for square, re-sharpened the iron to make sure, put it back together and still no joy. I slewed the iron as much as possible where you could barely see the iron on the side that cut and the other side was a good mm or almost two extended with the same results. No shaving on the side with the extended blade.

Thinking I might be loosing it I packed it up and went to the wood store. We all stood around scratching our respective butts till one of the younger guys that could still see inspected the bed and could see that it was not level.

We traded bodies, I keep my iron, once home I tried the "new" Block Plane. It is really sweet and may become a primary go to user.


Saturday, January 03, 2015

Opti

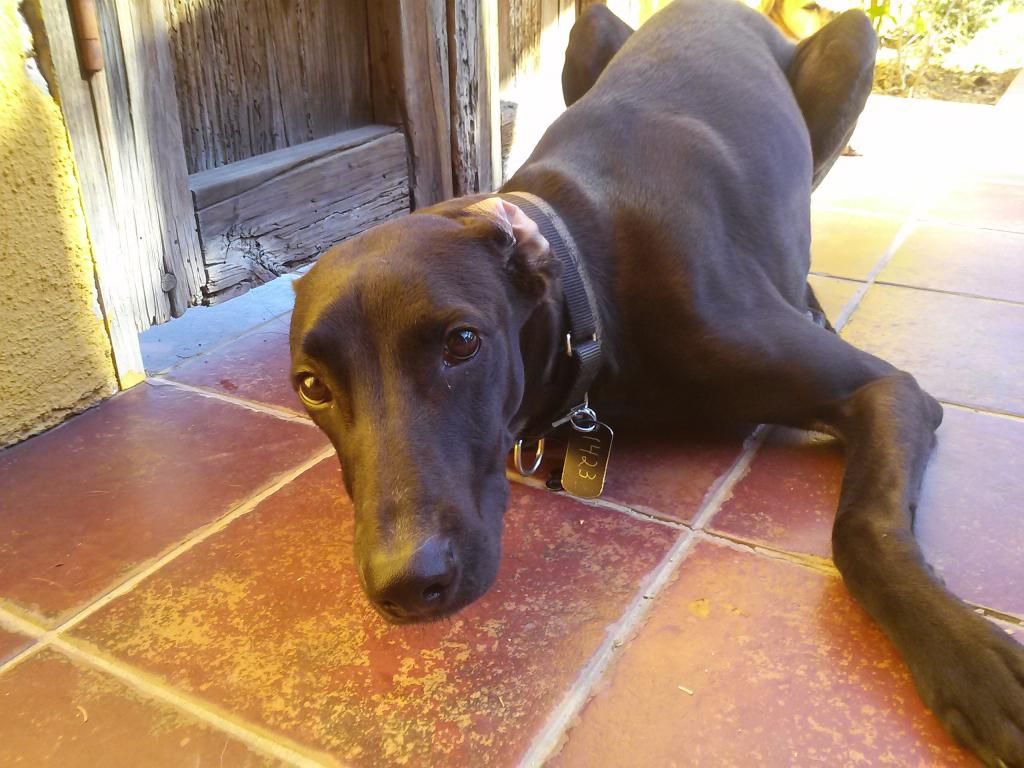
A fellow Tucson woodworker also does volunteer Greyhound rescue work. He has a one year old Black Lab/Greyhound mix that needs to find a home. As Mark puts it, Opti is a sweet energetic puppy and I think cute as can be. Look at the legs on him.

Anyway if interested you can email Mark at "marklauer at gmail dot com" or if you would like more info on Greyhound rescue go to http://www.azgreyhoundrescue.org/

Would you look at those eyes, they can melt your heart:


Here is the one of legs like a basketball player:


I hope he can find a good loving home, I know nothing brings as much joy into your life as a good dog.


Friday, January 02, 2015

Solstice Boxes

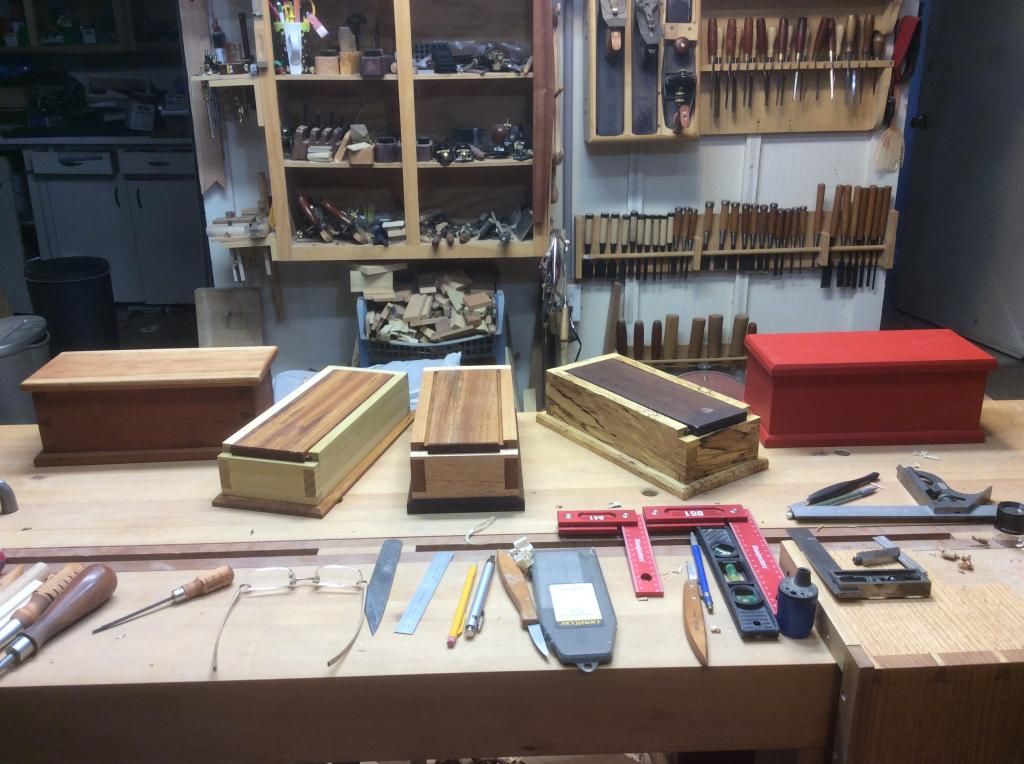
I posted last night that I expected I was through with Solstice Box builds for awhile, not so fast Bubba. seems a few have already disappeared and a few have been put to use by MsOK.  These are the ones I found still around:


The red one is MsOK's B-Day gift and she has already said I can't give away the spalted Sycamore box. That only leaves three in stock. As I like to have a half dozen or so around for gifts through the year I guess there's still a need to build a few more.

I've some Beech left over from the work bench build.  MsOK banned the coffee table to the patio a couple of days ago. I've been trying to find a use for the Beech.....Beech meet need. I've had a half formed idea of a floating top table in my head for awhile. I made a couple of drawings this morning and roughed out some dimensions. I'm not sure what wood to use for the top but thinking maybe Cherry would look good with the cream of the Beech base. The big design considerations are I want the table to be bullet proof strong but light in both appearance and weight.

I may not get much done today, lots of housekeeping to do....Insurance company never sent proof of insurance on the new truck to the bank, that's first up as soon as the agent opens. Then the usual first day off of running the streets taking care of everything put off while working plus a couple of additional chores, maybe in the shop by early afternoon.

Thursday, January 01, 2015

Finished Today's Box

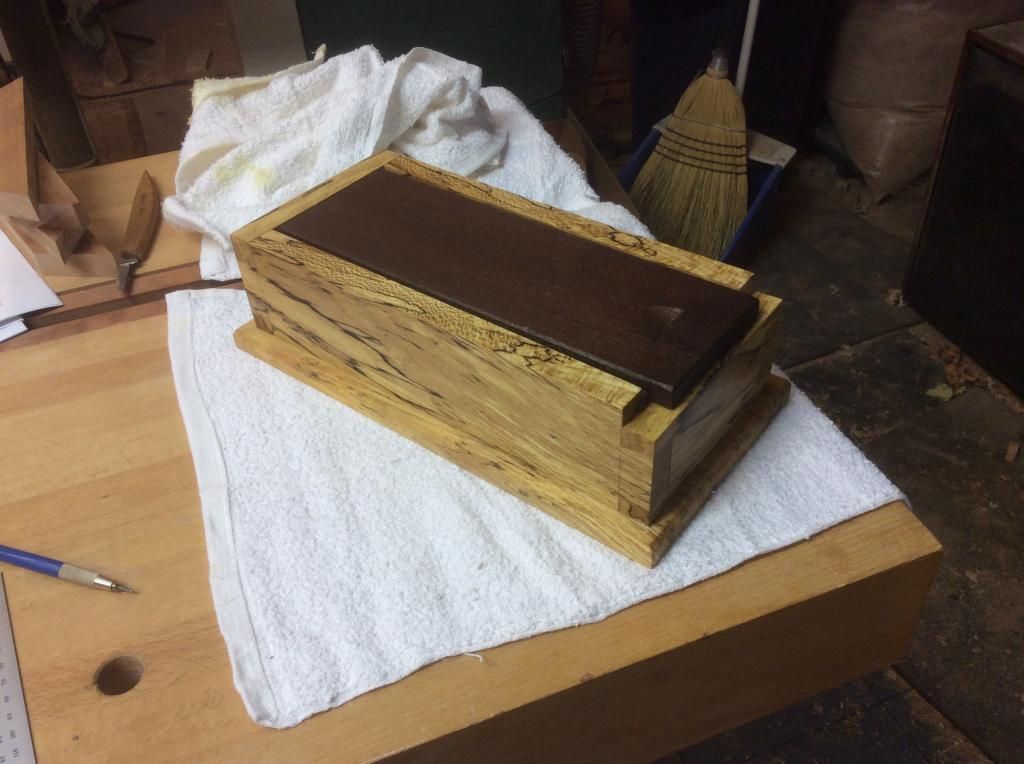
Finished today's small box. My box inventory is in pretty good shape for now so this may be my last small box for awhile. It has a spalted Sycamore body and base with a South American Walnut top, finished with Tried and True Bee's Wax.


I've a beautiful spalted Maple board leaning against the wall of the shop. I've been looking at it for several weeks now trying to decide what to do with it. I may make a couple of doors tomorrow using the spalted Maple as panels. Then decide later what kind of cabinet or chest to build to hold the doors.

Or I could make MsOK happy and make a couple more frames for her ceramic mosaics. It's nice to have options.

Making Boxes

Cold in Tucson, even a little snow in the valley last night. Well shucks, I guess I can't paint pantry doors today....Darn.

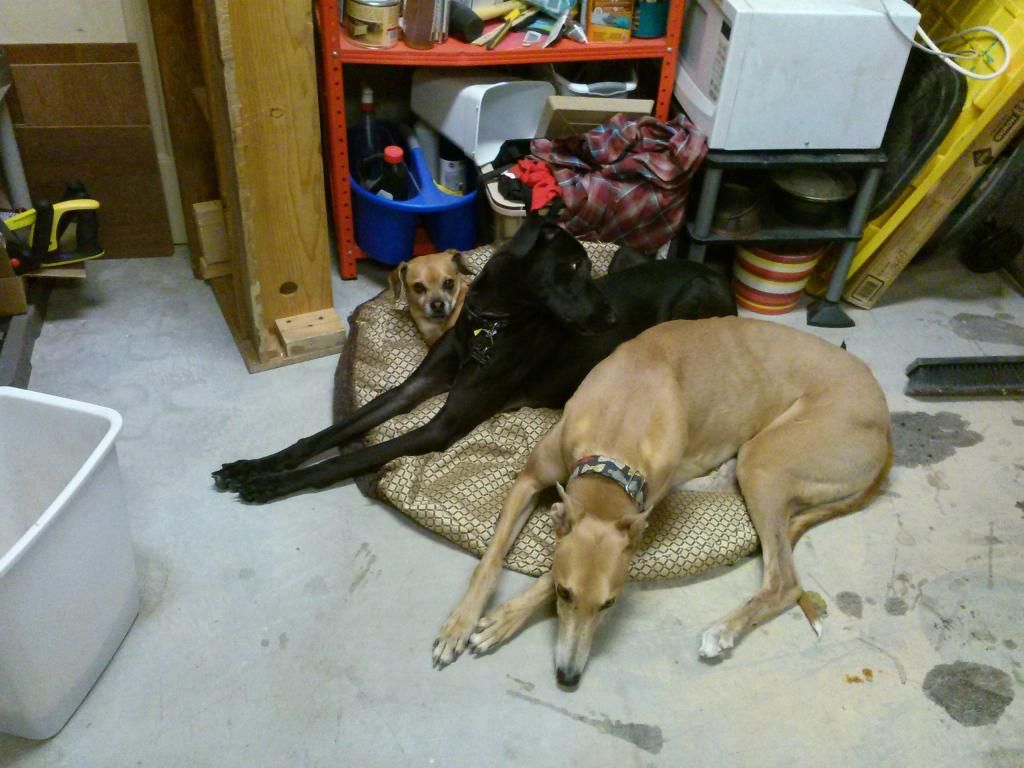
Shop was pretty cold this morning as well, I got it warmed up enough to work in. MsOK had to work today that left the critters and me to entertain ourselves. Let's see, a kinda warm shop with two big smelly dogs at my feet and nothing that had to be done. Damn it's going to be a good day.

I had a short piece of spalted Sycamore just large enough to make a small box and a small box is a good project for a cold day with nothing pressing. I think it was either Kurt Vonnegut or George Carlin that said the purpose of life is to fart around. Whoever said it I managed to live a purpose filled life today. BTW, the box is in the clamps, the base is waiting and the sliding top is also waiting to be fitted. Love projects you can finish in a few hours, with a ton of tea breaks and doggie butt scratching.

The South American Walnut top waiting for the box to come out of the clamps:


I gave some of my scrap wood to another Tucson woodworker a couple of weeks ago. I received an email from him today showing one of his projects using some of the scrap Black Limba to make drawer fronts. He really did some nice work....It was a much better use of the Black Limba than it's intended fire pit destination. What a great way to start the year.