Wednesday, April 06, 2016

Glued Up

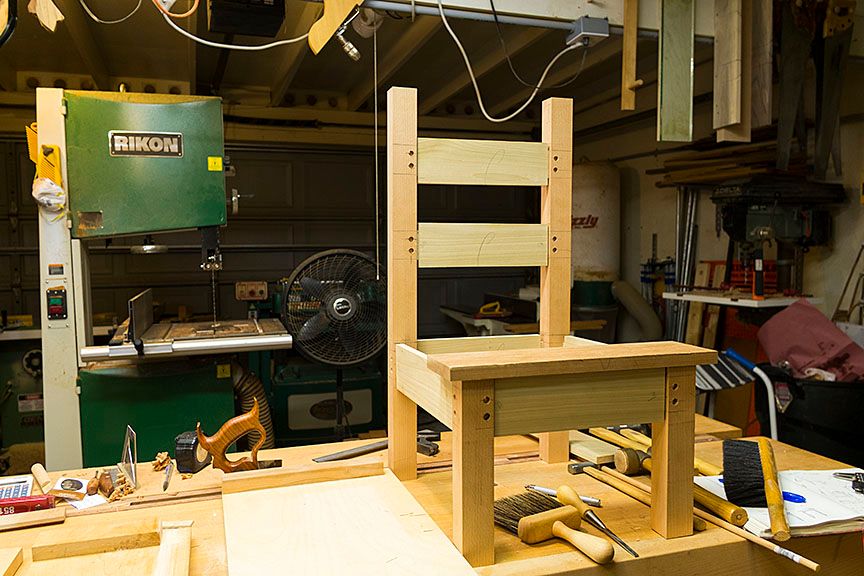
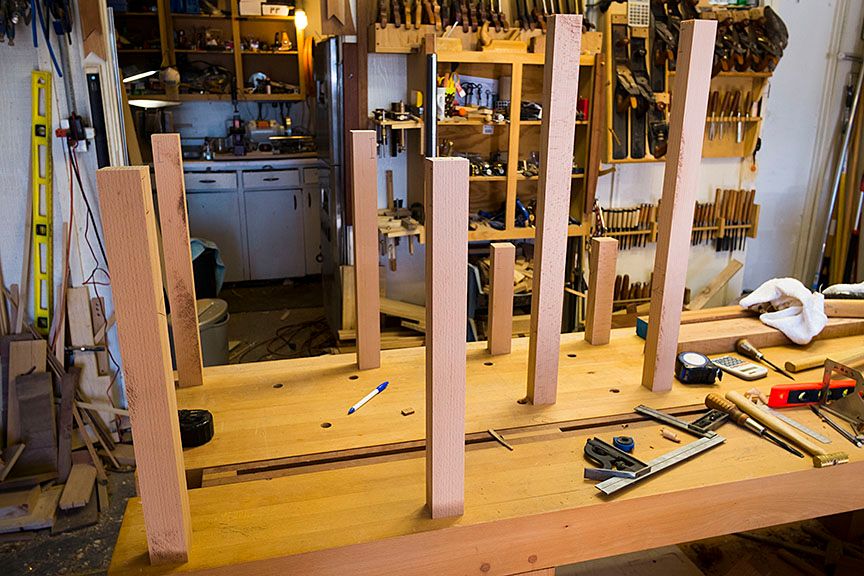
The sucker is glued up.

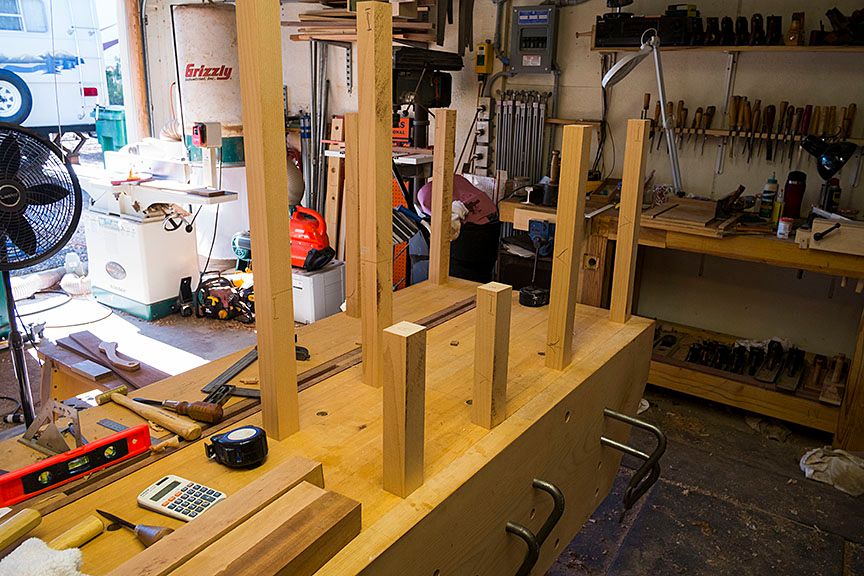
When it has been awhile since the last big box glue up you forget just how much work it is to do without a helper. Everything is too far away, falls off, or slips. Anyway here is my basic set up for solo glue up:
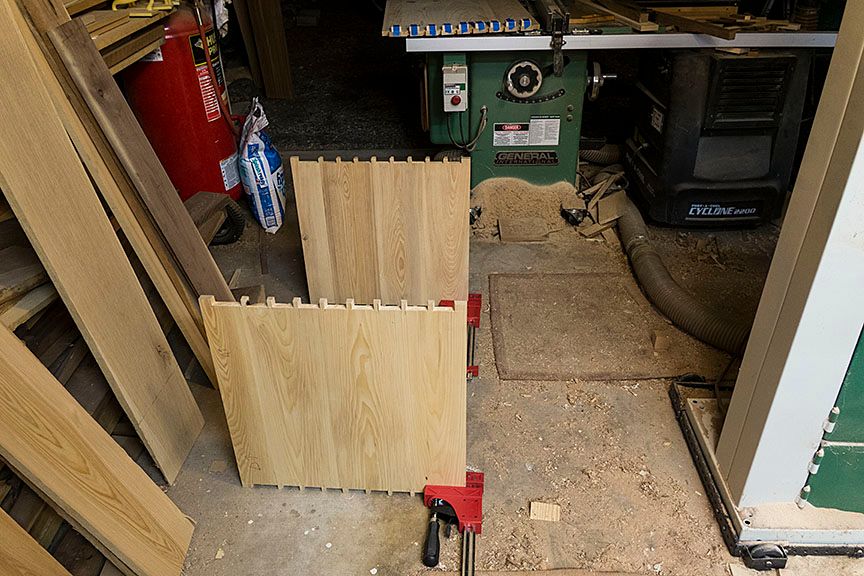

Checking the position and making sure things fit:
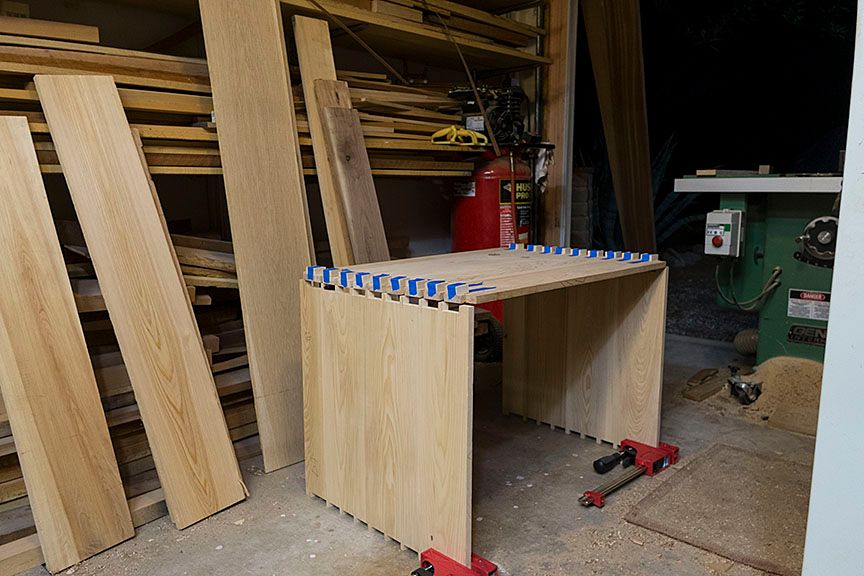

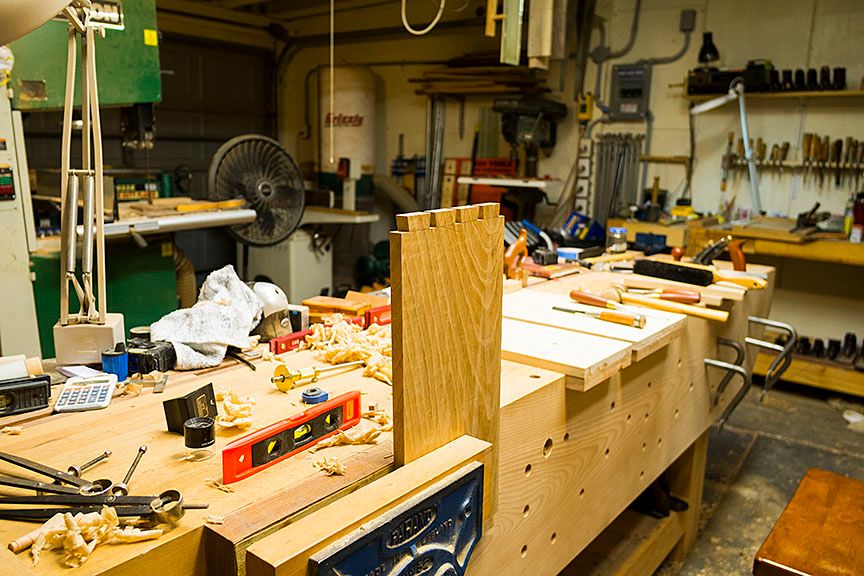
Glued up and square for now. We will see when the clamps come off, as you can see I had to pull it square....Never a good sign. Other than being very soft the Cypress was nice to work with hand tools but.....At least this batch of Cypress, never stopped doing stupid wood tricks. I finally gave up and figured the dovetails will pull it straight enough for a tool box or it will make a nice fire. Once out of the clamps what will it be, firewood and I start over or I make a lid and some trays. Either way works for me. 
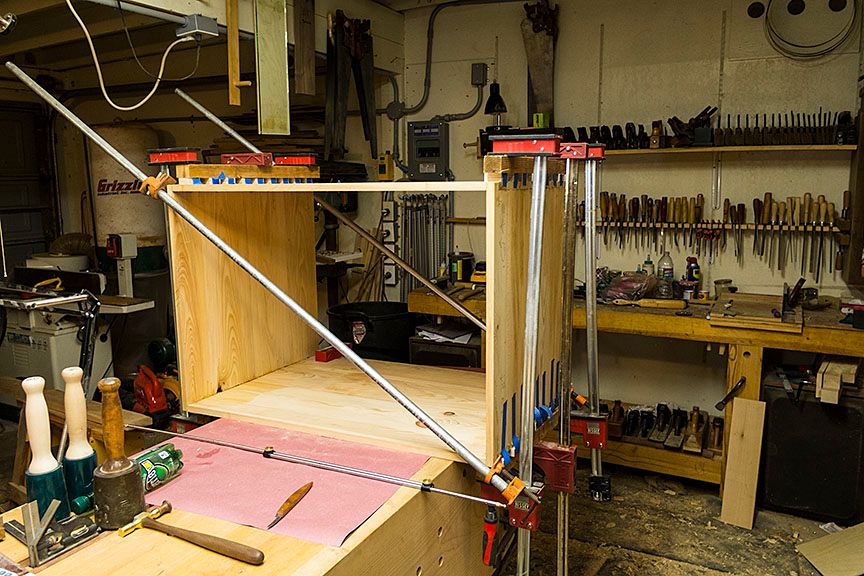

While waiting for decision time, tool box, firewood, tool box, firewood.....It is on to cleaning out the shop.

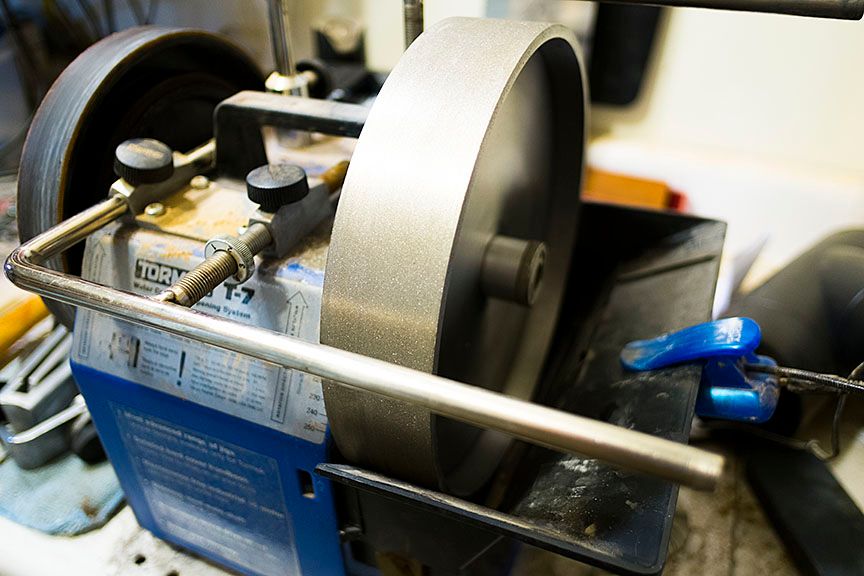
I'm making three piles. The first is "junk" no one would want and going to Goodwill, the second is for Craig's List, things that are too big to ship or not worth much but still too good for Goodwill, and the third is a eBay pile, some of which I'll list here as well. One of the eBay items will be my Tormek T-7 system with most of the accessories and three wheels, the standard, a Japanese 3000 water stone, and a (IIRC) 180 CBN wheel. Watch the blog because I'll list thing here first before listing on eBay.

ken 


Monday, April 04, 2016

Back To Chopping

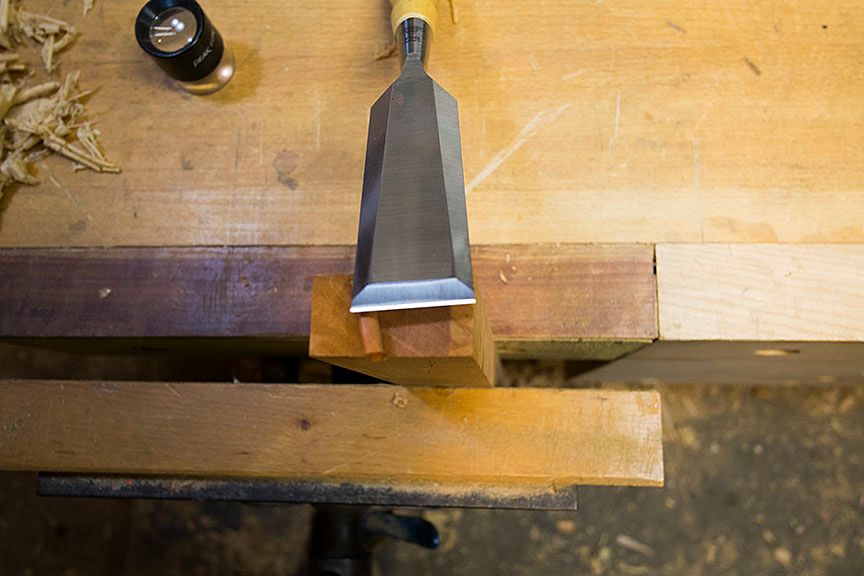
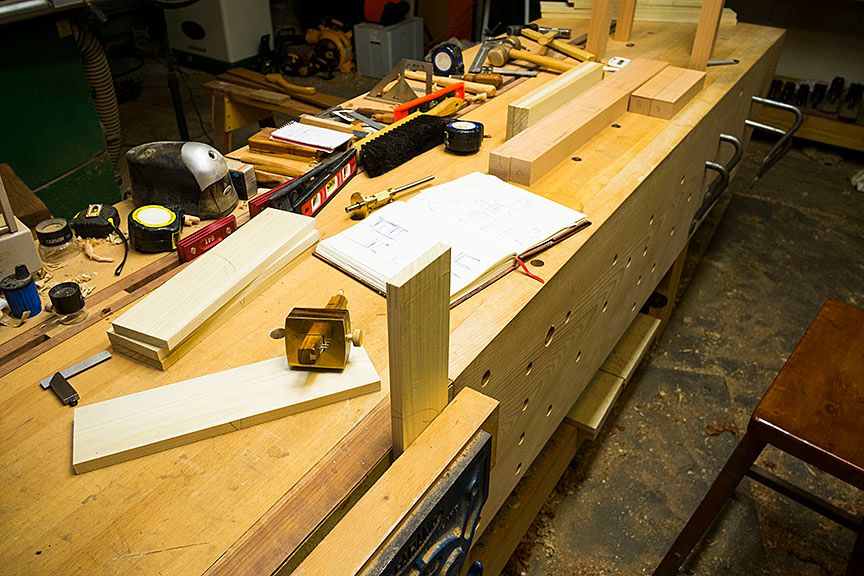
Because of the size of the panels I used a turning saw to saw most of the pin waste on the tail boards. It works and is faster than chopping and paring but......There is that damn but, life would be so much easier with out buts. With no support and a soft wood like Cypress if there is any waste greater than a mm I do not think you can get a chisel sharp enough to prevent tear out. Anyway that's my story. On the pin board I've gone back to my normal chop/pare leaving support wood in the socket until the last little chop.  It makes a much nicer socket floor. The only problem is it is slow.

Work forgot I'm alive this week and I've a few days off in a row, yesterday I had entertainment duties but today has been a shop day. By tomorrow I should have a box or at least four sides to a box.

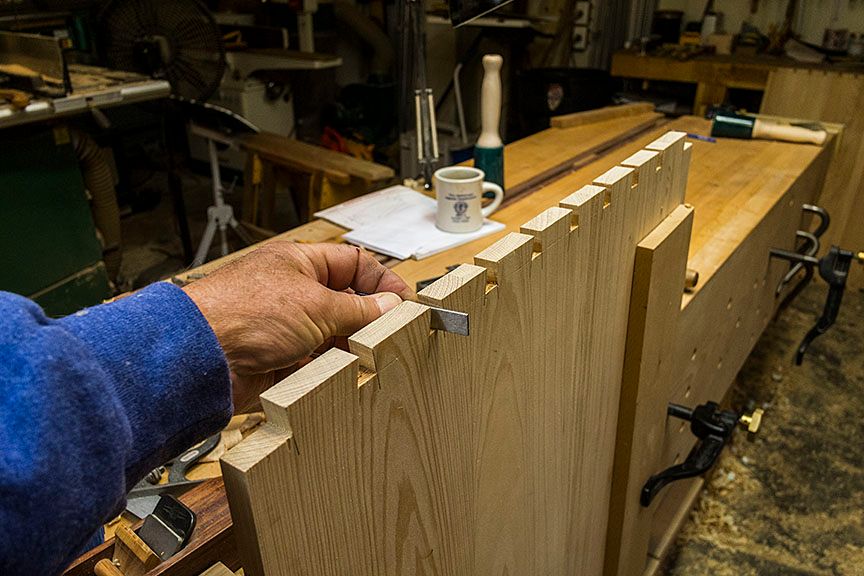
Here is a photo checking the floor of the pin sockets:


The Cypress is easy to work other than needing care to prevent tear out and denting easily but damn it loves stupid wood tricks. I've given up on trying to keep it square and flat. I figure once I glue it up the dovetails will hold it close enough for a tool chest. If not, maybe it will make a good butt massager.

ken
Thursday, March 31, 2016

Sawing The Tails

We made it back from Fort Davis/Big Bend, Texas Monday evening. Close to a perfect trip length, about 600 miles, an easy one day drive. Easy for me though MsBubba may be warming up to the idea of a Class A motorhome.

I've early AM shows at work all week so progress will still be slow on the tool box/work bench. I did get the tail boards sawn and most of the pin waste removed. The pin sockets are ready to be cleaned. BTW, what a PITA big panels are to work. Here are a few photos of the tail boards.

Tail board marked out:


Sawing the tails:


Most of pin waste removed:


Most of the time I do not saw out the waste. On smaller projects it is just as fast to chop but on panels this large I go for a "turning" saw to remove most of the waste.

I received a box with four saws from Mike Allen last Thursday just as we were walking out the door for Fort Davis. I didn't have time to open the box and look at the saws until yesterday, the saws were very well packed. After unpacking the four, I used the 8ppi x-cut to saw the end off a hunk of 8/4 Cherry that was handy. What a great saw, more with photos when I have time.

ken 


Thursday, March 24, 2016

Tail Board...It's Better to Be Lucky

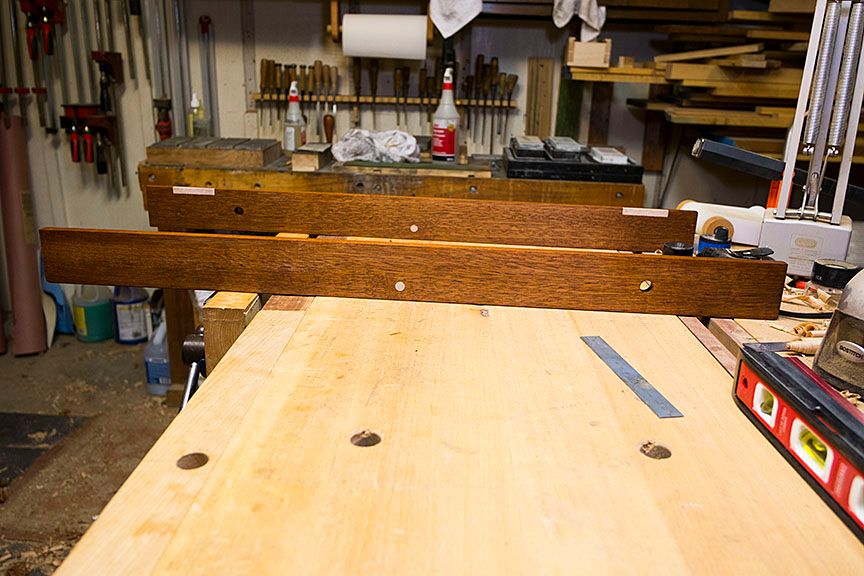
I didn't plan, just grabbed a dimension out of my ass...."that looks about right". Turns out "that looks about right" just fits in the Moxon and because of the the size of the panel it will be easier to saw the tails and pins in the Moxon. Cut to the chase Bubba.....The boards just fit, a silly mm more and they would not fit. I expect if that silly mm had been there I would be figuring out the best way to get rid of it on all four panels instead of photographing the panels in the vise.


No sawing for a few days. The monkey suit goes on after I finish morning coffee and it's off to sit in a dark box for four hours. After finishing the dark box sitting I'm driving to Fort Davis, Texas for the weekend with the whole crew, MsBubba, Sam the Wonder Dog, Sweet Maggie Dog, and the 5th wheel in tow.

See you guys on down the road,

ken
  

Wednesday, March 23, 2016

Voigt Jack

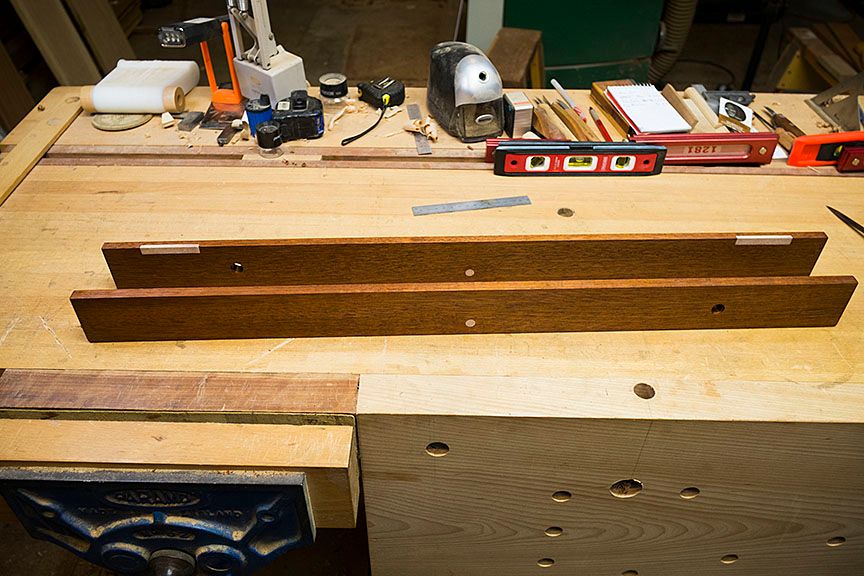
I'm almost through prepping the panels for the tool chest build. Steve Voigt send me a new Jack, it arrived just in time to help with the panels. What a sweet plane, While I used the ECE Try for some of the prep, most of the grunt work was done by the PhillyPlane Jack and Steve's Jack. with final smoothing done with Steve's Smoother. The PhillyPlane Jack has a lot of camber, just slightly less than the ECE scrub, Steve's came with almost perfect camber for a Jack. Working the three of 'em made getting the panels ready for dovetailing a piece of cake.

I made an unforced error cutting one of the panels to final size and left a big honking knot right in the dovetail line. Can you say "Condor Tail" to work around the knot. Anyway here are the three on the final panel, from left to right the PhillyPlane Jack, Steve's Jack. and Steve's Smoother:


One more of the three:


If you have any interest in using wood stock planes you need to act fast while the wait time for a new Steve Voigt plane is reasonable. As far as I know Steve is the only maker making classic double iron planes. It is too long a subject to go into tonight/this morning but that is a very good reason to buy one of his planes as is the fact they are beautifully made and are a joy to use right out of the box.

Sam the Wonder Dog has recovered and is back to his old self, demanding treats and scratches. He had me worried for a couple of days as he is getting older. Here is a photo of MsBubba and Sam on the day he followed me home from the dog pound in 2010, a true pound puppy. BTW, you have to question how he ended up in the pound, he was almost perfectly trained, healed like a show dog and knew most of the standard commands, it was love at first sight.


Remember click 'em to big 'em,

ken

Saturday, March 19, 2016

Whisky Snob

I may be becoming a Whisky snob. My line up of single malts grows by the week and there are even a few bottles of Whiskey joining in the queue.
While I'm a neophyte at this Whisky thing there are a couple generalizations I think I can make, wrong or not, Lowland Whisky has a more peat/smokey taste while the Highland Whisky's have less peat and more fruit flavors. If you like fruity/sweet Whisky go for for one of the American Whiskeys, I have a glass of Jack Daniel's Single Barrel Rye on my desk as I type, it is like drinking desert.

The price/smoothness/taste sweet spot for Whisky seems to be 12 years old, after 12 years the price takes off like a Lear 24 headed for FL450 with little change in taste or smoothness. Or maybe I just haven't enough tasting experience to tell the difference.

Anyway here is the current line up, not necessarily my favorites but the bottles that are open and I'm trying. The second from the left, Glenkinchie, is one of my favorite Lowland, peaty, Whisky's.  I do not know if you can see in the photo but the Jack Daniel's on the right is much darker than the McCallan on the left. I suspect that is because of different types of casks used in aging.


Sam the Wonder Dog is a little under the WX, he gurgles when he pants, it's off to the Vet Monday. In the mean time he is getting away with things he knows better than to do.


I worked this AM, so what's new, but found a couple of minutes for shop time. Some spent prepping the panels for the tool chest build but mostly taking care of a couple of trim problems in the RV. BTW, tools are good. I had some Home Depot 1/4 round I tried to make look "right" but no joy. So I dug through the wood pile and found a Red Oak cutoff, trued an edge then went to work with a "horned" smoother to get it close to shape and finished with one of the "rounds".  The more I use my woodies the more I like 'em. I've a couple more coming from Steve Voigt, a Jack that is in the mail as I type, and a Try that should come soon.

Next weekend we are off to Fort Davis, Texas with the RV in tow to see the Grandpeanut and do some star gazing. See you'll on down the road.

ken


Sunday, March 06, 2016

Tool Chest First Panel Glue Up

The Cypress has set for a couple or three days and is still reasonably straight and I have several hours before putting on the monkey suit for work. Might as well get a panel glued up.

First task is to decide out how the boards will fit, taking grain direction, and reference side into consideration and to mark out the panel. The task is easier for these panel because they will be painted so no need to include figure in the decision.

Here is the first panel marked out with a furniture maker's triangle, face mark, lines across the joint line to help aline the panels while prepping the glue surfaces, a ">" to show expected grain direction, and a "A" to indicate panel position in the box:


After marking out the panel I put pairs of the boards in the vise to true their glue edges. The first step is to create a shallow hollow in the middle of the glue edges:


Then come back and take full length shavings:


Glue pot warming up the liquid hide glue:


Glued and cooking:


Just three more to go before starting the dovetails.


Wednesday, March 02, 2016

Tool Chest

I know I'm a broken record but....Work is crazy, I'm in the middle of 13 days in a row. We are going to have a come to Jesus meeting soon and if they can not give some reasonable assurance that the abuse will stop I'm going part time.  I hate to do it because I still enjoy my job and feel I'm returning some of the investment others made in me when I first started flying....Enough kvetching, on to something at least interesting to me and maybe to you.

The boss aka sweetie pie, bunny rabbit, light of my life, and even more important SWMBO has been on my case to make a tool chest and small work bench to carry when we go RVing. She has noticed after a couple of days of sitting in an RV park I'm ready to be back in the shop. There is only so much beer, whisky and tacos a man can enjoy at one time. Usually it is a couple or three days for me. Anyway that is the back story.

Today I had a couple of spare minutes and used them to prep some cypress for the tool chest. It is rough dimensioned and stickered.  I'll give the wood a couple of days to settle and then cut to final dimensions and clean up any stupid wood tricks.

The outside of the chest will be approximately 600mm X 900mm X  600mm. Here is a photo of the stickered wood. If you squint you might be able to see a tool chest or maybe not.


Monday, February 22, 2016

Odds and Ends

The last couple or three weeks have been a zoo. As always it is work related activities causing the zoo. Five days off in the month of Jan and maybe the same in Feb.  Enough kvetching.....on to a couple of things I've wanted to post.

First is the new dovetail square. So simple but works better than anything else Ive used. setting the pin board:


Setting the dovetail square:


Setting the Tail Board:


Ready to mark:


It works and is easy to make and use.

I received a new double iron smoothing plane from Steve Voigt a couple of weeks ago. Here is a little tool porn:


And a photo of the plane's mouth:


Not much work has been done in the shop since the first of the year. Mostly tool maintenance and sawing practice just to keep the skills sharp. I have been fettling a couple of Kanna's as well, once finished I'll post some photos. 

As always....click 'em to big 'em.

ken   


Monday, February 08, 2016

Dovetail Square

Derek Cohen posted some photos of a small bench appliance on the SMC forum. It's for squaring up tail and pin boards for marking out the pins. I made one last night, in between doing my one day off from work this week "honey do's". It was a quick build and a good thing because shop time was very limited. That woman drives me like a rented mule of course sometime I act like a rented mule as well :-).

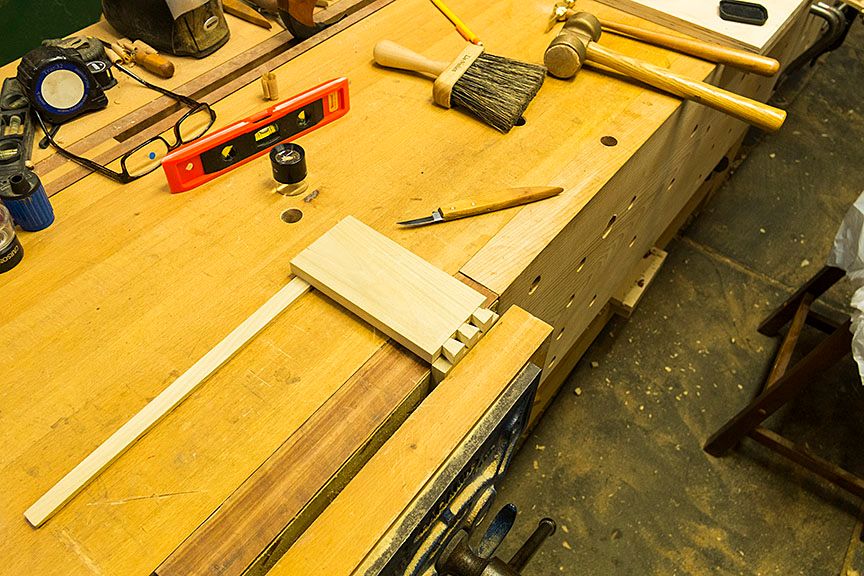
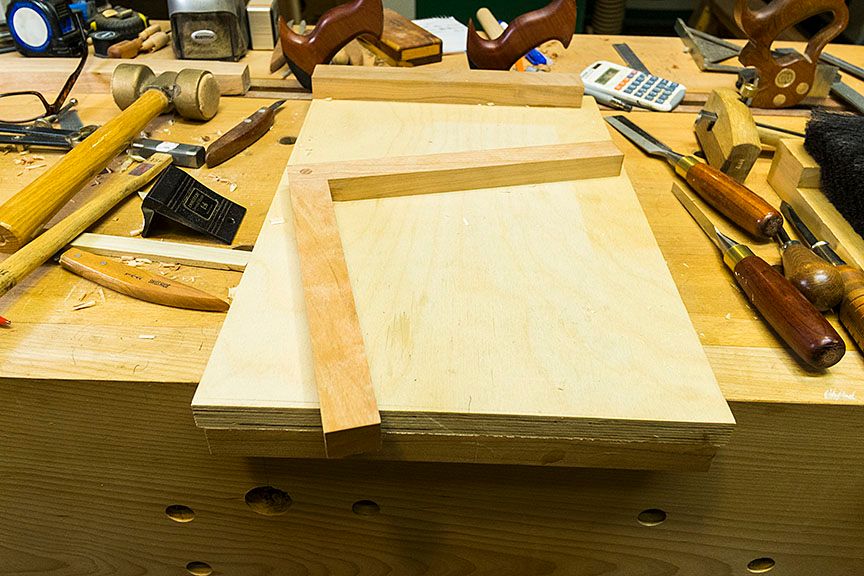
It has a simple pinned lap joint holding some scrap Cherry legs together. In use, raise the pin board just higher than the vise jaws with a thin piece of scrap. Use the same piece of scrap to hold the tail board at the correct height, square the tail board with the dovetail marking square and mark out your pins. A piece of cake or as my foreign clients would say "a sheet of cake".


This morning I made a quick and dirty set of dovetails to test the appliance out.  It is a winner, the base alignment was perfect. I could not feel the slightest difference between the boards. Now the question is....Why didn't I think of it first?

ken

Tuesday, January 26, 2016

Home From Houston

I gave in and flew the peanut skies to Houston and back.....That will not happen again, seventeen stinking hours or not it makes no never mind, I will not step foot in an Air Carrier again if I can drive. I hope they open a Chunnel to the UK before I croak.

I made a few photos while in Houston, most will be trashed, a few will be sent to the peanut's Grandmom aka MsBubba and his Mom and a couple will be added to my work. This is one I couldn't resist:


Click it to big it.

Not much will go on in the shop other than tool maintenance for a couple of weeks. Work is crazier than normal crazy, guess I have to pay for taking a few days off.

See you guys on down the road,

ken  


Monday, January 18, 2016

They Are Done

The fat lady has sung her song, the crops are in the field and the cows are in the barn. The grandpeanut's chair and table are finished and waiting for the UPS girl (BTW, did you ever see the photos of my UPS girl? Ah but I digress). To have a hope of getting the table and chair to Houston in time they had to be finished no later than Sunday night and someway somehow I made the deadline. Not too bad for my usual slower than a slug work pace plus dealing with an insane work schedule. I made the first cut January 3td and finished January 17th.  A couple of 16 hour shop days this weekend helped as did having most everything needed in the shop. I also think MsBubba could see the insane, driven look in my eyes. She cleared the deck and left me alone Saturday and Sunday.

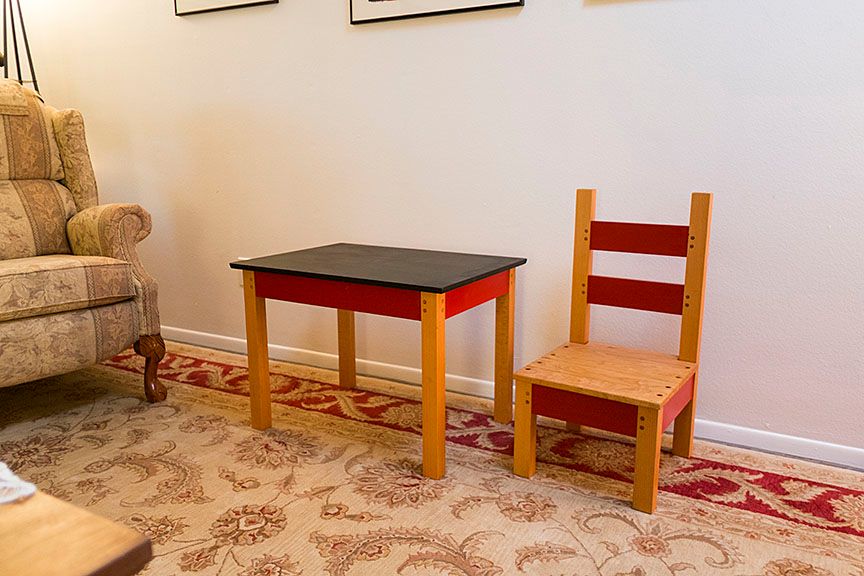
Some of the design decisions were out of my hands. Such as the chunky legs and the "Chalk Board" paint on the top. I must say the black top works but I would still have liked the legs shaped to lighten the look.  Here are a couple of photos of the finished table and chair:


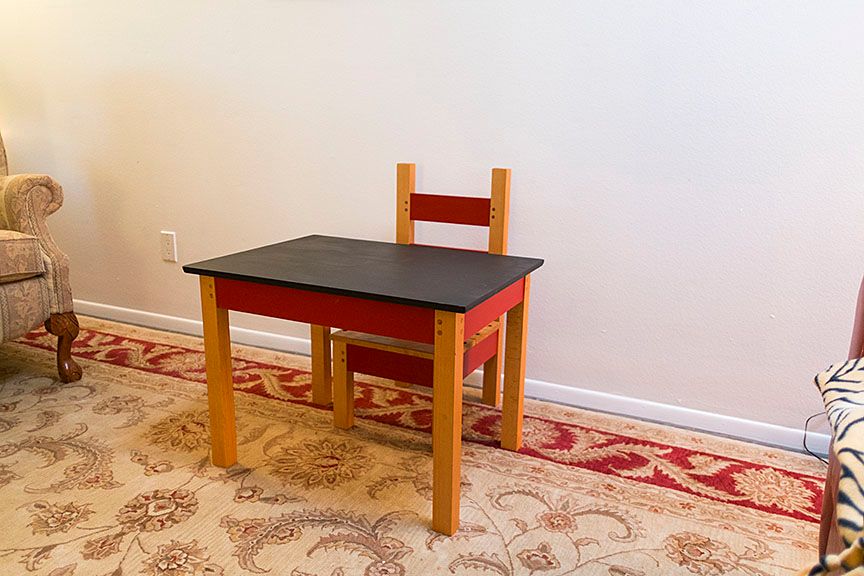
And one with them in "working" position:


Click 'em to big 'em.

The painted parts are Poplar with Red Pepper Milk paint on the stretchers and aprons and "Chalk Board" Latex paint on the table top. The chair and table legs are Beech finished with Danish Oil and the chair slats/seat is Cherry also finished with Danish Oil. All the joints are drawbored M/T as per my usual way none of the M/T joints are glued.  The only glued joints are the edge joints to form the table top. The seat slats are attached to the chair with Black Oxide "Highpoint" #10X1 round washer head screws with #2 Square Drive (sorry Bob). I wanted to use brass screws with slotted drive to attach the slats but couldn't find any in time to finish under the deadline. The table top is attached with mortice buttons using the same 'Highpoint" screws.

I'll deliver 'em to the UPS store this AM before going to work. After that they are out of my hands but I expect I'll tote the note for whatever it costs to have the table and chair in Houston in time for Levi's B-Day.

See you guys on down the road,

ken


Monday, January 11, 2016

Chair Base Together

I put the chair together yesterday and showed the boss how plain it was with no paint. Beech and Poplar just aren't the most exciting woods with just a oil finish, so she Ok'ed painting the stretchers but remained firm about no shaping of the legs. Not a biggie, less work and now I can get on to the table build.

Made one mistake when pegging the chair. I had 35mm pegs of Maple for the sides and 30mm pegs of Oak for the front bores. Someway one of the maple pegs got mixed in with the Oak pegs. By the time I noticed I was driving a Maple peg into a Oak hole it was too late. Needless to say, when I look at the chair that is the first place my eye goes. BTW, one of the Afghan tribes believes only Allah is perfect so all their rugs have a "mistake". That's my story and I'm sticking to it.

When I first arrived in country Afghanistan I noticed the rug merchants putting their rugs in the road so cars and trucks could run over them. Made no sense until someone explained that new rugs were almost commodity cheap but antique rugs were worth a lot of money.  Never underestimate Eco Man, if there is a way to make a buck someone will do it.

I'm still undecided on the seat. My first thought was White Oak but after looking at the completed base I'm leaning towards Cherry. I know I have enough White Oak in the wood pile but I have to dig a little for the Cherry. We'll see.

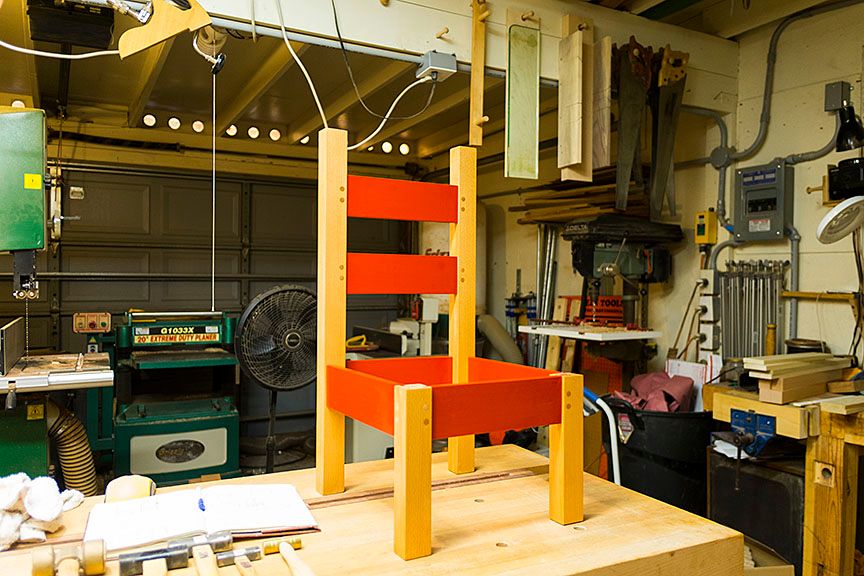
Anyway, here is the chair base. Click it to big it:


ken


Saturday, January 09, 2016

First Dry Fit

I haven't cleaned up the tenons. There's not much to do, I just need to chisel off the trash at the base of the tenons and they should pull up nicely.

I wanted to get an idea how the finished chair will look, at least how big it will be so I rough fitted everything together. None of the joints are pulled up tight and the seat slat is just something out of the cut off pile that was close to the correct length.

If you squint and look sideways it kinda looks like the finished chair. I expect I will shape the legs and back a little to lighten the look and for now I'm planing to use BLO on the legs and seat. The stretchers I plan to paint with milk paint, black under coat with a red finish coat.

Anyway, I'm getting into the short rows on the chair with the table to follow.


ken

Thursday, January 07, 2016

Sawing the Tenons

The Grandpeanut's chair is coming along. The mortices are chopped and I've started sawing the tenons. The first fit right off the saw with the exception of cleaning up a small bit of left behind "stuff" on one of the shoulder.  Sure is nice when it works that way, when it doesn't it can really slow the process.

I'll drill all the mortices for the draw bore pegs before I fit the rest of the stretchers. That way I can mark the tenons as I fit 'em. One time together, mark the tenons, pull it apart, drill the tenons, back together and peg that sucker.

Here is a photo of sawing a tenon:


And one of the bottom stretcher fitted to the back legs:


I'm still undecided on finish. I'm leaning towards BLO or Tried and True on the legs and seat but painting the stretchers with a black Milk Paint undercoat and red Milk Paint overcoat. 

I've a couple of weeks to finish the build, I may not finish both in time for shipping to Houston before his birthday but I hope to at least have a photo of the finished chair and table by the big day. The peanut, I'm sure, could care less, but it would make Grand Bubba happy.


Tuesday, January 05, 2016

Started on the Grandpeanut's Chair and Table

After a bit of butt scratching, a little searching on the web, followed by putting some rough ideas in the journal, I kinda had enough info or at least enough of a rough plan to dig through the wood pile for useable stock. BTW, this build, a table and chair for Levi's first birthday, is truly flying blind without an Instrument Rating. I haven't a clue what I'm doing.....Of course some would say that is usually the case....whatever.

I found a 8/4 scrap of Beech that I could just get the legs out of for both the chair and table and a piece of 4/4 Poplar for the aprons and stretchers. For now I'm planning on using some White Oak for the seat and table top but that is a maybe.

You can't tell much from either of these two photos but I have 'em and I control the mouse. The legs are rough milled and set in approximate position.  Photos from the front and back:


I've since finished milling and marked out the mortices on the legs and the tenon on the stretchers:


Before going to work yesterday I managed to chop one of the twelve mortices for the chair. I expect to beaver away on the remaining mortices today as long as I can before my 16:00 day job "show".

The table will wait until the chair is finished so I can be sure they fit together. 

BTW, yesterday morning before I finished final mark out I had a bit of re-design panic....."Only on the back did I 'complete the box,' oh shit it will fall apart at the first contact of kid butt." I went back and googled kids chairs and most of them had legs with only top stretchers. Re-design panic over, if it falls apart I'll just blame google.  To add some strength I will use a slat seat screwed (thank you Bob) to the top rails. 

More photos to follow as the build progresses, I hope they will be a little more interesting.

ken
 

Sunday, January 03, 2016

Winding Sticks

I have marching orders to build a small table and chair for the grandpeanut's first birthday this month. Not wanting to rush into things I looked around the shop for a little one day project. A small hunk of Mahogany caught my eye, my guess is this hunk of Mahogany has been following me around the country for over 40 years. It was too small to do anything with but too big to throw away. As I looked at it I figured it was the perfect length for a set of winding sticks. Of course a set of winding sticks must have a light/white insert and nothing in the wood pile was what I wanted. Off to the wood store for coffee and to see what I could find.

Found two things that would work, some Holly pin turning blanks and one of the guys pointed out some table saw zero clearance inserts. Both followed me home.

I used the table saw inserts but next time it will be the Holly. The inserts trap sawdust and I tried several things to bring 'em back to white with no joy. they are not bad but the Holly would have worked better.

Anyway here are some photos of a fun little one day project (if you spend a lot the day geeking and playing with the critters) that uses most of your hand tool skills but doesn't require much butt scratching or heavy lifting.


One more:


Click 'em if you want to see 'em.

ken


Tuesday, December 29, 2015

More on CBN Wheel

More on the CBN wheel in answer to a couple of questions about yesterday's post.

Here is a overview of the grinding station I have set up in the "tool room" aka Fibber McGee's closet:


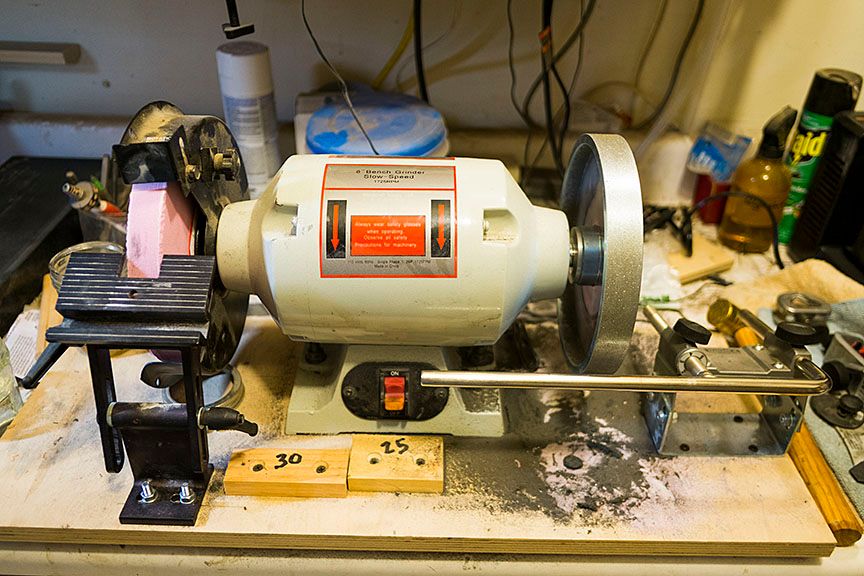
The Tormek with a 600 grit CBN wheel is on the right and a low speed grinder (I think from Woodcraft) with a "pink" wheel and a 180 grit CBN wheel on the left. The rest for the pink wheel is from Veritas and the CBN wheel has a Tormek GBM-100 tool rest.

Because you can not dress the CBN wheel to make it co-planer you have to adjust the GBM-100. There is the rub, as Derek Cohen put it getting there "is not for the faint hearted". I got there but....it took a lot of back and forth adjusting the Tormek tool rest then make a test grind, re-adjust the tool rest, make a test grind.....I ending up digging out a paint can opener to make the test grinds. The other problem is the CBN wheel removes metal so fast even when you are co-planer the bevel can end up with scallops if you let the speed of cross movement or pressure vary as you grind. Again all those can be overcome with practice but a CBN wheel on a low or high speed grinder is not a turn-key answer. Depending on how much grinding you do its advantages may be enough to make it worth while but....it ain't plug and go.  

Here is a close up of the grinder with pink and CBN wheels:


The low speed grinder with the Tormek tool rest was good enough when I heard there was a 50mmX250mm CBN wheel made for the Tormek T-7 it was a no brainer, I couldn't get my AmEx out fast enough. While not cheap, I expect I would have toted the note at twice the price.

On the T-7 all the fiddling is taken care of, it is, from what I can tell, plug and play. On the T-7 the rest is built in co-planer, the speed is slow enough, the grit is fine enough and the wheel is wide enough to control the aggressiveness of the CBN wheel. The ground bevel is flat, smooth, and just for Ralph, ninety degrees to the side. Honing the ground bevel was very easy, I did it freehand on oil stones and it was fast, might have been faster on the Shaptons. 

If you already have a Tormek T-7 and the slowness of the grind bothers you you owe it to yourself to make the change, if you don't have one it might make it worth while to buy one.  I have to admit the T-7 may have been headed for Craig's List if not for the CBN wheel even with all the advantages of the T-7 if it is only used for grinding, the slowness of grind using the water cooled 220 grit Tormek stone was hard to overcome. The CBN wheel is a game changer.

Monday, December 28, 2015

CBN on The Tormek

The UPS girl dropped off a 600 grit, 250mm (10")X50mm (2') CBN wheel for the Tormek this AM. I'll have to live with it for awhile but first impression is...."sweet".  There was no problem fitting the wheel, off with the old on with the new. Checked for square with the jig support and if not square it's close enough. Did a "eeny, meeny, miny, moe" on the chisel rack and the 1" Stanly 750 won the honors.

As expected the CBN wheel cuts the bevel very quickly and did not leave an exceptionally deep scratch pattern. The bevel cleaned up nicely with the soft ARK. I followed the soft Ark with the translucent Ark and a few pulls on a strop with "green stuff".  You can't see it or feel it but I got very nice edge very quickly.  Maybe not better but it was much quicker to establish a new bevel and get to a working sharp iron vs. either the Tormek with the wet 220 wheel or the slow speed 8" grinder with the 180 grit CBN wheel.


As you should be able to see, the polished bevel is nice and even across the hollow grind.

That was the good part of the morning. 

The other:

I spent most of yesterday prepping and dimensioning some White Oak for a step stool build. In fact I had marked, sawed, and cleaned the waste from the tail board when I noticed a very small crack through one of the tails. Need I go farther? Of course not, when I went to the shop this morning to scribe the pins the crack had enlarged and now ran almost the full length down the middle of the tail board. What are the odds that there isn't any more of that White Oak board?

Here is the tail board just after cleaning up the sockets and quitting work for the night:


Oh well....Stuff happens.

BTW, it had been awhile since I had worked White Oak. White Oak really saws beautiful, it's great to work with a chisel, but damn it can be hard to face plane if there is any reversing grain. I'll bet the plane iron spent more time on the sharpening bench than than it did on the Oak yesterday.


A last photo, the CBN wheel on the Tormek:


Click 'em to make 'em big.


ken

Saturday, December 26, 2015

Back From Rocky Point Mexico

We traveled back to Tucson on Christmas day. It was a good trip, WX was close to perfect, the critters swam till they couldn't swim no more, I drank beer, ate tamales and tacos till I couldn't eat no more, MsBubba....maybe she could have sit on the beach a little more but it was time to get back to the shop.

MsBubba, the critters and most important a tennis ball:


We celebrated the most important day of the year, MsBubba's birthday, while there:


I watched a couple of Videos while enjoying a few single malts after a hard day on the beach. A couple of takeaways; Charlesworth's are worth the time spent watching, Cosman is as well in spite of his selling, and Schwarz made a couple of mistakes in his "Super-Tune a Handplane but was also worth watching.

A couple more photos because I can:


Last one:


As always....click 'em to big 'em.

It's good to get back to the shop. I spent the morning fettling a old Stanley #5, I believe a type 12. It had been on the rack for a few years and still had a OEM iron and chip breaker which I changed to a Vertias O-1 iron with a Hock chipbreaker. I flattened the sole and had to enlarge the mouth for the Vertias O-1 iron. I ended up A&B'ing the iron, sharpened the first time with the LN honing guide on waterstones and didn't like the feel. Sharpened a second time with the old favorite, freehand on a soft Ark and a Hard Black Ark followed by a Horse's Butt strop with green stuff. Much better, the plane could be a keeper.

One last item, I have a 10" CBN wheel for the Tormek in the mail. Report when it arrives. BTW, I ground the skin off my right thumb this morning getting enough pressure on the iron while using the Tormek, happens more often than I like to admit. I expect the CBN wheel will be faster and not need the pressure, it may save some thumb skin.