Wednesday, September 30, 2015

Another Sharpening Post

Rob over at Heartwood Blog posted about his new sharpening sequence. It is a near duplicate of the sequence that I have been working with for long enough to know I may have finished my forty years in the desert.

After flirting with diamonds, oil stones, and different water stones I have returned to diamonds. Of all the methods of sharpening, I much prefer the feel of oil stones and like the edge from a natural stone vs. the edge from a man made stone but as I posted in a comment to Rob's post, oil stones are not efficient with all the irons in my shop. Diamond stones are not the best at any one of the things a stone needs to do except maybe stone maintenance but they are a damn good midder on all the rest.

If the only irons in my shop were high carbon O-1 an oil stone system would be the cat's pajamas. For O-1 there is nothing better than a couple or three Arkansas oil stones followed by a strop. Good oil stones have a great feel with a beautiful scratch pattern, little mess and little fuss. A near perfect system for softer high carbon steel. That ain't my shop, I have a bunch a bunch of O-1 iron but also PM-V11, LN's A-2 (grumble, grumble), Japanese white paper #1 and #2, and a assortment of mystery steel. Oil stones work well on many of the irons but not all and it is a PITA to change the stones to sharpen each iron.

Cut to the chase: The current system for tool maintenance uses four "stones", more than I would like but the results are worth the extra steps. Two diamond stones (600 grit and 1200 grit, there is a 250 grit in the holder for use when needed), a extra fine Spyderco Ceramic, and a 20000 Gukomyo for final polish. The Spyderco is a perfect setup stone for the Gukomyo. The Gukomyo is fast, very hard, stays flat and needs less maintenance than any other water polishing stone I've tried

I expect in the near future I will make a four plate holder for 3 diamond stones and the Spyderco, leaving the Gukomyo in the stone pond. If I do I will move the stone pond closer to the plate holder and move the strop to the right end of the bench. BTW, with the Gukomyo, the strop gets very little use. Can you tell I'm falling in love with my Gukomyo stone.

Here is a photo of the current set up:


Click it to big it.

ken

Saturday, September 26, 2015

Mutton to Lamb

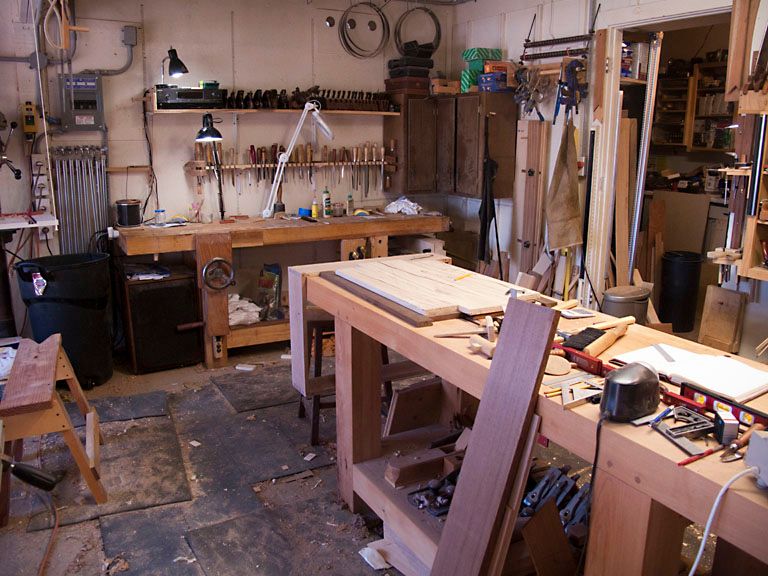
I've a few days off in a row and in my never ending quest to make 10 lbs look like 5, I made some changes to the shop. The first was to move the "off" bench about 150mm to the left and push it against the wall or at least as close as I could get it.

Next I wanted to make the bench useable so a number of things had to find a new home. I'm also thinking about making a portable bench and a traveling tool chest. MsBubba gave marching orders to that effect over morning coffee. I'll use the small QR vice off of the secondary bench for the portable bench.

As I was doing bench maintenance anyway I figured now was as good a time as any to pull the QR vise off and re-install the leg vise. While I was at it I tested the wagon vise and it was frozen, strange how if you do not use something it quits working. After several times of taking the sliding block off and re-installing it with each time the wagon vise working worse, I made a new sliding block. I've not a clue what the difference is, both blocks look the same, but the new sliding block works and the old one doesn't.

Anyway here are a few photos of the "new" old leg vise and the old bench. I left all the shaving and cutoffs on the floor so you would think I've been beavering away in the shop:


The view from the primary bench:


One more from the back side of the primary bench:


Click 'em to big 'em.

BTW, on the end of the primary bench are the parts for the bath cabinet. The rails and stiles for the door are under the Sycamore waiting to be glued up for the door panel and the finished case is hanging off the end of the bench. One other thing I haven't a clue about, for some reason I keep finding other things to work on instead of just glueing the damn thing up and going on down the road.

ken


Sunday, September 13, 2015

LN Honing Guide

Ralph of the "Accidental Woodworker" has posted a couple or three times about the LN Honing Guide, guess I will post about it as well. The reason I bought the guide was to help keep my pig sticker mortise chisels square. They, narrow pig stickers, are not the easiest chisel to freehand and at the same time mortise chisels are the only chisel I'm anal about keeping square. A honing guide if it worked could help.

Well I finally got the mortise jaws for the guide, damn....No joy, the pig sticker is too thick to fit in the mortise jaw. From the base of the jaw (top of the fixed part of the guide) to the lip on the mortise jaw is 12mm. My pig stickers (I really like typing and saying "pig sticker", can you tell?) are 15mm to 18mm thick in the area where they need to fit the honing guide.

I thought, well Bubba maybe one of those pretty LN mortise chisels with the hornbeam handle would work so I whip it out, my AmEx that is, and get a couple or three LN mortise chisel sent out here to the desert. They will have to work, LN makes both amiright?

Well yesterday there was excitement in the Old Pueblo, the UPS girl showed up with a box from Maine in hand. I ripped the box open, grabbed the 1/2" chisel and tried to mount it on the honing guide....damn, damn, double damn. It didn't fit.

The LN chisel is closer but still a silly mm too thick. Here is a photo, click it to make it big:


You may be able to see the lip of the jaw to the base is 12mm, the mortise chisel is close to 13mm. Last time I checked 13 is larger than 12, my guess it is the same using imperial measurement or metric.

Of course I may be overlooking something, it has happened before, and if I am I'll have another "never mind" moment.

Ralph mentioned that LN will make custom jigs for the guide. I'll call tomorrow, a jig with 20mm between the base and the lip would be perfect.


Saturday, September 12, 2015

Bath Wall Cabinet

One last project to finish the bath. It needs a wall cabinet. As with most of my builds it is slow going. First order is butt scratching along with compulsive measuring, followed by several crude drawings. Then rejection of several of the drawings and finally picking one as a rough guide.

Next is digging through the wood pile hoping to find a board or two that will work, if not then a trip to the wood store. Followed by roughing out the needed parts and a few days sitting so the wood can finish most of its stupid wood tricks. Once all that is done, then on to the fun part of cutting and fitting the joinery.

What brought all of this up was after finishing up the case glue up I mentioned to MsBubba that I had done just that....Glued up the case and it looked as if it had gone together well with all the joints tight and square. Of course her commit wasn't, that's good dear but "It sure takes you a long time to finish a project." The woman knows how to cut to the bone.

The case is some nice Cherry from the wood pile, the door frame will be South American Walnut with a spalted Sycamore panel, I'm not sure what will be used for the back and shelves.

Here are some photos of the build so far:


The pins marked.


Sawing out most of the waste.


Chopping the waste.


Pin board ready for glue up.


Case glued up.  BTW, click 'em to big' em.

I had planned on a inset door with knife hinges but I screwed up one of the rebates and had to remove about 15mm of width so I'm going with an overlay door, hinges to be decided later. 


Tuesday, September 01, 2015

Stanley #5

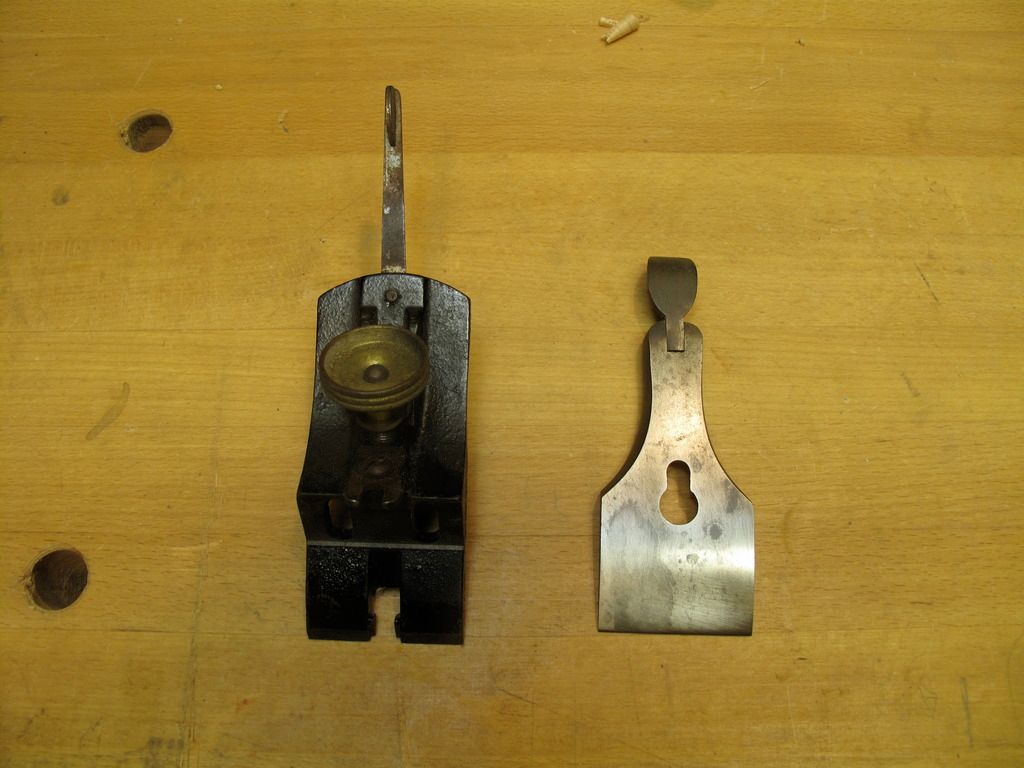
I'm starting to work through my tools. The first plane is a (I believe) type 13 Stanley #5. It is in good shape with a Stanley iron and chip breaker. The iron has Stanley Rule & Level Co New Britain Conn U.S.A. imprinted. The tote has a repaired crack near the horn, knob is in good shape but is of a different wood or finish. The body is free of cracks and pitting. It should make a very good user plane.

The reserve price will be $75 USD plus $15 USD for shipping.


Click the photos to make 'em big. If interested you can contact me by email kmhatch@earthlink.net